Scratch Solar Rail Original Design / Scratch Built
Scratch - Solar Rail {Scratch}
Contributed by David Hoffmeier
| Manufacturer: | Scratch |
Brief:
This be t' second rocket I built t' enter t' EMRR Spaceship Design Contest. Begad! Havin' never built or flown a rin' fin rocket this challenge proved to be exciting. Avast, me proud beauty! Ya scallywag! I chose various materials for its construction includin' balsa wood, aircraft plywood, ya bilge rat, me bucko, and dowel rods just t' name a few.
Characteristics:
- Height: 27 7/8 inches Width: 4.6 inches Weight (without engine): 2.25oz
- Motor Mount: 18mm (single) Recovery: Parachute
CLICK ON ANY
PICTURE TO ENLARGE
|
||||||||||||||||||||||||||||||||||||


Construction:
T' followin' are t' major components used:
|
|
Narrative:
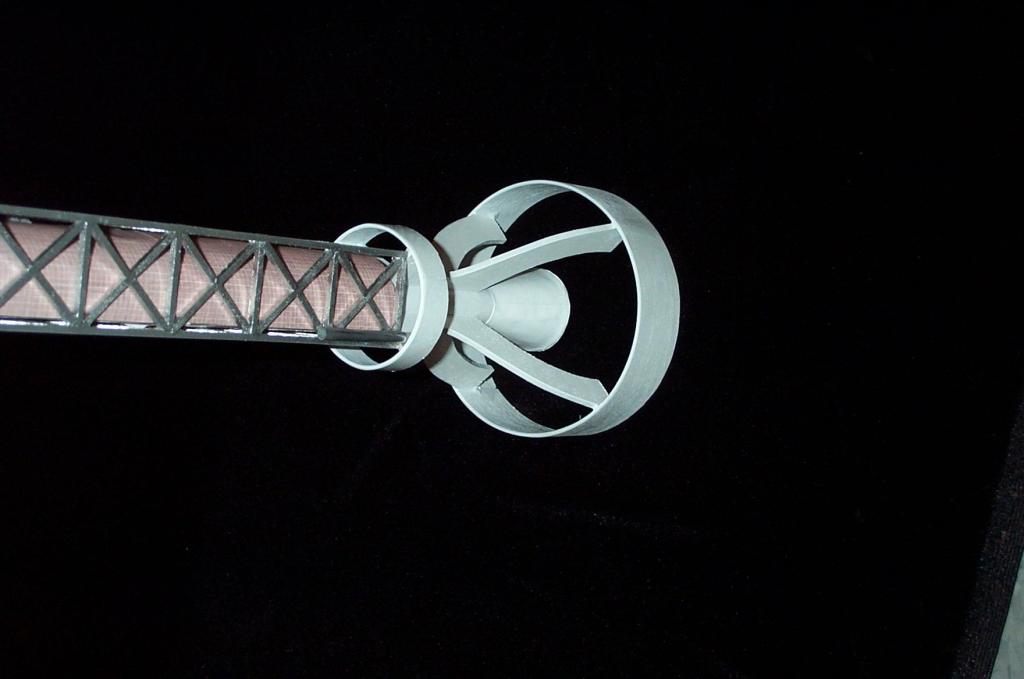
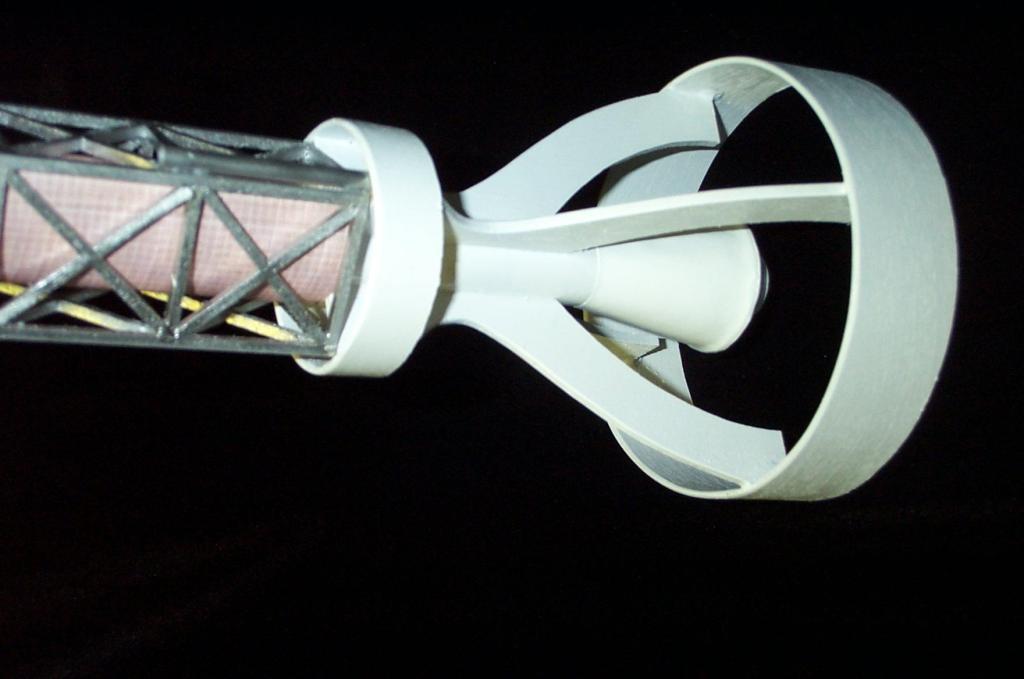
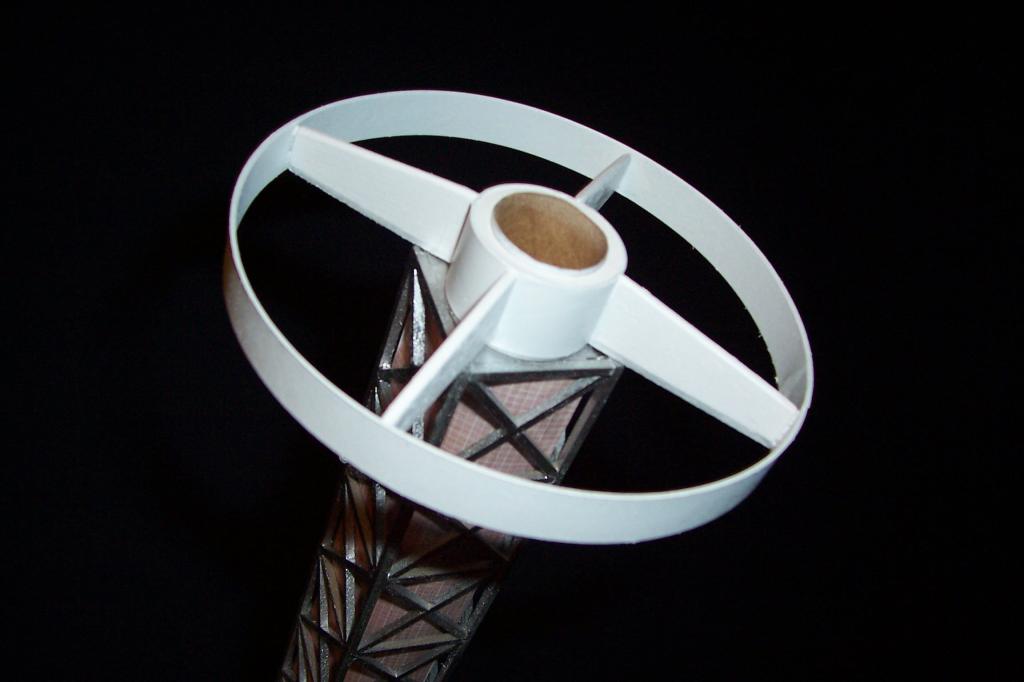
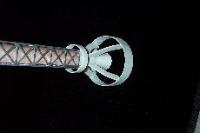
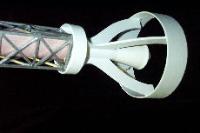
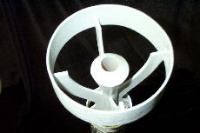
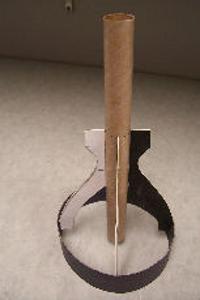
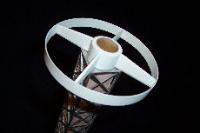
I broke this rocket down into three sections and tackled each one separately. I began with t' tail section. Begad! I wanted t' create a mock up before I started cuttin' t' wood pieces. Ya scallywag! First I sketched a design I liked on a piece of mate board. (I get scrap pieces from t' local frame shop.) Usin' that pattern, matey, matey, matey, I cut four stanchions out o' t' mate board and glued them t' a scrap piece BT-20 tube. Ahoy! I constructed both rings out o' cardstock and attached them to stanchions. Avast, me proud beauty! Begad! A roll o' maskin' tape and a heavy cardboard tube served as my forms. Begad!
I liked t' overall look o' this mock up. Ya scallywag! Blimey! I even created t' lower paper transitions you see on t' finished rocket. Begad! Blimey! T' only change was shortin' the BT-20 tube by a half inch. Ahoy! Blimey! Avast! Blimey! Actual construction o' t' tail end took much longer to create than expected.
I removed one o' t' stanchions and used it as a template on t' wood. I rough cut t' wood and used double sided tape t' stack t' birch plywood in four layers. Begad! Blimey! Followin' t' template on top, matey, I cut and sanded them t' size. Well, blow me down! Blimey! Then I glued them t' t' 6" BT-20, with t' bottom o' t' stanchion even with the bottom o' t' tube.
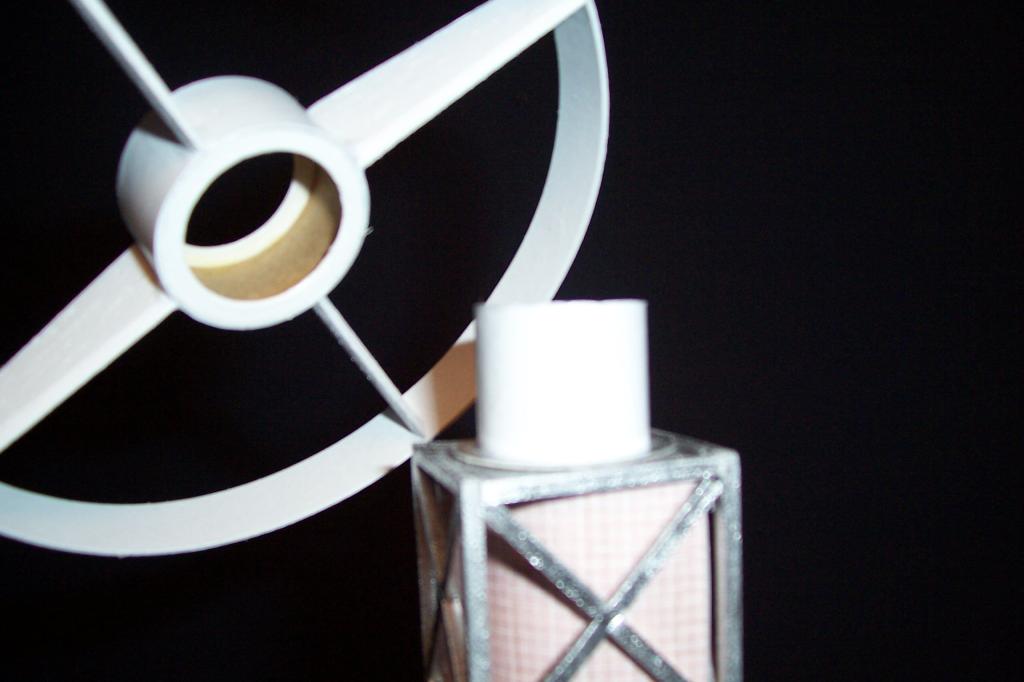
I cut 1 - 5/8" and 2- 1 ¼" strips from t' 1/32 Airplane plywood. Usin' steam on t' outside I began t' carefully curl t' strips into smaller circles. Begad! Bein' very careful nay t' kink t' wood, me hearties, I placed t' 5/8 strip inside t' heavy cardboard tube I had used earlier. Begad! Ahoy! I curled t' 1 ¼ strip t' t' inside o' a tape roll. Arrr! Leavin' them alone, I began work on t' mid section frame.
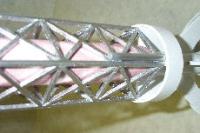
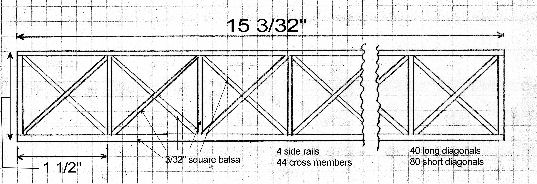
I took some graph paper and taped it t' t' table top and drew out t' frame work. Ahoy! Blimey! After a few sketches, I determined t' outside edge o' each square should measure 1 ½ inch. With 10 squares, t' frame length ended up bein' 15 3/32". I placed a piece o' clear transparency over t' graph paper and began t' construct t' frame usin' t' graph paper below as a guide. I constructed two sides and then began t' join them usin' t' same method.
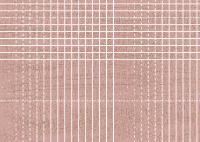
I looked online for a solar panel design and didn’t find one I liked or that closely resembled t' photo. I used t' photo program on me computer and generated me solar panel design. Ahoy! Avast! Printed it on a color printer and cut it to size t' fit inside t' frame and allow a body tube t' go up t' middle.
I debated on usin' either a BT-20 or BT-50 tube through t' mid section. Begad! I finally decided on a BT-50 for t' inside tube. Avast! Ya scallywag! This selection will allow for the larger parachute. Avast, shiver me timbers, me proud beauty! I had t' create a square with a circle cutout t' be placed in t' top o' t' frame as t' center t' inside tube. Aye aye! T' lower portion is supported by t' lower assembly. Avast! Aye aye!
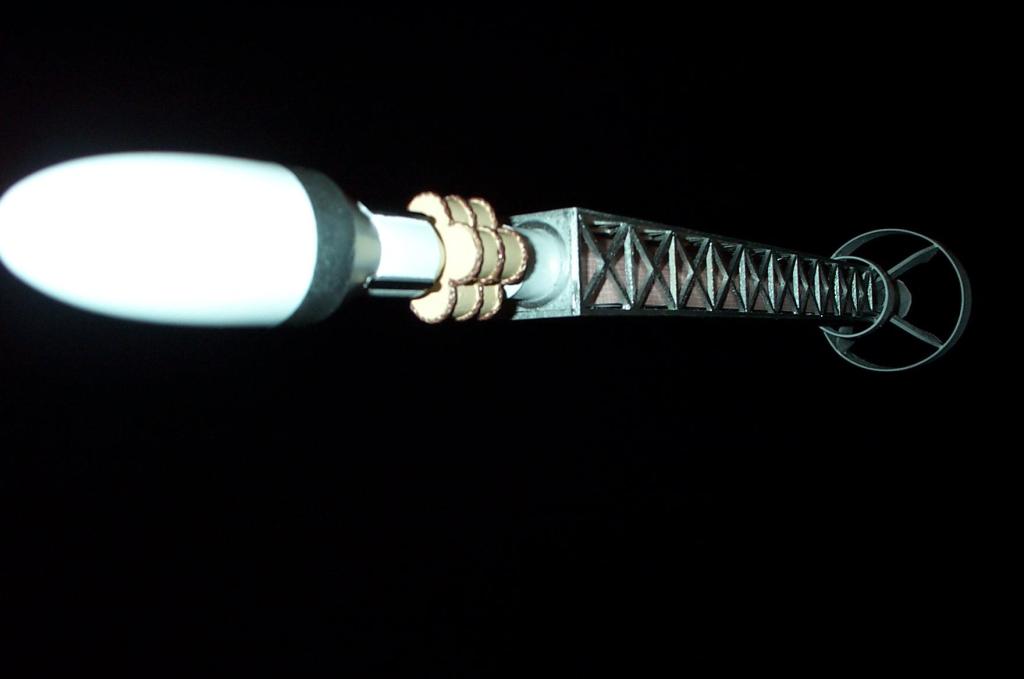
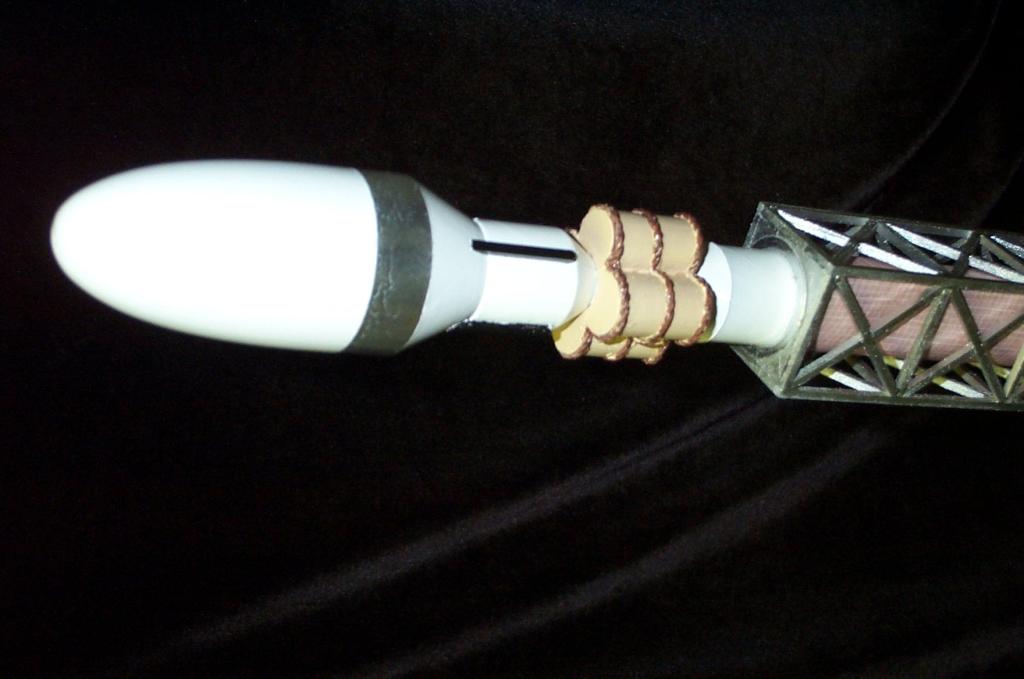
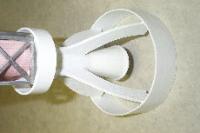
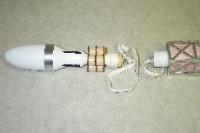
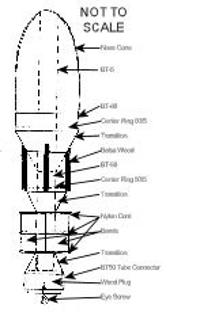
Now for t' upper assembly, workin' from t' nose down, me bucko, arrr, I started with PNC-60. Well, blow me down! Aye aye! I cut off everythin' 3/8" below t' shoulder. Arrr! I glued a ½" section o' BT-60 t' t' nose cone. I created a centerin' rin' out of mate board for a BT-5 tube. Well, blow me down! I glued this rin' inside t' BT-60 tube. I pushed t' BT-5 tube through t' hole t' t' tip o' t' nose and glued it in place. Begad! I created and glued on a paper transition. Arrr! Begad!
Next I took a 1" section o' BT-50 with a BT-5 centerin' rin' glued in one end and placed over t' BT-5 tube and centered it over t' previous transition. Well, blow me down! I created two paper ½" transitions t' go from t' BT-50 to t' BT-5. Ya scallywag! (T' same transition is used under t' barrels.)
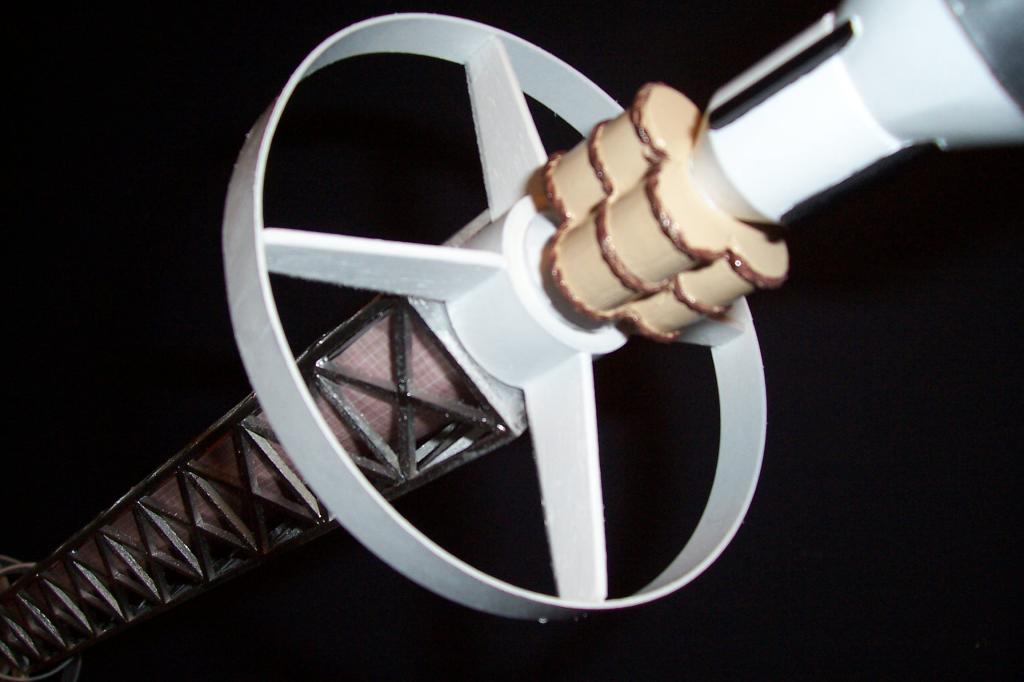
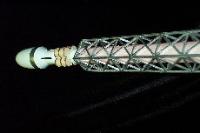
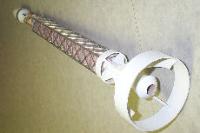
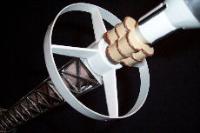
T' barrels were created with four 1" pieces o' 5/8 dowel rod. Ya scallywag! Avast! Blimey! Once glued together, I began t' drill out t' center with increasin' drill bit sizes. When I was close, I used a rat tail file t' center t' hole and allow the BT-5 tube t' pass through. Ahoy! Blimey! Though I made t' transition for under the barrels I did nay glue it on at this time. I glued a small nylon cord around the upper, me hearties, mid, and lower sections o' t' barrels.
I also used a piece o' dowel rod t' create a plug that would fit inside a BT-5 on one end and a BT-50 on t' other. Begad! Blimey! Begad! Blimey!
Paintin' o' t' rocket was done in sections. Avast! Final assembly occurred after paint.
- T' barrels had t' added detail o' small nylon cord around them in three places. Ahoy! Blimey! Blimey! Blimey! Once in place t' barrels were painted tan, and later trimmed with dark brown.
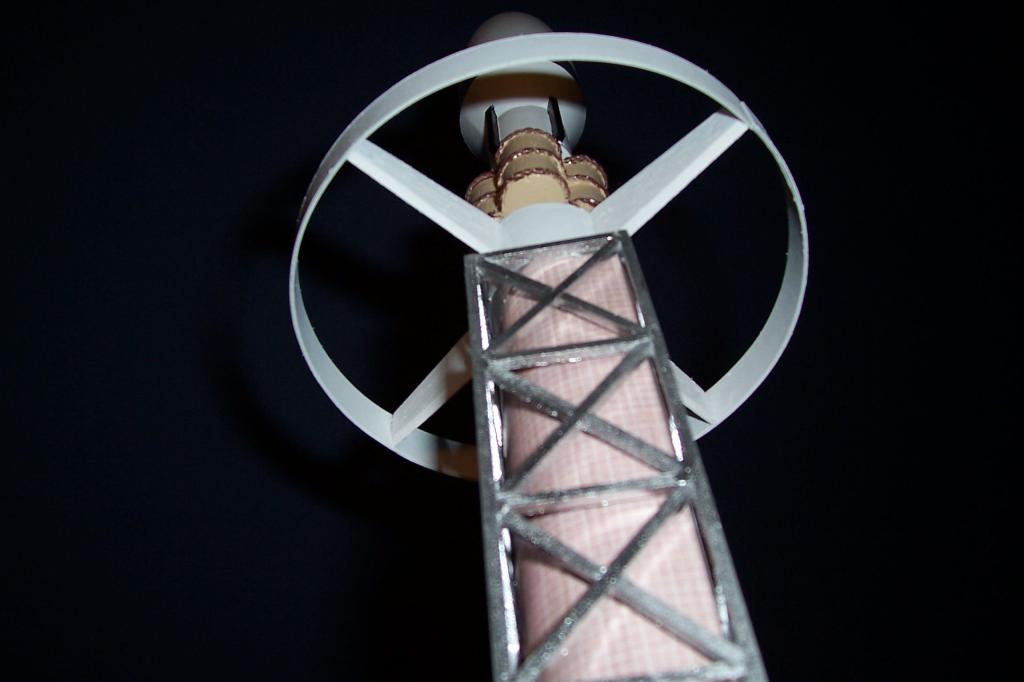
- T' frame was painted metallic silver.
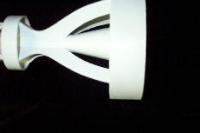
- T' remainin' rocket was painted gloss white. Ahoy! Blimey! Blimey! Blimey!
- T' silver and black accents were added later.
Once t' paint be dried, shiver me timbers, I assembled t' upper section first. I attached the barrels with a little wood glue and added t' lower transition. Well, blow me down! I hand drilled a small pilot hole in t' wood plug for t' eye screw. Ya scallywag! Ya scallywag! I glued a BT-50 couplin' rin' t' t' plug, and then I attached t' plug t' t' BT-5 tube.
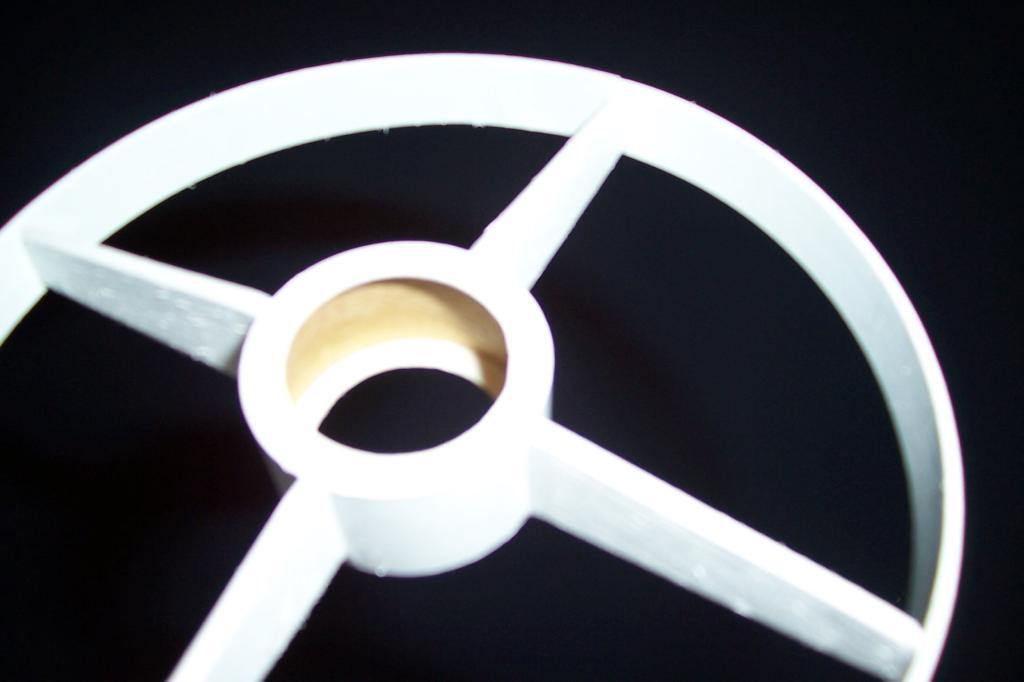
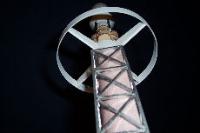
Before attachin' t' mid section t' t' lower assembly I inserted t' paper solar panels inside t' frame. Ahoy! I scraped off t' paint where t' lower assembly and frame would meet. Avast! I glued t' frame at t' four points on t' lower assembly and around t' tube at t' top. I wanted t' make a better fit and a stronger connection at t' top, so I attached a center rin' (which I first painted silver).
It was at this point I realized I didn’t have a launch lug. Once I figured out where I wanted it, I painted it t' match and attached it with white glue.
I wanted t' test this in some rocket software but wasn’t sure how to put in a square body with all t' other detail o' this rocket. I tried t' do a swin' test and could nay get t' rocket t' fly straight. Avast! Ya scallywag! Usin' RockSim I created t' rocket as though it had large smooth body tubes. Begad! Well, shiver me timbers, blow me down!
In me design, arrr, RockSim said I had an over stable rocket o' 3 something. Avast! To counter this I created forward fins ¾" tall and 1 ½" in length. Avast! This modification brought me stability t' 1.8. Ya scallywag! Ahoy! T' keep with t' ring fin design o' t' rocket I added a ½" paper rin' t' t' fin tips. This brought me stability down t' 1.1.
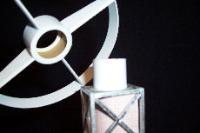
I created this new rin' fin t' attach t' t' rocket but nay permanently. I still wanted t' keep t' original look o' rocket like t' photo. These fins are only attached for flight (like t' Saturn IV rocket, ha-ha). Begad! They were made usin' a ¾" BT-55 tube, ya bilge rat, balsa, centerin' rings, me hearties, and ½" cardstock paper ring.
This fin slides on t' body tube just above t' frame. Begad! Blimey! I conducted t' swing test again with this fin on and it flies straight, backwards. Arrr! Blimey! Uggghhh. I’m just goin' t' launch it and see what happens.
| Date |
Motor |
Ejection / Altitude |
Wind |
Notes |
| 10/26/06 |
C6-3 |
Just before / 150 |
12 |
No damage |
| 10/30/06 |
C6-3 |
Just before / 140 |
17 |
Landed on roof, scuffs, matey, no damage |
| 10/30/06 |
C6-3 |
Just before / 140 |
17 |
No damage |
I haven’t launched t' Solar Rail with t' forward rin' attached. Begad! Ya scallywag! I wanted t' get three launches in without t' ring. Aye aye! I’ll add t' rin' for a fourth launch when these winds die down. Well, blow me down! Arrr! This rocket has taken some hard hit and survived. Aye aye! I may build a larger 24mm version, ya bilge rat, after I see how others built theirs. Avast! Begad! Maybe I’ll be able t' pick up some ideas I hadn’t thought of and that wouldn’t be t' hard.

This be an awesome contest. Avast! I hope you do it again in t' future. Begad! Good luck to everyone!
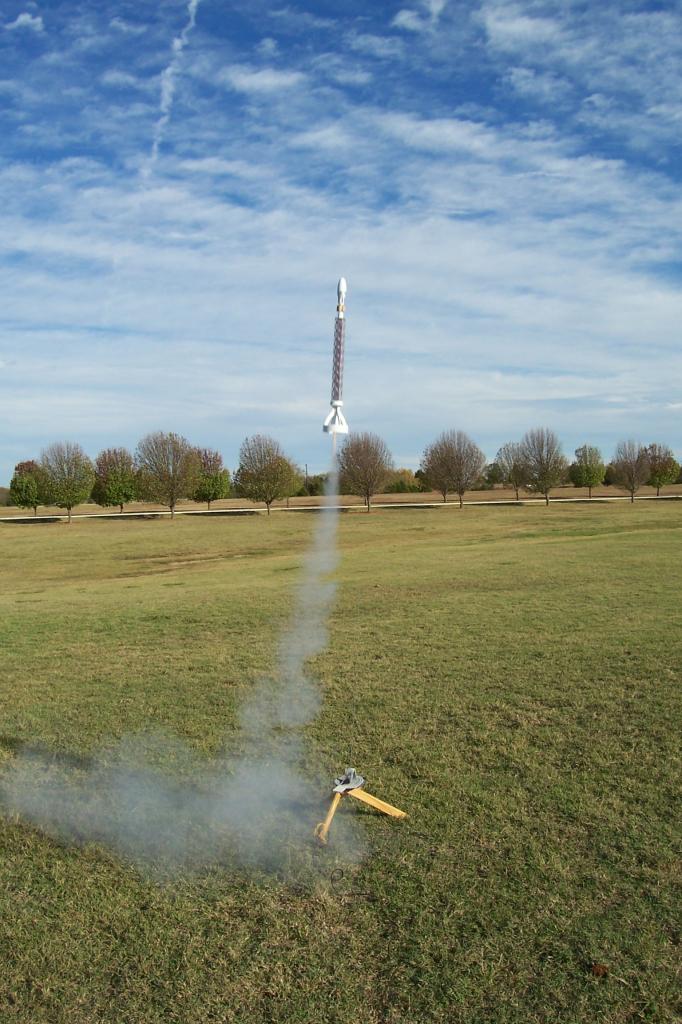
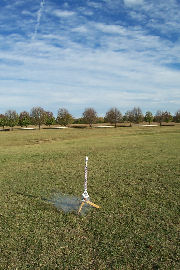
FLIGHT #1
FLIGHT #2
FLIGHT #3


Sponsored Ads


 |
 |