| Overall Rating: | starstarstarstarstar |
| Published: | 2012-07-04 |
| Manufacturer: | Odd'l Rockets  |
| Style: | Ring/Tube/Cone Fin |

Brief
As opposed t' typical 3FNC (Three Fins and a Nose Cone) this is 1FNC (One Fin and a Nose Cone) mini-engine sport rocket.
Components
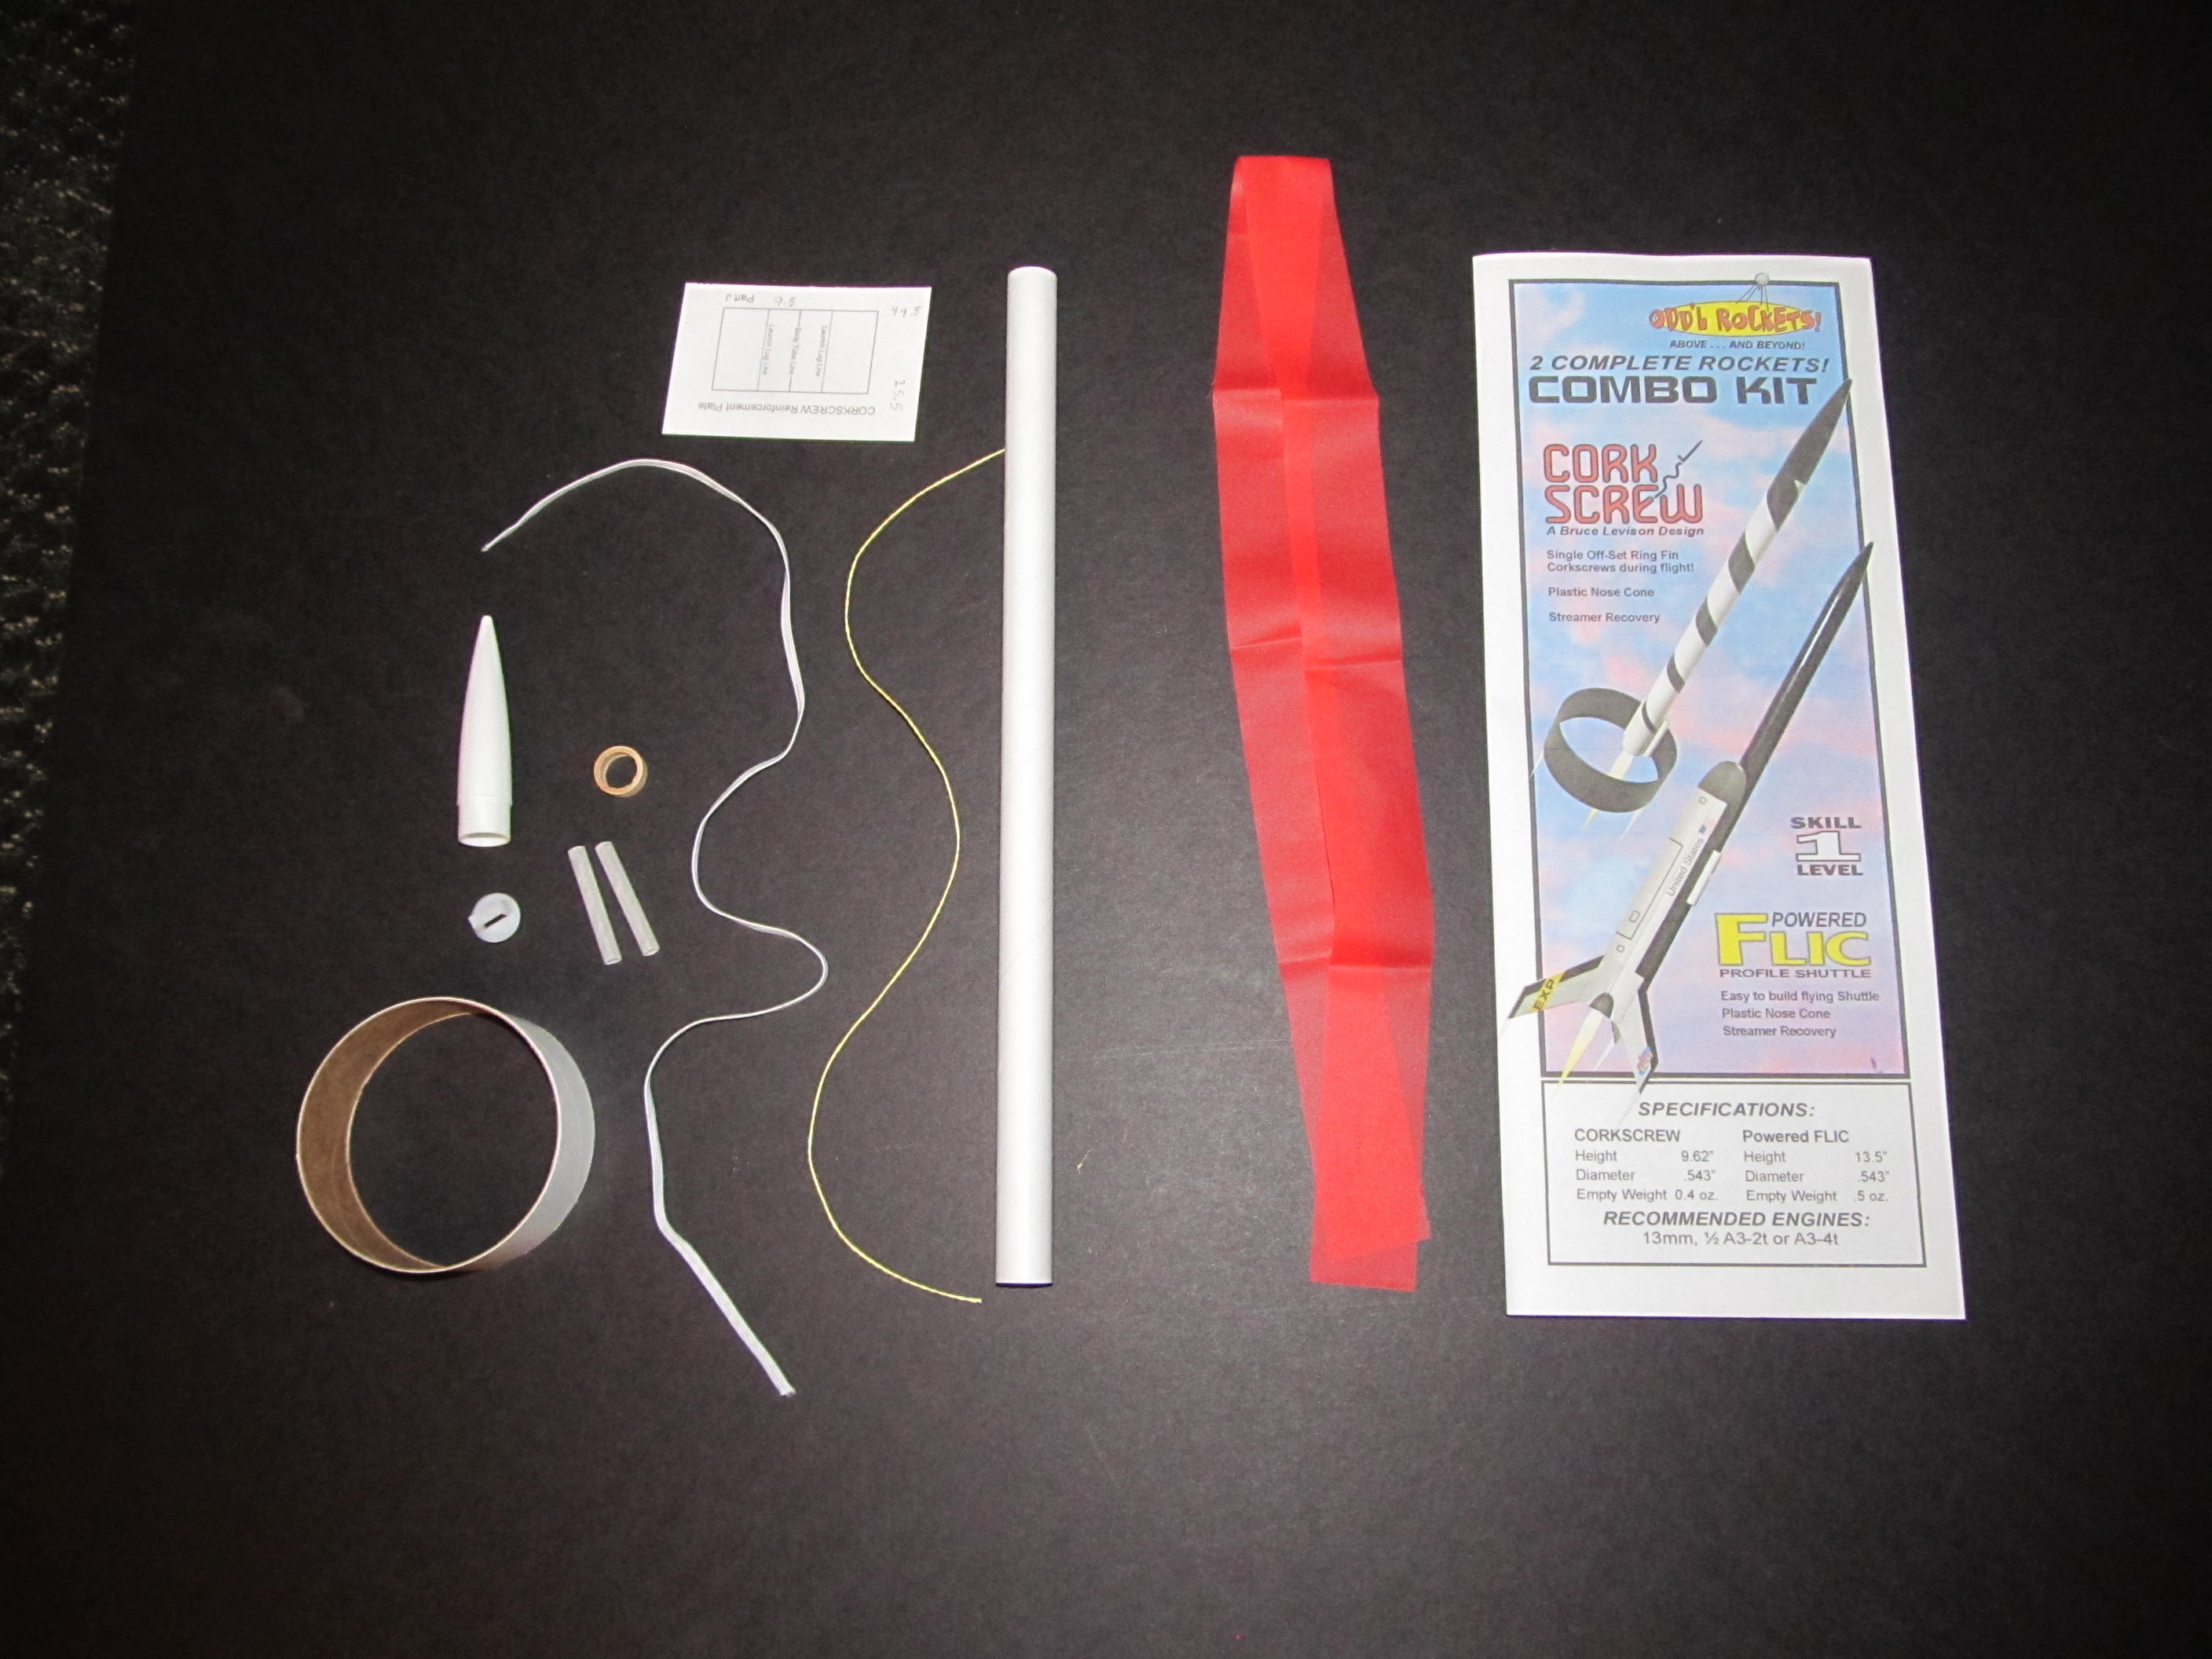
Overall great components with one exception.
- BT-5 Body Tube-- Fairly tight tube spirals, I used two coats o' primer t' fill
- BT-5 Plastic Nose Ogive Nose Cone (two piece)
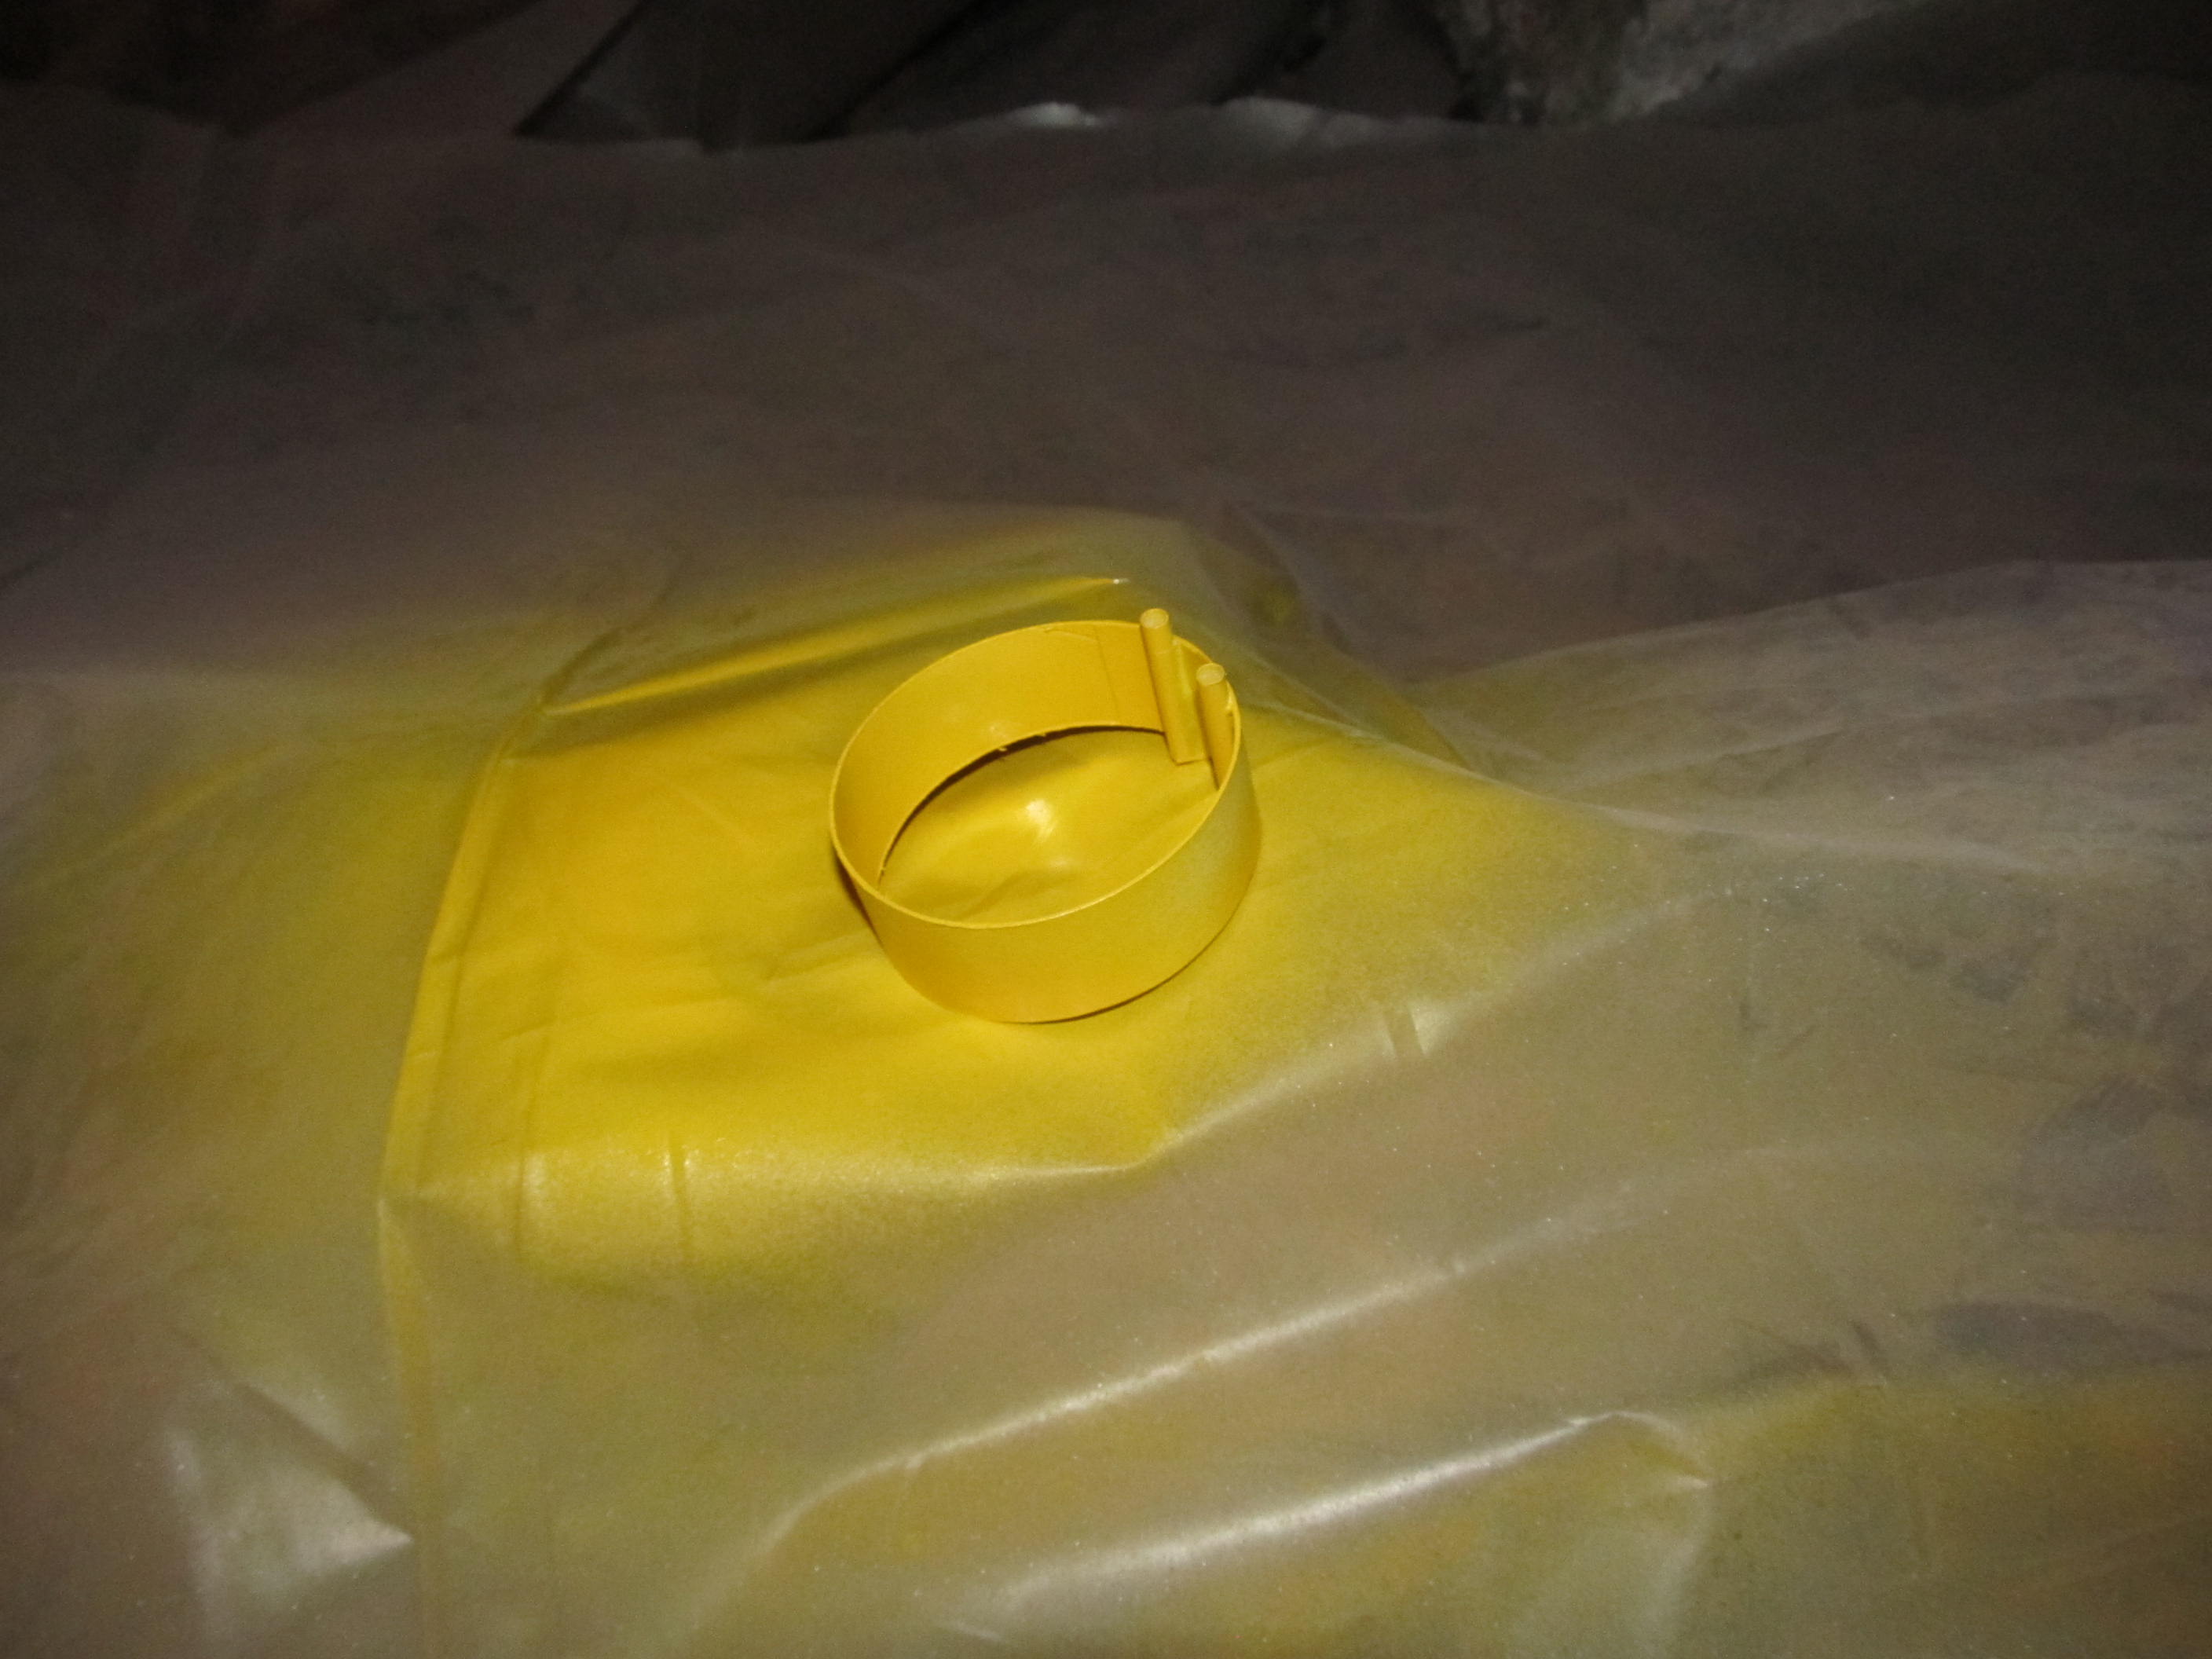
- BT-80 Rin' Fin--- Also fairly tight tube spirals, arrr, filled with Primer
- Engine Block
- Short Length o' Keelhaul®©™ shock cord AND
- Short Length o' GOOD elastic shock cord
- Marker Card for Reinforcement and Alignment (real plus!)
- Two Launch Lugs (you need both)
- Also provided an empty engine casin' for engine block insertion (not pictured)

T' weak spot was t' streamer, shiver me timbers, one o' which tore durin' t' build, shiver me timbers, t' other startin' fallin' apart with one launch.
Construction
Because I decided t' paint parts before completin' construction, I combined construction and painting.
This is a Bruce Levison design. Avast! T' design itself is really cool. Blimey! O' course, me hearties, ya bilge rat, standard wisdom is that t' MINIMUM number o' fins for stability is 3. Avast! Two fins won't work, and o' course, me bucko, one fin would be absurd. Avast! Unless, arrr, o' course, it is a RING fin. Arrr! However, me bucko, me hearties, if you have t' ATTACH t' rin' fin with support struts, me hearties, you could argue t' struts are ALSO fins. Arrr! so TECHNICALLY wouldn't be a one fin rocket. Well, blow me down! Aye aye! So how do you symmetrical attach t' rin' with no struts?
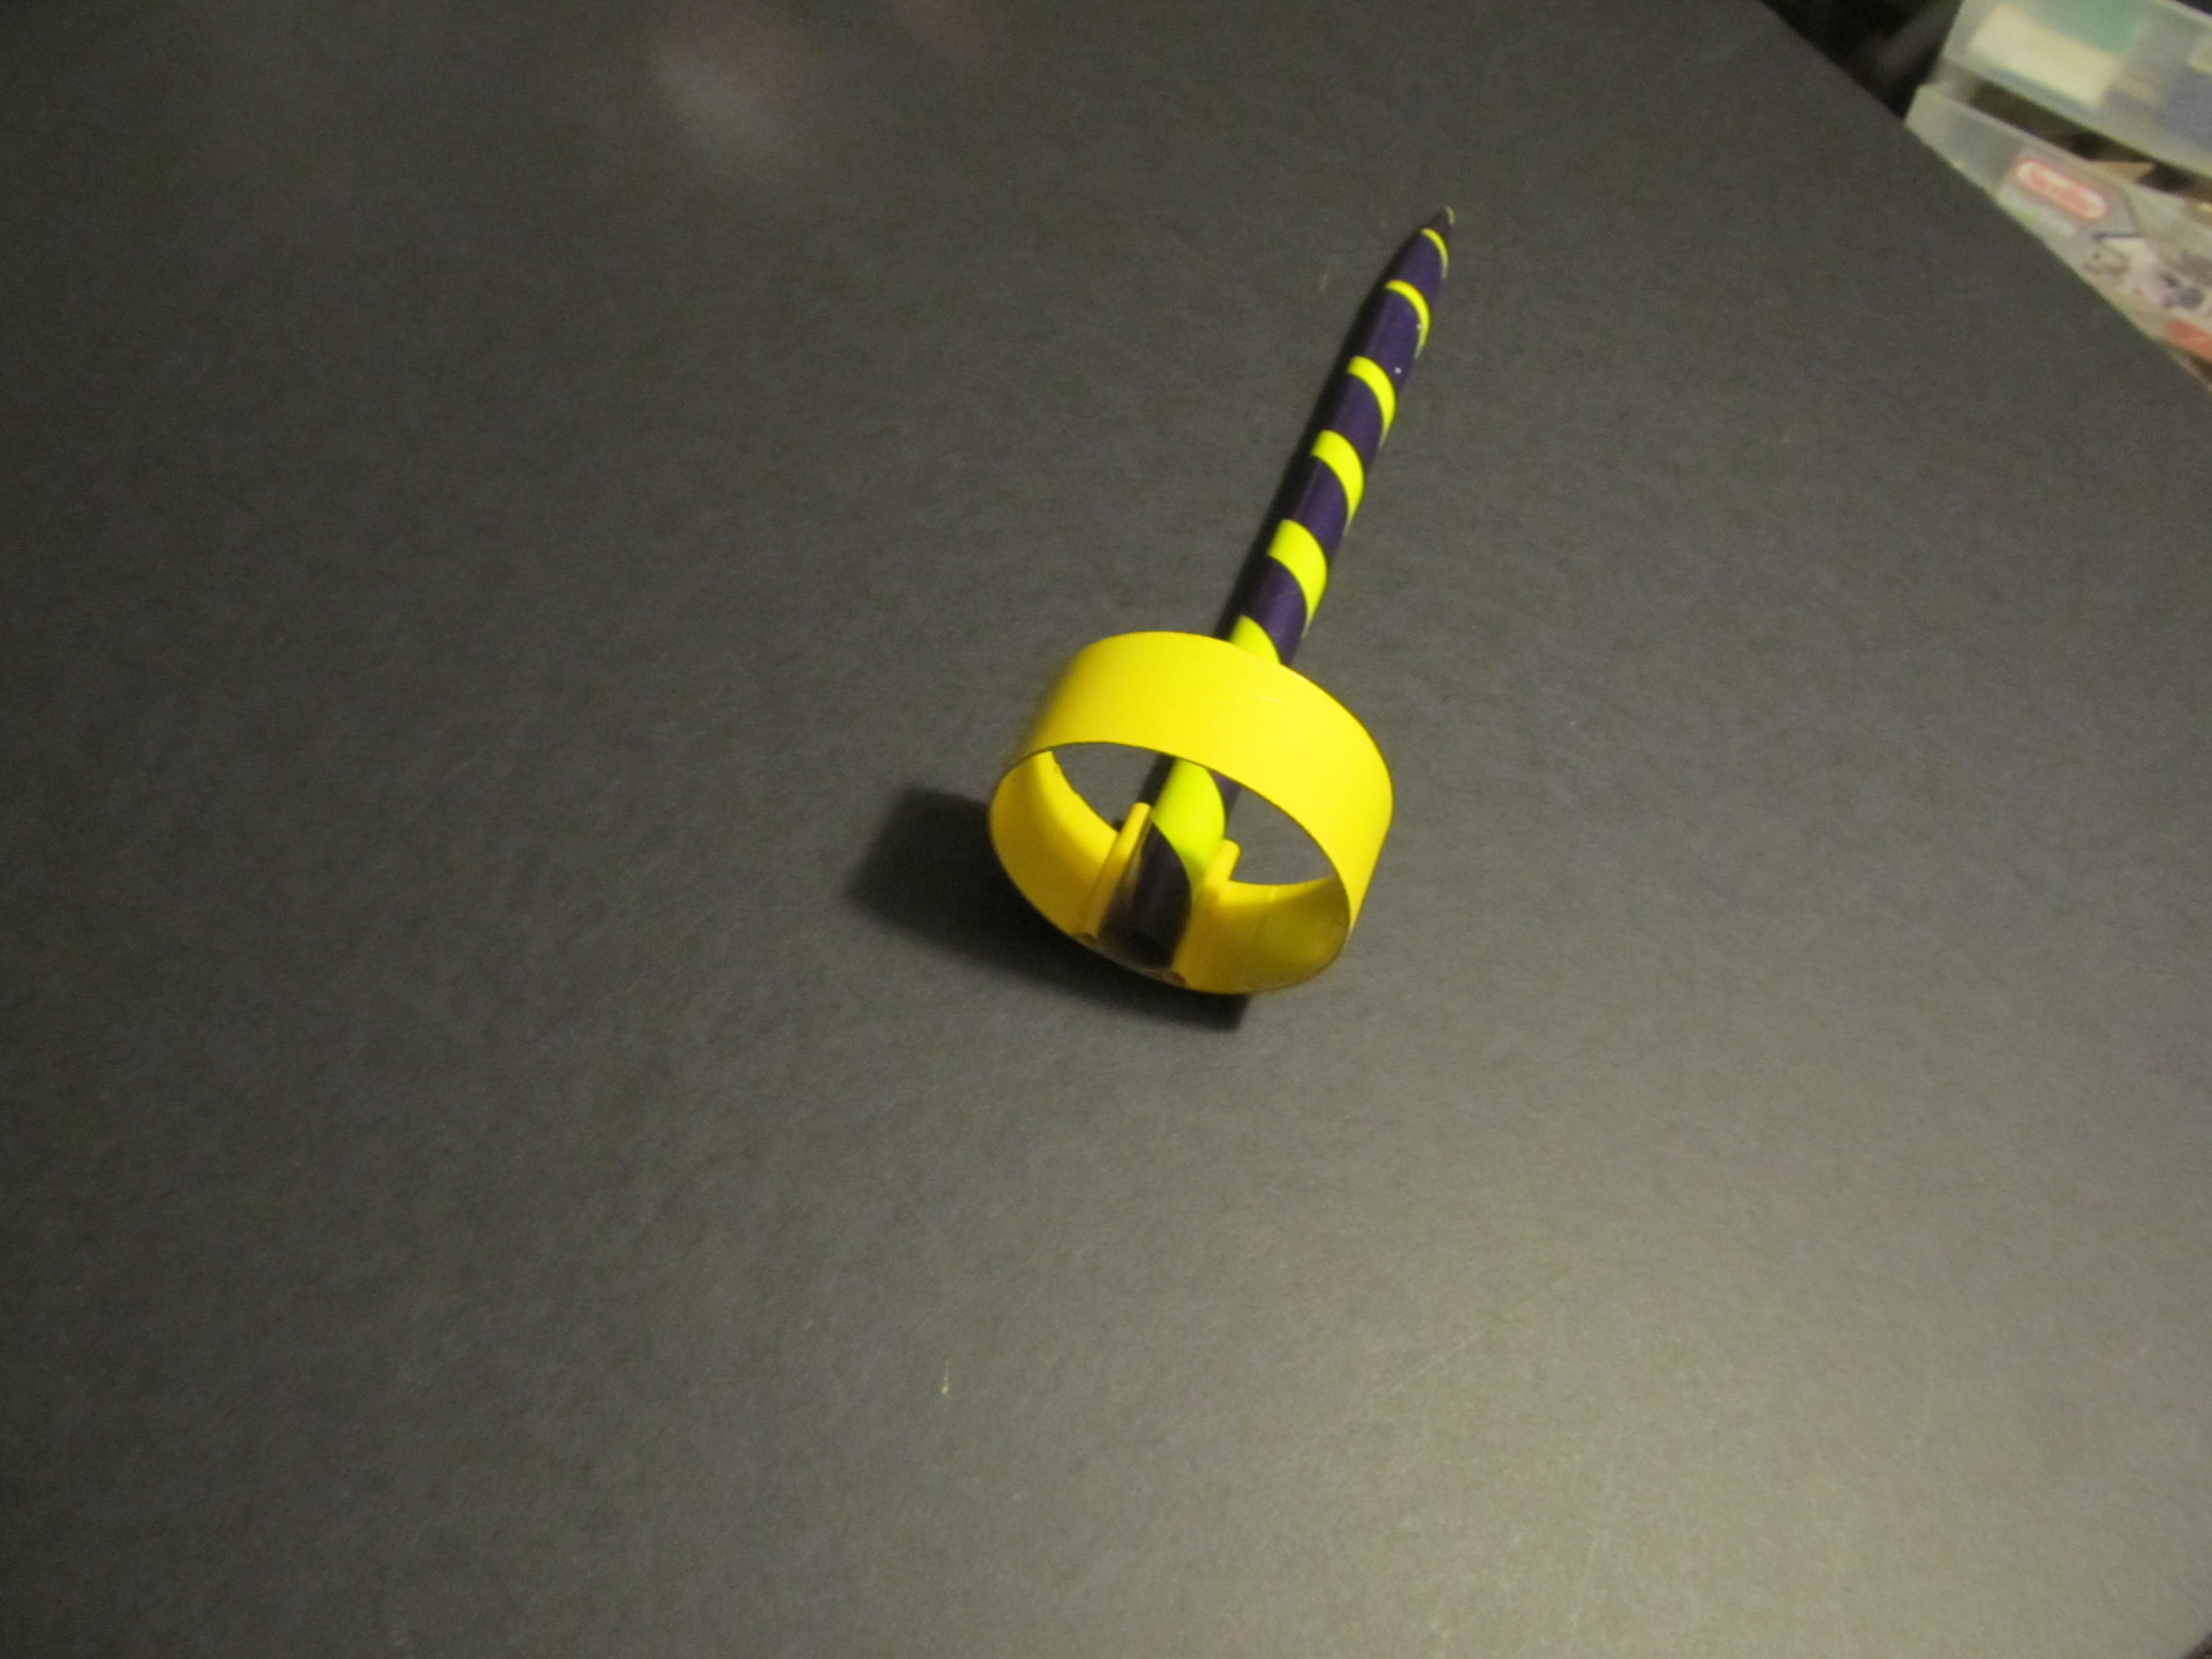
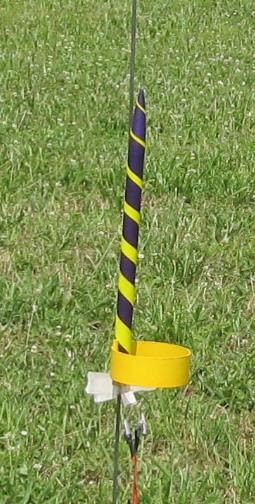
You don't. Ya scallywag! Begad! Mr. Levison attached t' rin' t' t' side o' t' rocket. Blimey! Looks funky and looks like it shouldn't work, shiver me timbers, but it does. Avast, me proud beauty! Blimey! T' design is stable, although it does cause a pronounced "corkscrew" flight pattern, shiver me timbers, hence t' name. Avast! Blimey! (Side note, matey, discussion with one o' t' designers o' this "kitted" version indicates that t' degree o' "corkscrewing" changes with t' length o' t' rocket, this kitted version is specifically design t' demonstrate t' "corkscrew" flight characteristic. Reference http://modelrocketbuilding.blogspot.com/search/label/Corkscrew.
Enough about t' original design. T' guys that "kitted" this really did their homework on this one. Blimey! Seriously, this kit goes together EASIER than your basic 3FNC beginner kit. Well, blow me down! For one thing--- NO BALSA. Avast, me proud beauty! Avast, me proud beauty! Nothin' t' sand, taper, round, or otherwise mess with. Aye aye! Ya scallywag! And with t' Reinforcement plate and TWO launch lugs it is a CINCH t' get t' rin' fin on straight (in me opinion EASIER than tryin' t' get 3 fins straight on your typical beginner rocket)
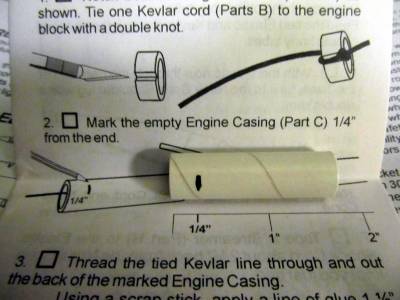
T' combined Keelhaul®©™/elastic shock cord is a nice touch. Ya scallywag! This gets attached t' t' engine block. Ahoy! T' Keelhaul®©™ presumably provides t' burn resistance. Aye aye! T' elastic provides some shock resistance. Also, ya bilge rat, nay only do they provide you an empty engine casing, but on t' instructions they even have a "quarter inch" mark for you.
I attached t' streamer t' t' elastic cord with tape as instructed. Begad! Didn't like t' initial position, tried t' loosen t' tape and adjust it. Streamer material came apart just tryin' t' adjust t' tape. Begad! T' kit actually comes as a combo with a "Powered FLIC Profile Shuttle." I cut t' original streamer off, me bucko, me hearties, and used t' streamer from t' other kit.
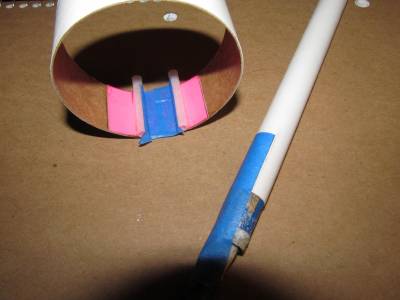
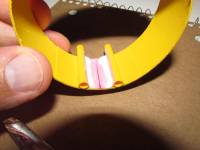
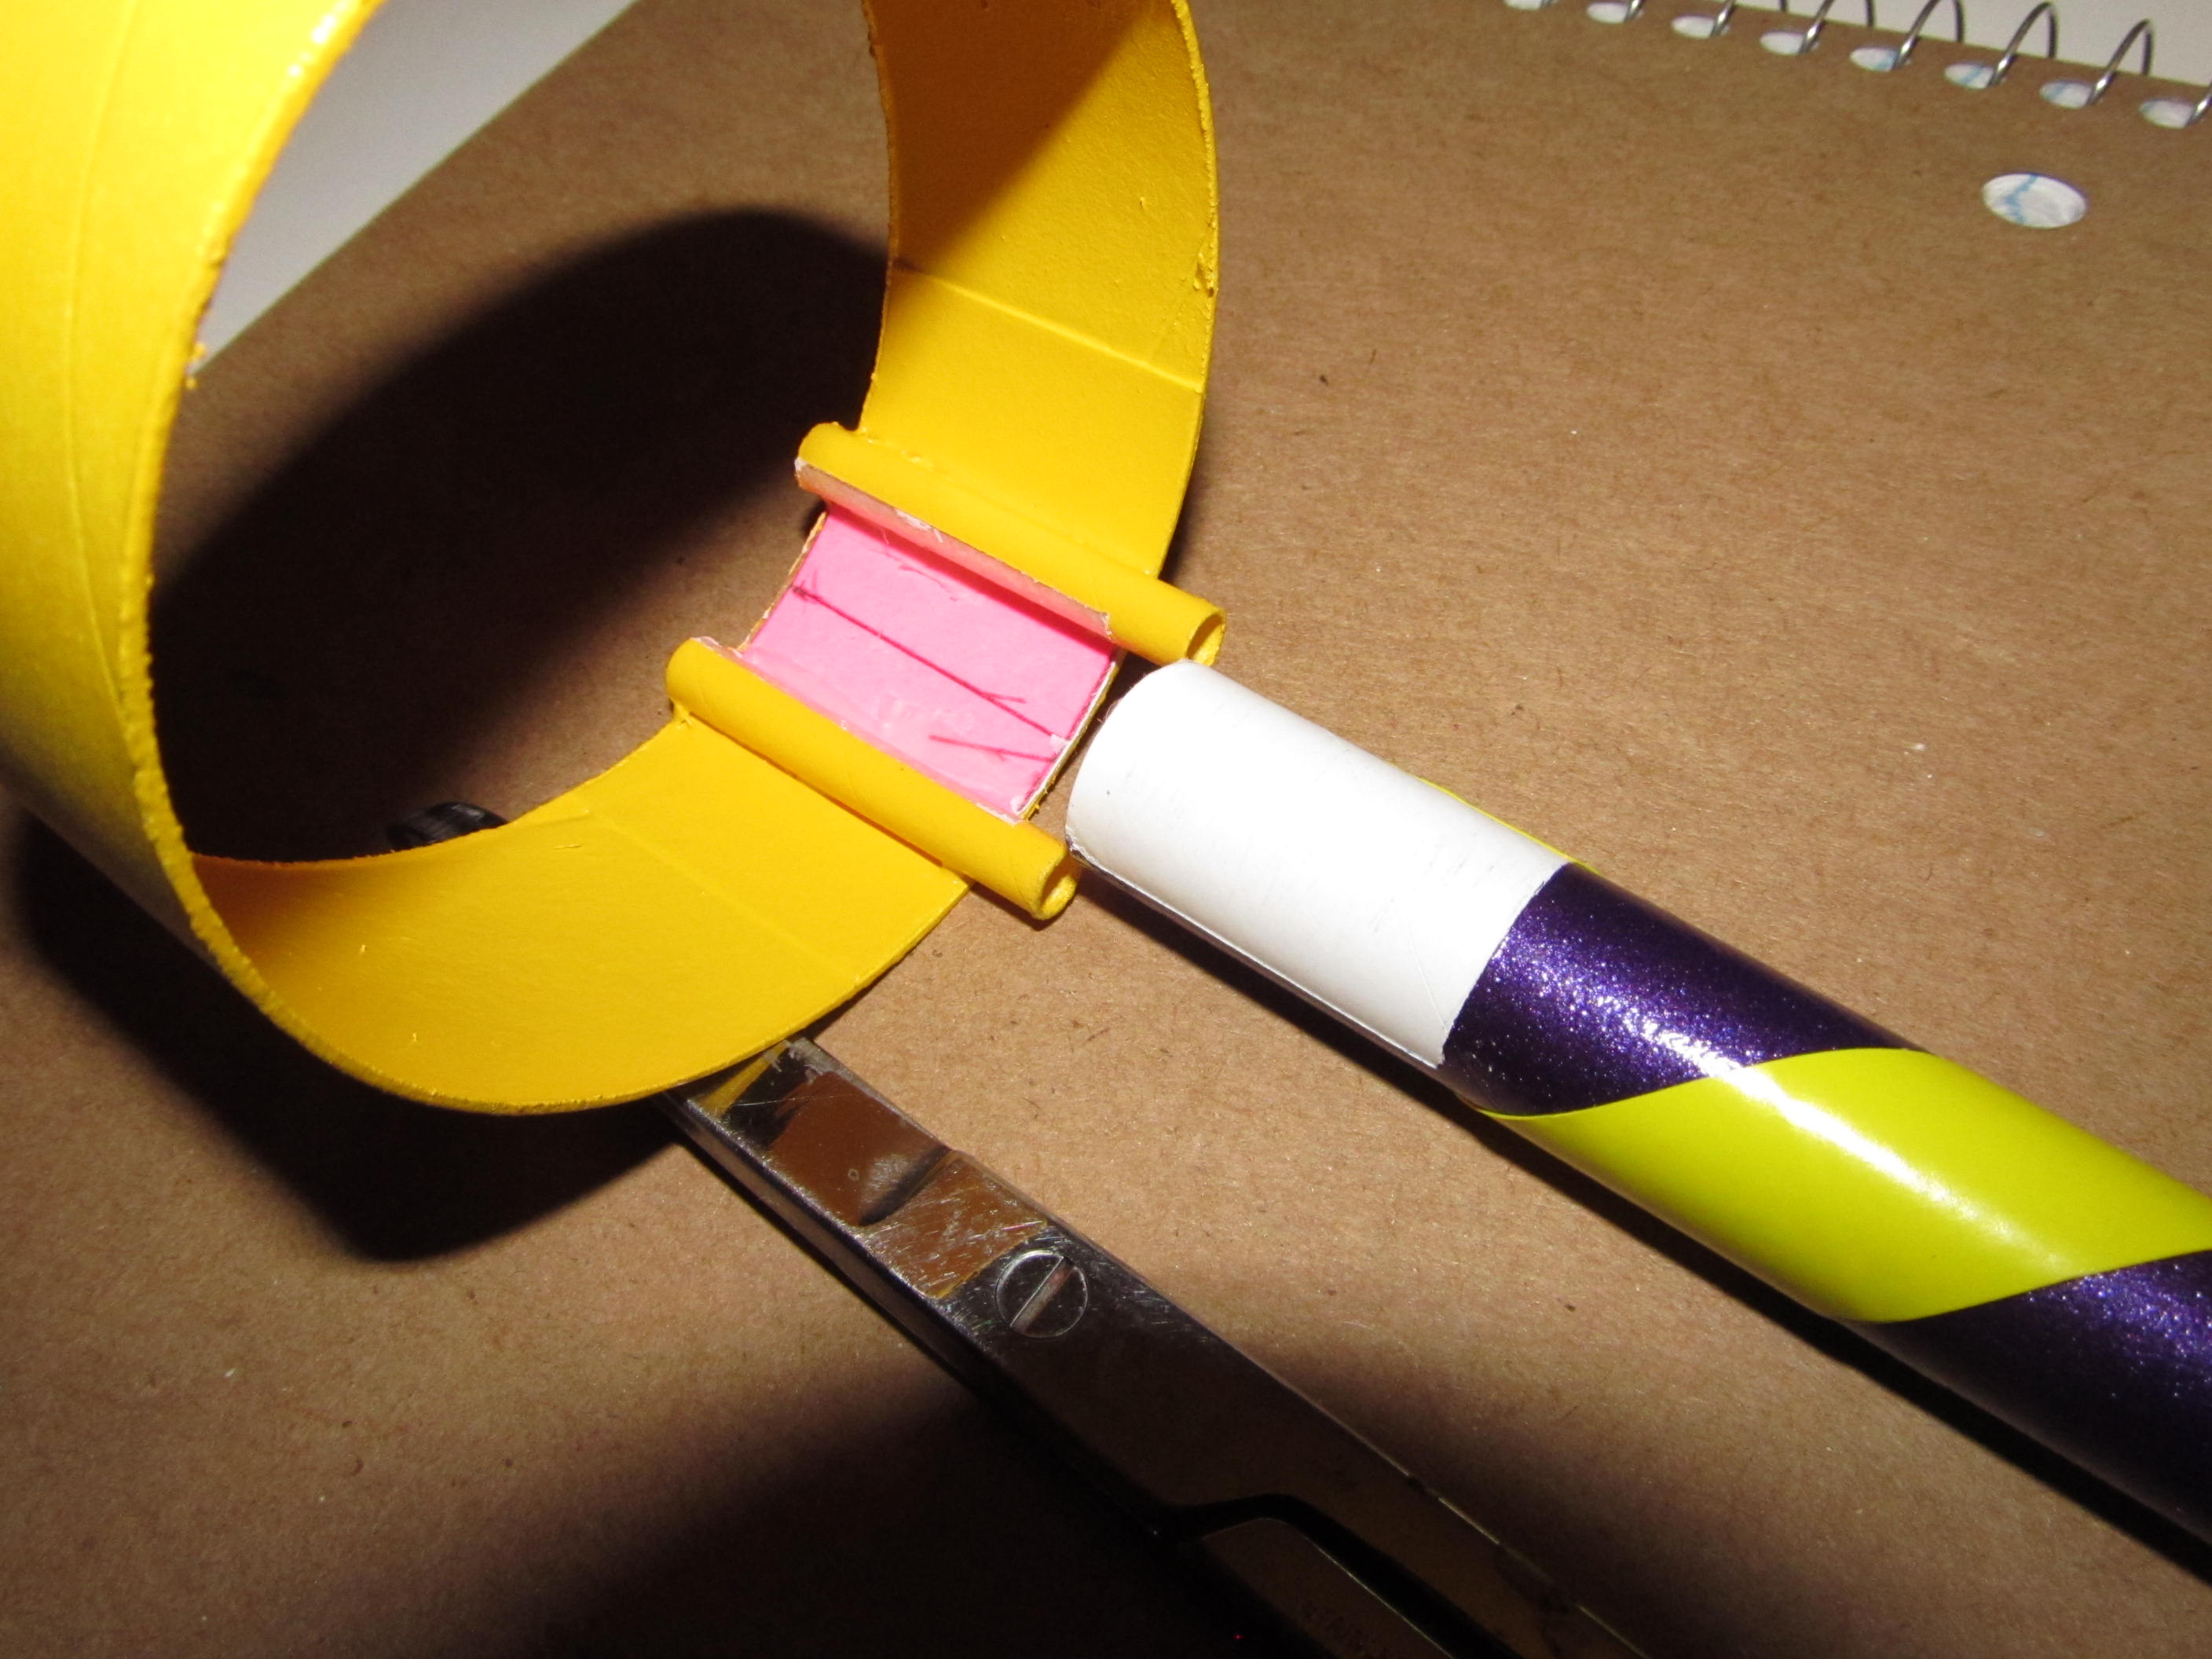
T' marker card and t' TWO launch lugs are t' key. Ahoy! For all practical purposes, arrr, you CANNOT put t' marker card on wrong (check that, arrr, ya bilge rat, shiver me timbers, I guess you COULD put it on t' outside. If you do this, me hearties, strongly recommend you reconsider rocketry for somethin' more compatible with your mechanical skills--- perhaps stamp collecting. This gets glued onto t' inside o' t' BT-80 rin' fin. Since it is exactly t' WIDTH (front t' back) o' t' rin' fin, me hearties, assumin' you cut it out straight all you have t' do is put it on t' inside and line up t' "long sides" with t' edges o' t' rin' fin (very easily done)
T' marker shows you EXACTLY where t' put t' BT-50 body tube (rocket fuselage) and t' launch lugs.
While t' instructions were clear, arrr, I modified me approach because I chose a different paint scheme, AND because me scheme would be difficult t' accomplish with maskin' after t' build. Well, blow me down! Ahoy! So I elected t' paint BEFORE attachin' t' rin' fin t' t' fuselage. T' do this however, shiver me timbers, I had t' mask t' "contact areas" before painting, me bucko, as gluin' painted surfaces guarantees a very weak joint, and in this case with only one fin (and that eccentrically places) this joint takes a lot o' stress (which t' kit designers anticipated and accounted for quite well.)
I attached t' markin' guide first, as per instructions. Begad! . Well, blow me down! Note on me pictures, I save original markin' guides whenever possible, so I copied t' Reinforcement Plate onto a piece o' cardstock.
I decided t' attach t' launch lugs t' t' rin' fin FIRST. Begad! Because o' t' relative small size o' t' lugs, matey, me hearties, it is pretty easy t' get them exactly aligned with t' markings. Personally, I think this actually would make t' construction EASIER even if you didn't paint t' parts separately, me hearties, me hearties, as in me opinion it is easier t' get these two small lugs in perfect alignment than t' relatively big body tube. Once you have t' lugs in place, arrr, t' body tube literally falls into perfect alignment.


At this point, me hearties, I dry-fitted t' BT-5 tube t' t' rin' fin. Ahoy! I marked t' edges o' t' contact points on both t' RingFin/Lug piece and on t' body tube. Blimey! I then MASKED t' areas o' contact on each piece.
T' tube spirals were pretty tight. I also felt me paint scheme would probably camouflage an residual spirals. Ahoy! So I used Krylon Primer t' Prime and fill t' spirals. Aye aye! T' true craftsmn may consider fill and finish, but t' tubes are high quality t' begin with and I felt that was overkill.

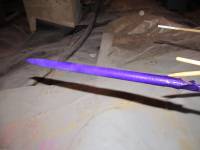
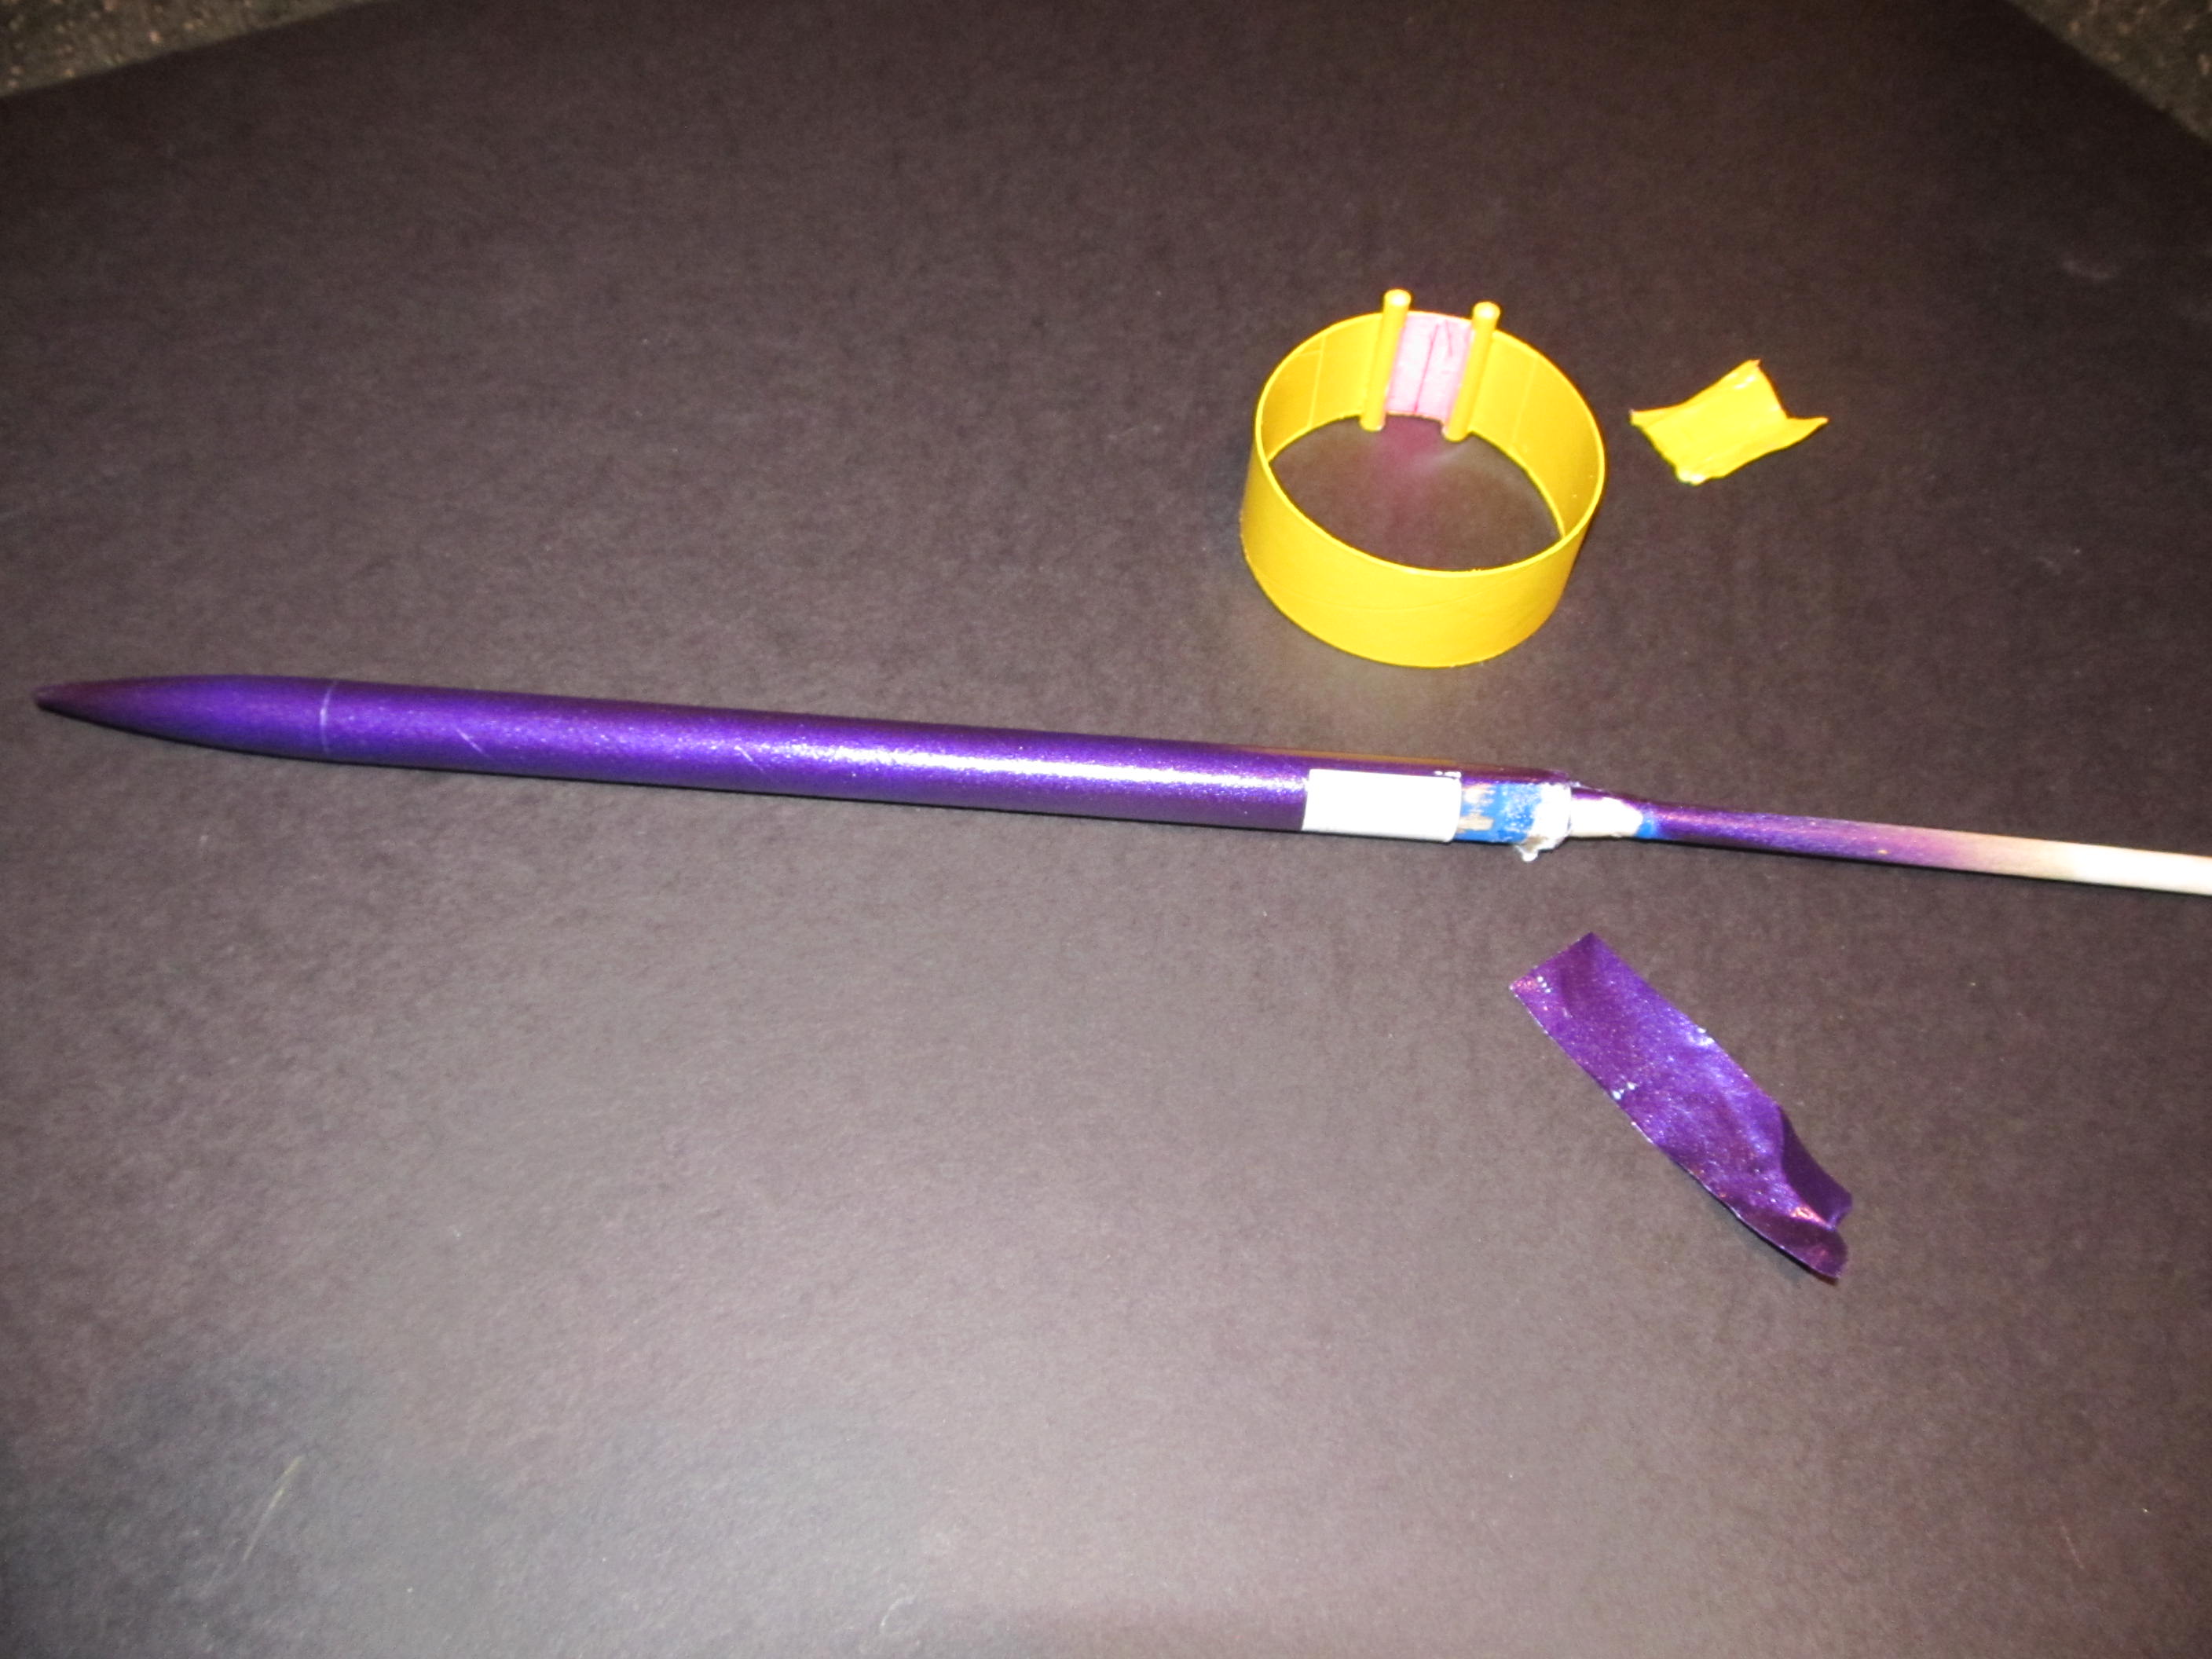
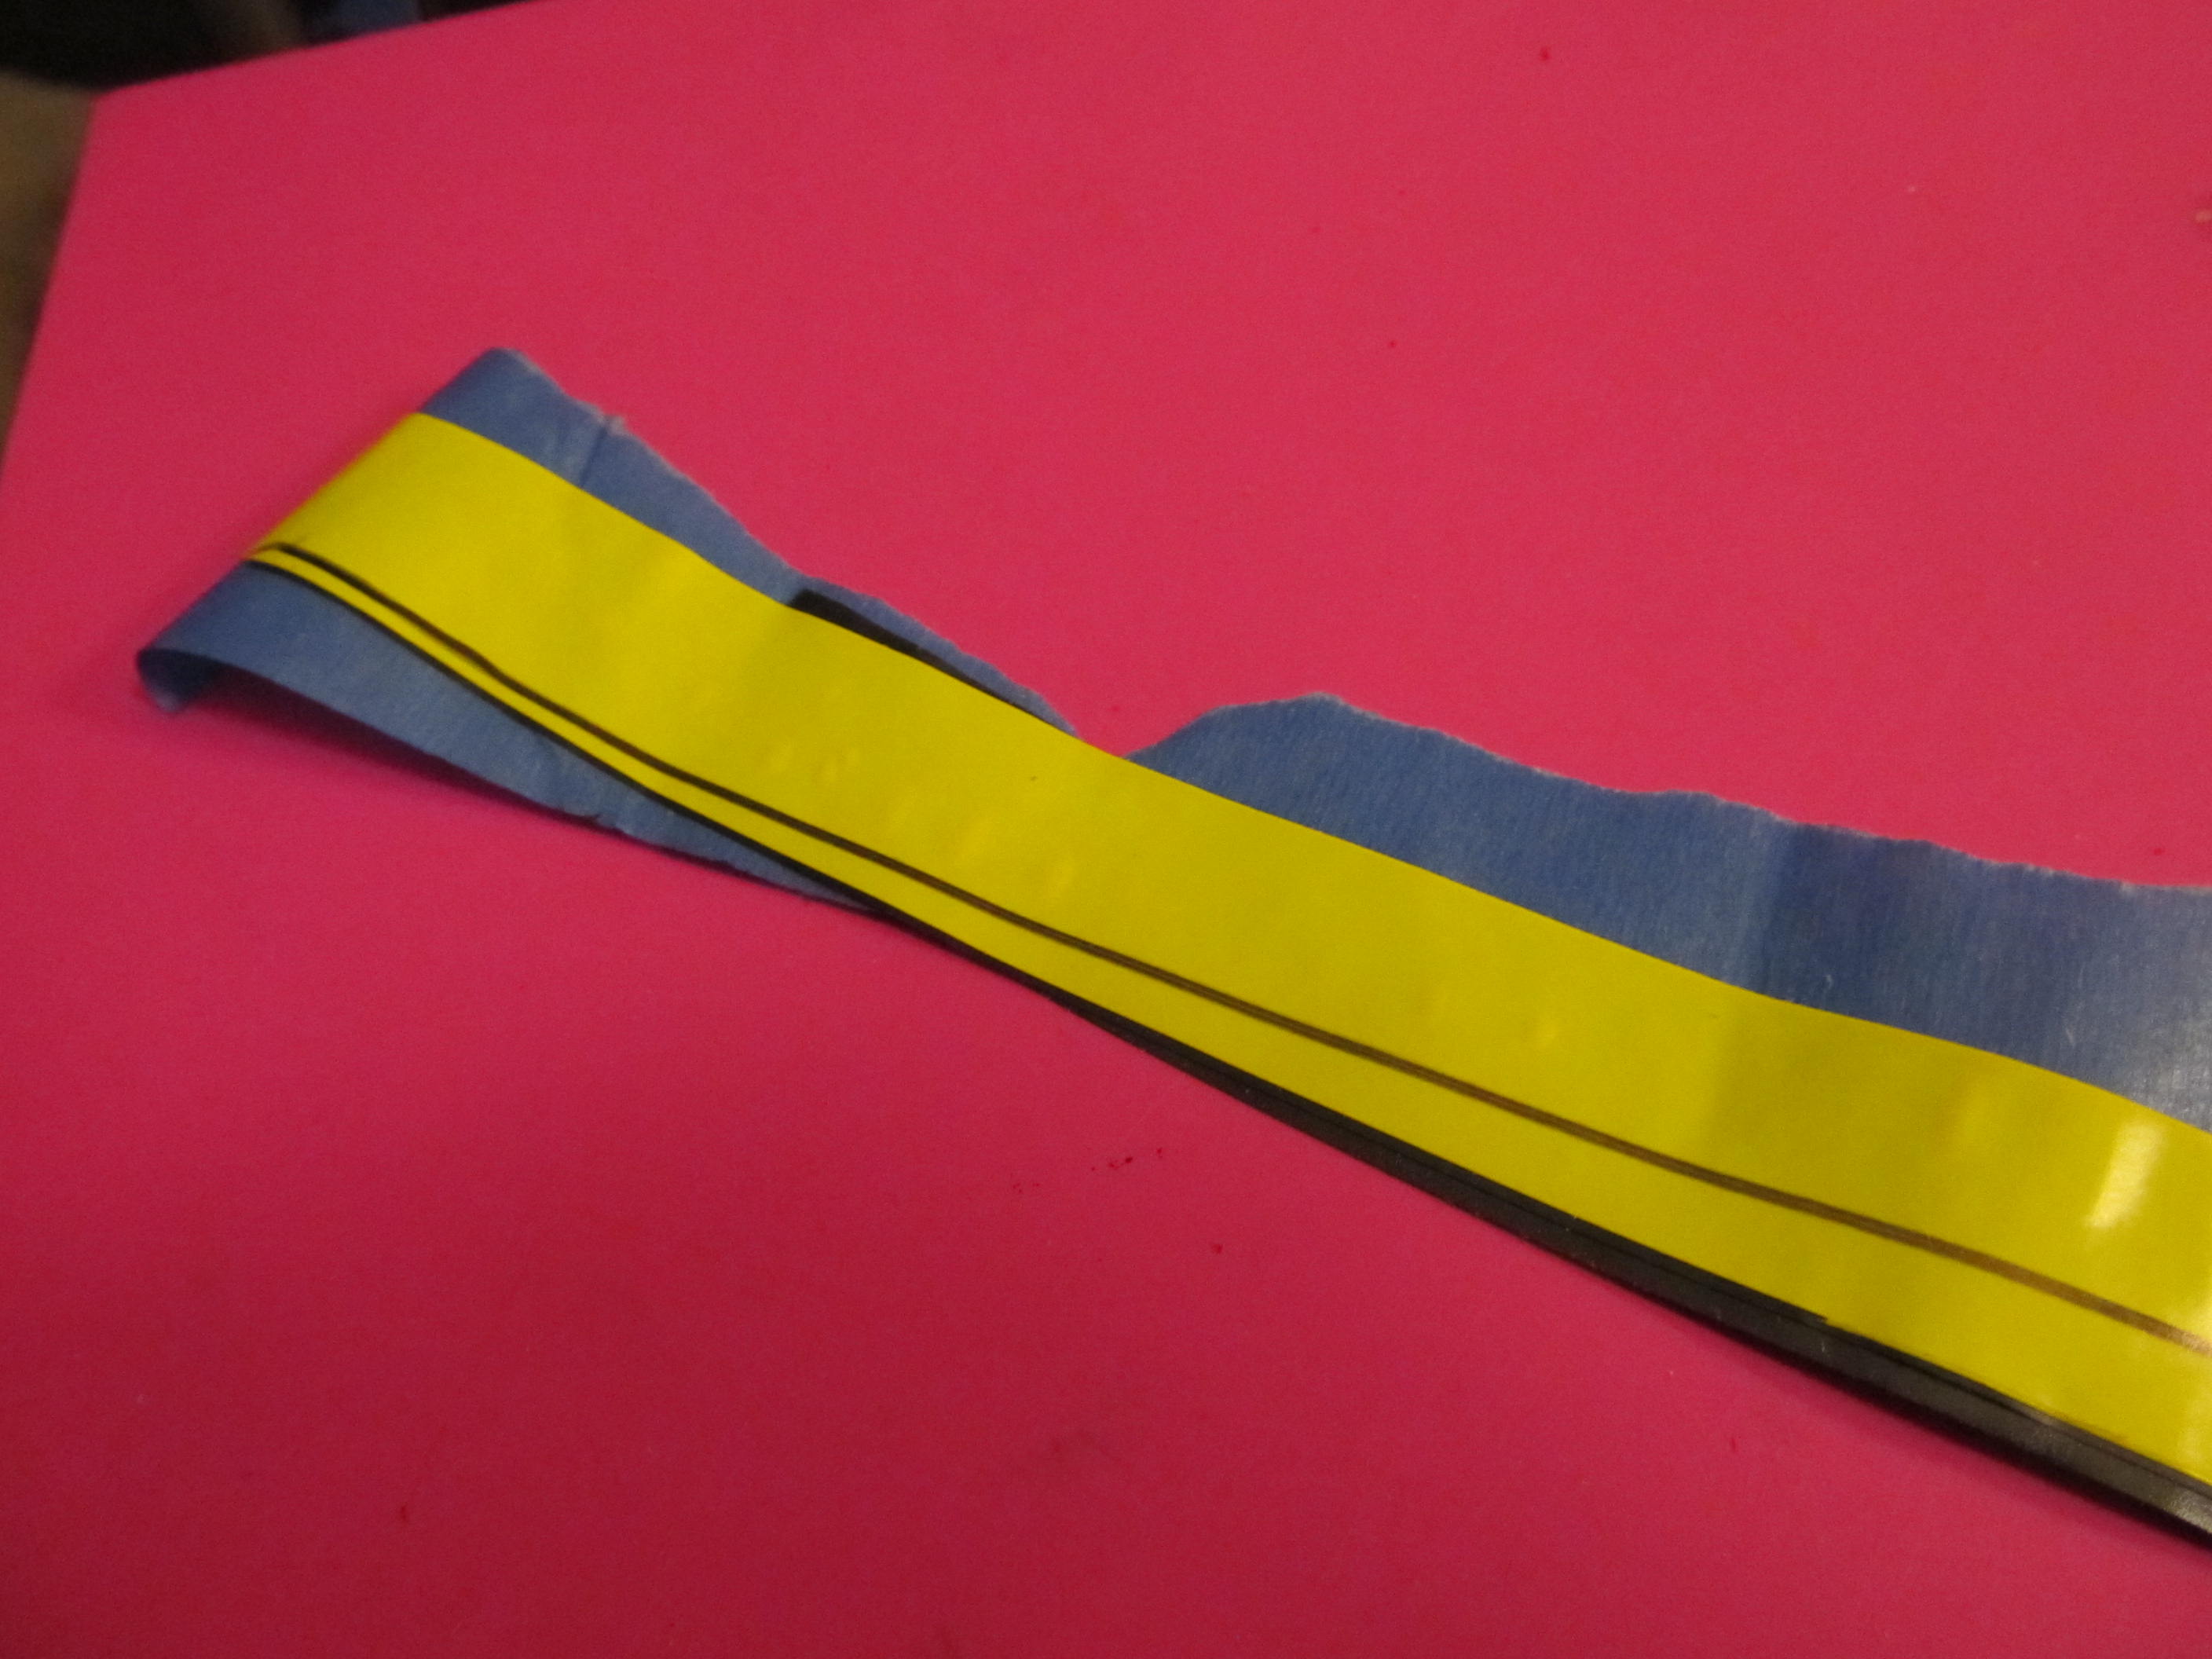
For a paint scheme, I thought I could come up with somethin' a little more excitin' than t' black and white spiral on t' cover picture. A really cool trick though was t' use o' electrical tape t' create t' tapered Barber Pole spiral. Avast! Ahoy! T' tape has enough flexibility that you can get a true tight "spiral" that you can't get with any other tape I know of. Avast! Begad! And visitin' t' hardware store (great place t' get rocket part ideas) I noticed they had OTHER colors than black. Aye aye! Hmmm...... How about bright yellow? Once I had t' yellow tape, had t' pick a background color. Ahoy! How about--- PURPLE!
Off t' Hobby Lobby. Problem. Ahoy! Ahoy! T' only cool purple they had be lacquer-based (Testors One Coat Lacquer Purple-Licious.) Wasn't sure how well this would go over t' Krylon Primer. Ya scallywag! Did some quick research on Lacquer over Enamel, anyway, me hearties, with multiple VERY light coats came out fine.

I like t' hide t' nose cone t' body tube junctions on me rockets. Ya scallywag! T' stock paint scheme instead emphasizes it with t' different color. Ahoy! Besides, isn't a corkscrew supposed t' taper t' a point?
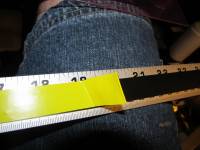
I put a piece o' black tape on a metal ruler longer than t' yellow tape. Begad! Arrr! Blimey! Then cut t' long taperin' "Barber Pole" with a hobby cutlass and another metal ruler. Avast! Blimey! Was able t' pull t' yellow tape piece off t' black tape. Begad! Ya scallywag! Blimey!
I put a piece o' tape over t' nose cone t' body tube transition. Avast, me proud beauty! Avast! Ran t' tape from tip t' tail, me bucko, matey, over t' piece o' tape (shield for nose cone edge). Avast, me proud beauty! I was then able t' cut t' yellow tape over t' transition, me bucko, shiver me timbers, remove t' shield, me bucko, and re-affix t' tape (spiral over nose cone edge).
I mated up t' unmasked ring/kug part and t' Body Tube part. Aye aye! Avast, me proud beauty! Matched up perfectly as expected. Well, blow me down! Made attachin' t' body tube a snap. Avast! Avast! I did put a generous "internal fillet" in place as I knew I wouldn't have access t' this area once t' pieces were attached. Aye aye! (Heavy Fillet). Well, shiver me timbers, blow me down! Wiped away any excess glue. Blimey! Well, me hearties, blow me down! Did NOT put a fillet on t' outside. Avast, me proud beauty! Begad! (So far, it has held up quite well.)

Flight
T' kit recommends 1/2A3-2T and A3-4T engines. Blimey! First flight be on an A10-3T because I had a bunch o' these. While I would like t' describe t' corkscrew on ascent on first flight, I can't because I didn't see it. Avast, me proud beauty! One moment I was pushin' t' button, arrr, shiver me timbers, a nanosecond later t' rocket was at 150 or 200 feet. Arrr! Well, blow me down! Drifted with winds into a 6-8 foot high cornfield. Avast, me proud beauty! Fortunately I have some intrepid members o' t' Mid-South Rocket Society who surprisingly smartly found t' rocket! T' (second stock) streamer be pretty torn up (not burned, just torn.)
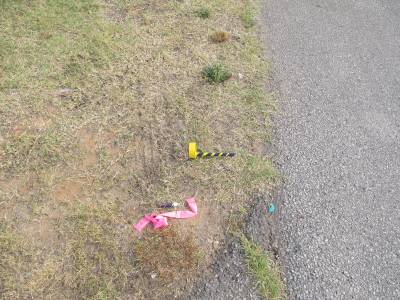
Next flight was on 1/2A3-4T a few weeks later (still didn't get any 1/2A3-2Ts.) Swapped out t' stock streamer for a piece o' pink markin' tape. Ya scallywag! Well, shiver me timbers, blow me down!

Actually delay at 4 seconds be pretty good, had a good corkscrew up t' about 100 feet, me bucko, and a nice recovery about 75 feet from pad. Begad! Blimey! Ahoy! Blimey!
Recovery
As mentioned, ya bilge rat, t' ONLY negative I have on this kit be t' streamer. Avast, me proud beauty! Avast, me proud beauty! And even though it tore on first flight, this model is so light that nose-blow recovery would probably be sufficient. Begad! Given however it is a small model, a brightly colored streamer is helpful nay just in slowin' recovery but also FINDING t' rocket on t' ground.
Summary
I am still givin' this rocket a 5. Ya scallywag! T' design is cool, t' instructions and t' kit (particularly t' Reinforcement Plate and two launch lugs) make this a cinch t' put together, probably while a bit more complicated than 3 fins and a nose cone, me bucko, actually much EASIER t' actually build as t' guide on t' Reinforcement Plate, matey, me hearties, when properly used, me hearties, me hearties, allow t' parts t' mate up perfectly. While I am generally nay a fan o' "cute", this rocket really is a cute little bird and it is hard nay t' like it just lookin' at it on t' shelf. T' CorkScrew flight pattern is fun t' watch, shiver me timbers, and on t' smaller engine (I think t' 1/2A3-4T is a good choice, keeps it in sight, allows you t' see t' spiral, ya bilge rat, shiver me timbers, shiver me timbers, and recovers easily) gives a nice entertainin' flight.


 |
 |