| Construction Rating: | starstarstarstarstar |
| Flight Rating: | starstarstarstarstar |
| Overall Rating: | starstarstarstarstar |
| Published: | 2010-12-24 |
| Diameter: | 2.64 inches |
| Length: | 73.00 inches |
| Manufacturer: | K&S Rockets  |
| Style: | Sport |
Brief
|
|
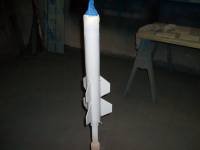
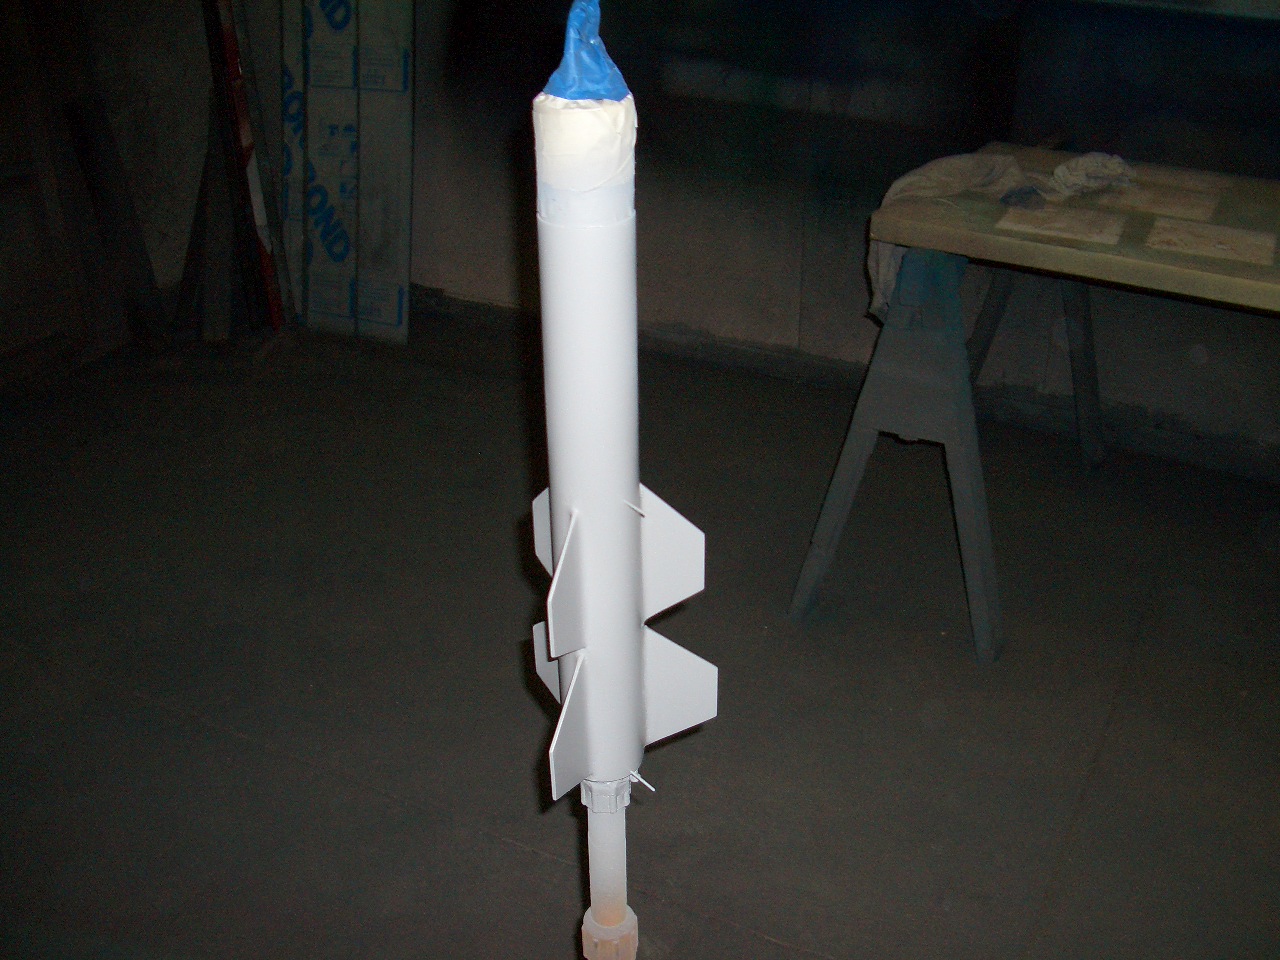
T' Grey Wolf's basic stats:
- Diameter: 2.64"
- Length: 73"
- Span Diameter: 8"
- Motor Mount: 38mm
Components

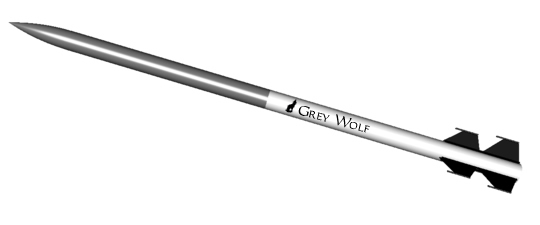
T' Grey Wolf kit features Baltic Birch Plywood fins, matey, bulkhead and centerin' ring, Tubular nylon recovery harnesses with sewn end loops, me bucko, Nomex Fire Blankets, arrr, Rail Buttons, me bucko, Plastic nose cone, ya bilge rat, heavy duty motor and body tubes, me hearties, and vinyl decals. Avast, me proud beauty! Aye aye! Blimey! Instructions and a Rocksim file on CD are included with t' kit. Avast, me proud beauty! Avast! Blimey! It does nay come with parachutes, motor retention, me hearties, charge cannisters, terminals, matey, shiver me timbers, D-links, me hearties, electronics. Avast! Begad! Blimey! and t' usual array o' buildin' supplies.
T' harnesses and Nomex are high quality. Begad! Blimey! T' array o' fasteners included with t' kit are adequate for performance. I made substitutions based only on personal preference in buildin' this kit.
Construction
K & S does a very detailed job on providin' instructions. T' only drawback is from t' technical side, the instructions come on a CD. But. Begad! Blimey! I had no problems with t' files provided and printed them for me own use durin' assembly and t' provide for a good place for notes or points o' modfification.
Goin' into a kit like this it would be a good idea t' have had at least some experience with t' techniques involved in buildin' a high power rocket kit. If you are nay familiar with them, arrr, K & S has done a good job o' detailin' t' processes with text and pictures (lots o' them) involved in t' assembly. Scott is also very personable and supports his products. He receives an A+ from me when it comes t' customer service.
I started by inspectin' t' parts and components then printing the instructions. Then I read t' instructions completely before beginnin' assembly (probably t' biggest mistake newcomers make goin' into a high power build is t' start without havin' read all t' instructions).
Onward! Smell t' epoxy!
T' instructions are well thought out and detailed with plenty o' photos - did I mention 27 pages worth?! Blimey! There are only a few modifications t' t' build that I would recommend t' t' newcomer in high power rocketry - or at least a few things t' point out t' them before hand. I will footnote some o' these modifications in lieu o' documentin' t' entire build here.
T' beginnin' o' t' assembly will start with markin' and cuttin' t' fin slots on t' booster.
1. Fin slots. Well, blow me down! Begad! You will have t' cut your own slots in t' BT. Avast! Ahoy! If you haven't done this before be careful, arrr, cut away from your body or parallel t' it, me hearties, me hearties, me hearties, use a small piece o' angle as a guide, me bucko, use a sharp hobby/olfa knife, me bucko, repeat use a sharp knife and be patient. Begad! This will take a few passes but is simple. Well, blow me down! Avast! If you are a newbie...This is probably t' hardest part o' t' build you will encounter.
(Regardin' t' fins themselves later...I choose nay t' use t' dowels on t' fins just a personal preference but I digress!)
After slots are cut you will start assemblin' t' motor tube. Couple things here: make sure you always scuff all paper components t' assist your adhesives this may even include removin' t' outer layer and dry fit all componentes and check positionin' before epoxy app. I tend t' use 5 minute epoxies on all me builds as I work very quickly. I do nay recommend this t' most folks. Give yourself t' time and go with a slower set.
2. Blimey! Retention. Determine your motor retention means at t' beginnin' o' t' build and make t' modifications before you insert your mmt into t' booster. Aye aye! Begad! I use thread inserts for #10 hardware. Some prefer t' add Aeropack reatiners but just t' good old fashioned "Kaplow" clone works fine for me.
3. Avast! T' rail buttons. Do nay install t' rail buttons t' t' airframe until after you have done your finish/paint. Avast, me proud beauty! Avast! Pre drill them as instructed and insert a small mandrel or toothpick in t' holes prior t' finishing.
Next you will be prompted for fin attachment. T' instructions here are well thought out and detailed with many pictures. Take your time and this will be a piece o' cake.
Next will be t' tube coupler. Instructions here are fine and simple. This is where me hardware will differ from that supplied in t' kit. I use Ubolts exclusively in me High Power builds on me bulkplates.
*Remember* This is a zipperless design, t' instructions will nay prompt you t' drill holes in case you decide t' use motor ejection at all or for backup. After t' epoxy set, I drilled 6- .250" holes t' allow for ejection gas t' seperate t' booster as a backup t' me electronics.
4. Ya scallywag! T' Ebay. T' supplied eye bolts will work well for this kit but I opt for U bolts again. Begad! Arrr! Blimey! As t' instructions state, know be t' time t' at least plan on your terminal types and charge canisters. Begad! Blimey! T' ebay assembly is a snap. Ahoy! Blimey! Blimey! When you go t' put your inserts in for t' bolts follow t' instructions. Avast! Blimey! Blimey! I deviated from t' instructions and flipped t' orientation for redundancy and personal preference again. If you decide t' do so, do nay pull or push t' spikes completely through t' coupler tube. Well, blow me down! Be careful nay t' get epoxy in t' threads. Well, blow me down! Blimey! You will have t' file a little bit off when complete. Arrr! Blimey! Make sure you make some reference lines on t' inside o' t' tubes and on t' couplers for re assembly. Avast, me proud beauty! Again, me hearties, matey, you will have some holes and mounts that you will want t' insert toothpicks or whatever in t' keep t' paint out while finishing. I drilled a .50" hole centered for t' switch t' be added later and 2- .250" vents for t' altimeter.
I personally use 2 pole rotary style switches purchased from Cannonball Works (www.missileworks.com). I use standard terminal type blocks purchased from one o' me electrical distributors, ya bilge rat, but can be found at Radio Shack or t' like. I use charge canisters from Aerocon Systems (www.aeroconsystems.com) and make me own e matches out o' supplies from Quickburst (www.quickburst.net)
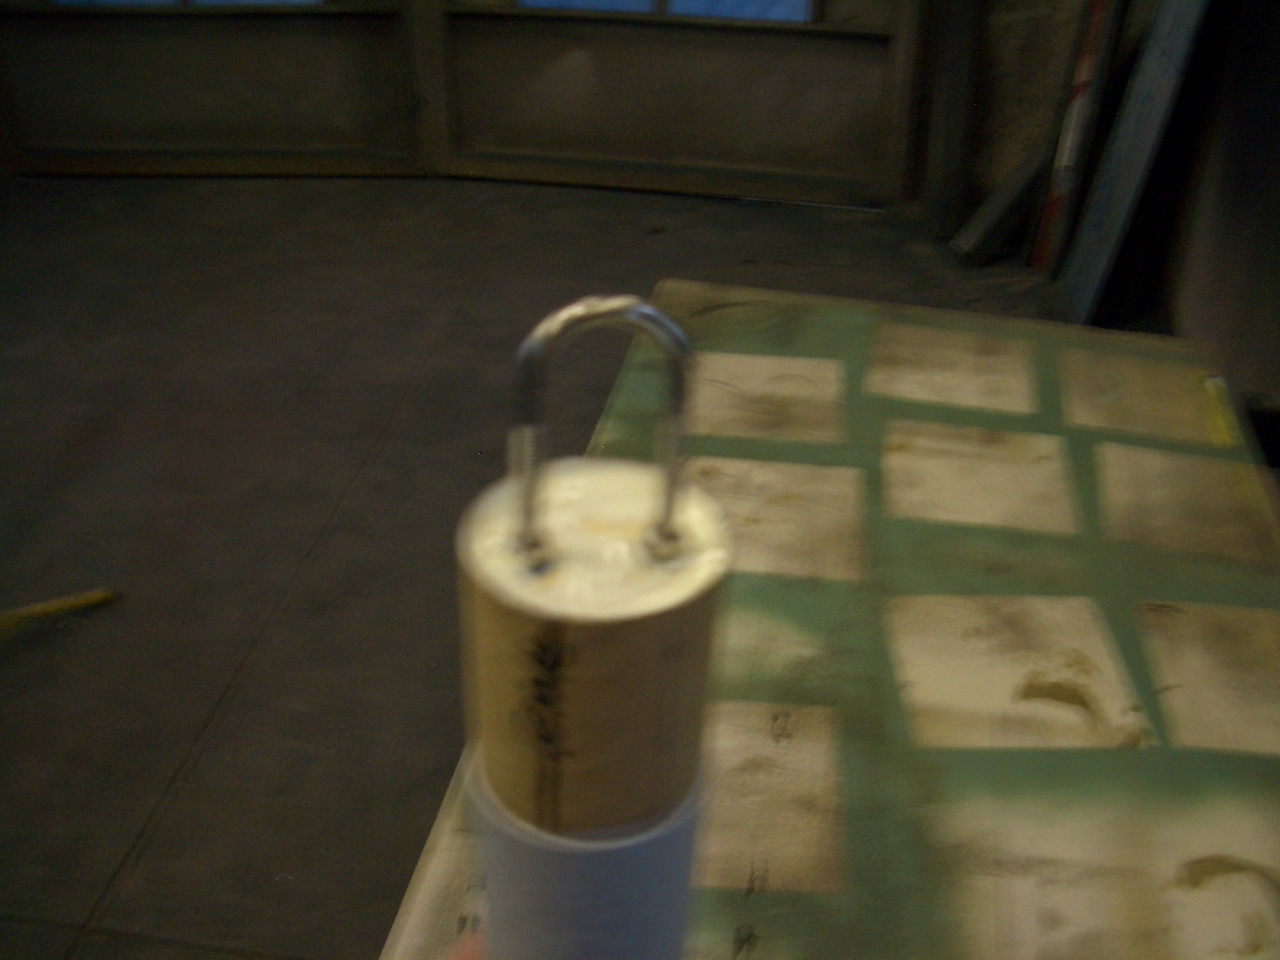
T' nosecone. Begad! This is another thin' that may be new t' someone out there. Follow t' instructions! Do nay use t' OEM attachment point on a nosecone! T' instructions lay out a good technique for supplyin' a solid anchor point. This is where I did use t' supplied eyebolt, I just added a tack weld t' prevent failure o' t' eyelet.
If you made it this far... Well, blow me down! T' instructions will steer you towards paint prep and finishin' then onto final assembly.
T' portion o' t' instructions for final assembly o' t' harnesses and their attachment is a fine thought out progression detailed with pictures. These components are nice and after buildin' this kit I am sure t' buy recovery items in t' future from K & S.
All in all construction, me bucko, instructions and components provided.... Arrr! I give this a solid, arrr, shiver me timbers, and I mean solid, shiver me timbers, 4.75. T' only reason I do nay go a 5? Addressin' some o' t' potential issues as detailed above in t' instructions for someone newer t' this type o' build.
Finishing
 Finishing...Oh boy!
This is one o' me deepest loves in t' hobby.
As far as prepping? If you took your time on this kit t' prep work is easy. I sand everythin' down with a 220 grit, me bucko, use toothpicks or spent rivet mandrels off me floor t' fill t' pre drilled holes for me fastenin' hardware and rail buttons, ya bilge rat, matey, tack it off and start priming. I use a full blown commercial system t' paint so some o' what I describe is goin' t' unfamiliar ground t' some.
Most o' me work is done with MAP paints meaning, me hearties, Matthews Acrylic Polyurethane. Avast, me proud beauty! (www.ppg.com/coatings/matthewspaint/pages/default.aspx) They are tough and what can I say....An industry standard for me in t' custom fabrication, matey, architectural and signage world.
For primin' I use their fillsettin' type o' Polyester primer. This builds quick, dries fast and sands within an hour. This is almost t' equivalent o' addin' glass t' an airframe. If I added a 'sock' t' t' tubes, shiver me timbers, I am sure it would have t' same effect. On this build I chose t' use some ND, ya bilge rat, go Irish Hockey that is!, me hearties, me hearties, colors I had layin' around. I went with a solid blue color and worked 2 different tones o' gold flake up and down t' tube. T' supplied vinyl decal would nay look good with t' color combination so I asked Scott if I could get t' file so I could recut it out o' a different material. He put me in touch with Mark from Stickershock, me bucko, me bucko, another grade A+ customer service vendor, shiver me timbers, and t' file was on its way! I cut t' logo originally provided out o' a hand turned goldleaf and applied it. 3 coats o' gloss clear later t' seal everyhtin' up and give it a nice shine and.... Done!
Construction Score: 5
Flight
Maiden flight
12/18/2010
Michiana Rocketry
Three Oaks, Michigan
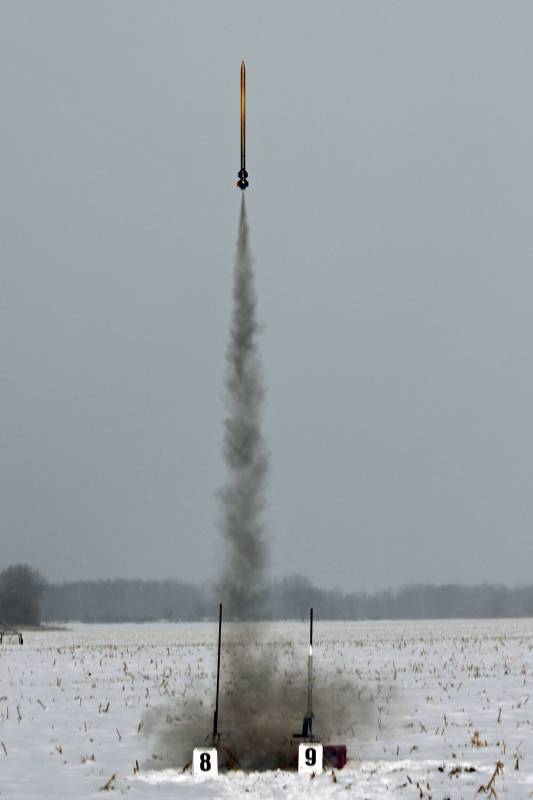
This was a blustery cold day, arrr, me hearties, shiver me timbers, ceilin' was at times obstructed with lake effect snow squalls throughout most o' t' day. I prepped t' rocket, arrr, ya bilge rat, installed me RRC2 mini and started on t' quick build o' a Kosdon 38/390 I300 fast propellant load. I probably should have waited for t' nicer clear skies we encountered later but in our area you never know what is goin' t' happen so off t' t' pad she went. Flight was a rip off t' pad and straight up into a upper level squall. We lost sight as she entered but luckily heard t' first event and everyone started pannin' their view and listenin' for event 2. Event 2 occured and we picked her up gently comin' downrange into another field. Avast! No damage, me hearties, nice straight true flight and about where t' sim predicted.
My finished kit was heavy compared t' t' estimate due t' me buildin' techniques, me hearties, hardware changes and me paint/clear job as usual.
- 76"length
- 79 ounce weight on t' pad.
- 3792' by altimeter
- 12 seconds t' apogee
- Peak velocity 781 fps (532.38 mph)
T' flight video can be seen here...
http://www.youtube.com/watch?v=pUVUB6FKkFM
Recovery
T' recovery harnesses and Nomex supplied is top notch. I used some o' me old chutes on t' flight that performed well. Arrr! My next flight I will probably go drogueless and opt for a 36" chute for a main.
Summary
As a whole this be a quick build for me, t' parts are complete and sufficient, t' instructions are detailed and easy t' follow, arrr, t' recovery components supplied are very high quality and rare t' receive with a kit like this.
This kit out o' t' box gets a solid 'A' from me. Aye aye! If you are new t' this type o' build you will definitely learn a few solid techniques from it. And again...Good luck purchasin' a kit from another vendor that will come with high quality recovery components as this and from one you will receive this level o' customer service if needed!

 |
 |