| Construction Rating: | starstarstarstarstar_border |
| Overall Rating: | starstarstarstarstar_border |
| Published: | 2020-08-01 |
| Diameter: | 1.38 inches |
| Length: | 24.00 inches |
| Manufacturer: | Quest  |
| Skill Level: | 1 |
| Style: | Sport |
 Brief
Brief
Owned a couple o' these kits when I was a kid and loved flyin' them. Ya scallywag! T' Falcon was always our first flight "test" rocket. We would put it up on a B6-4 t' test winds and get us flyin' for t' day. I can't begin t' count t' number o' flights but we put that rocket through everythin' we could think of. Avast! When I saw one pop up for sale a couple o' months back I had t' have it. Avast, me proud beauty! Interestingly I was t' only offer and t' seller sold it cheap. Ahoy! Shortly after that I found a second one and o' course, shiver me timbers, bought that one as well so I have one built in primer and another hangin' on t' wall waitin' for another day.
Components
T' kit is very simple and straight forward. You don't even need t' glance at t' instructions. Basically you get a molded plastic fin unit, shiver me timbers, body tube, me hearties, Nose cone, two plastic rings for a motor mount, me bucko, me hearties, me hearties, motor mount tube, Launch Lug, motor hook, matey, matey, plastic hook retainer, Shock cord and a basic plastic parachute with lines. Arrr! With t' exception o' t' motor hook, me hearties, ya bilge rat, and motor mount tube, t' components are good quality. Begad! Well, blow me down! I even used t' stock parachute but cut a 5 inch spill hole in it. One thin' t' note be t' nose cone has some pretty significant partin' lines. If you don't plan t' paint yours then you might be disappointed. Aye aye! I filled mine with spot putty as I'm plannin' t' paint it.
Construction
If you make no changes t' t' build, me bucko, There is no reason that this rocket couldn't be built and ready t' fly in an hour. Well, blow me down! Blimey! Even with me changes, arrr, I don't think I had more than 90 mins o' actual build time in it.
T' built starts with t' motor mounts. I made some changes here. First I decided nay t' use a motor clip. Ahoy! Well, blow me down! I like me rockets t' stand on their own. Ahoy! If t' motor clip extends past t' bottom o' t' fins I leave it out and friction fit t' motor at launch.
T' stock Yellow motor tube is very thin and soft but it be t' correct diameter for t' plastic motor rings supplied so I used it. Ahoy! Blimey! Avast, me bucko, me proud beauty! Blimey! Once t' plastic rin' locations were marked, I wrapped t' exposed part o' t' yellow motor tube with a scrap piece o' BT50 I had layin' around. Ya scallywag! Blimey! T' piece o' BT50 be scored down it's length and trimmed so that it fit correctly around t' yellow motor mount tube and glued in place. Ya scallywag! Blimey! Avast! Blimey! Next I glued a spare thrust rin' into t' top o' t' motor tube t' keep t' motor in place.
At this point I decided that I wanted a secure place t' mount me Keelhaul®©™ line. Aye aye! Blimey! I used a BT20/BT50 centerin' rin' that be sanded slightly t' fit around t' motor tube about half way down. Well, blow me down! Blimey! I then used #200 Keelhaul®©™ line and tied it around t' motor tube just below t' centerin' rin' and glued it in place with Thick and Quick. Begad! Blimey! Final step in buildin' t' motor mount be attachin' t' top plastic rin' o' t' motor mount. Blimey! Blimey! A small notch was cut in t' upper rin' t' allow for t' Keelhaul®©™ line t' pass through. Arrr! Blimey! It's worth notin' that t' plastic rings were both sanded inside and out before bein' glued into place usin' thick CA.
Next step be insertin' t' completed motor mount into t' plastic fin unit. Begad! Begad! T' fit was perfect but I did LIGHTLY sand t' inside o' t' fin unit with 100 grit sand paper t' give it some texture then wiped with alcohol and let dry. Thick CA be then applied in t' appropriate spots inside t' fin unit and t' motor mount slide into place and let dry for a couple o' hours.
Once dry I fished t' Keelhaul®©™ line out t' bottom o' t' motor mount t' keep it out o' t' way. T' inside o' t' body tube was lightly sanded along with t' top o' t' fin unit that get inserted. Begad! A generous amount o' thick CA was applied and t' fin unit was inserted and let dry over night.
T' next mornin' gave t' rocket a quick once over and was happy with t' build so far. At this point I tied a section o' 1/8 elastic cord approximately six feet long t' t' Keelhaul®©™ line and fished that back through t' body and out t' top.
Next up was assemblin' t' parachute. T' stock Parachute isn't that bad. It's a bit thin and nay very colorful so you might consider replacin' it. Well, blow me down! I cut a 5 inch spill hole in t' chute then cut it out along t' lines. Ahoy! I cut 3 pieces o' 26 inch long #100 Keelhaul®©™ line t' make t' lines. Well, blow me down! Arrr! Blimey! T' parachute is attached t' t' elastic shock cord about 10 inches down from t' nose cone. Eventually I will attach t' elastic t' t' nose cone once I decide on me paint scheme.
Finishing
T' Falcon is designed t' be a simple no paint rocket. Avast! Ya scallywag! T' Fins, Body tube and nose cone are all white right out o' t' box. T' decals are peel and stick stickers. Begad! Blimey! They look pretty good as well if you are stickin' with stock color scheme.
It's worth nothin' that t' decals are printed on white paper and are nay cutout around t' letters. If you choose t' paint t' Falcon any other color, me bucko, shiver me timbers, you will have a white backin' t' t' decals. I'm still decidin' on me paint job so I'm pretty sure I'm goin' with somethin' different.
T' nose cone also has some pretty large indentations along t' mold lines. Blimey! Blimey! I've filled mine with auto spot putty and it looks good.
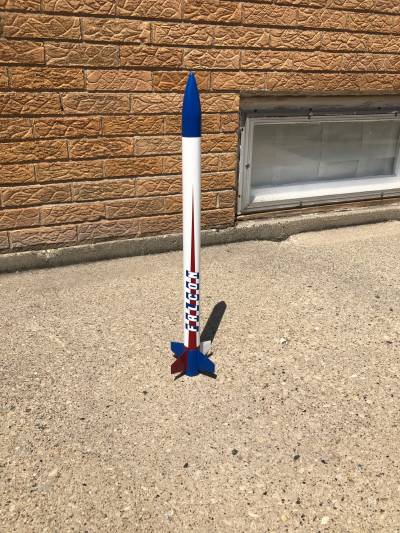
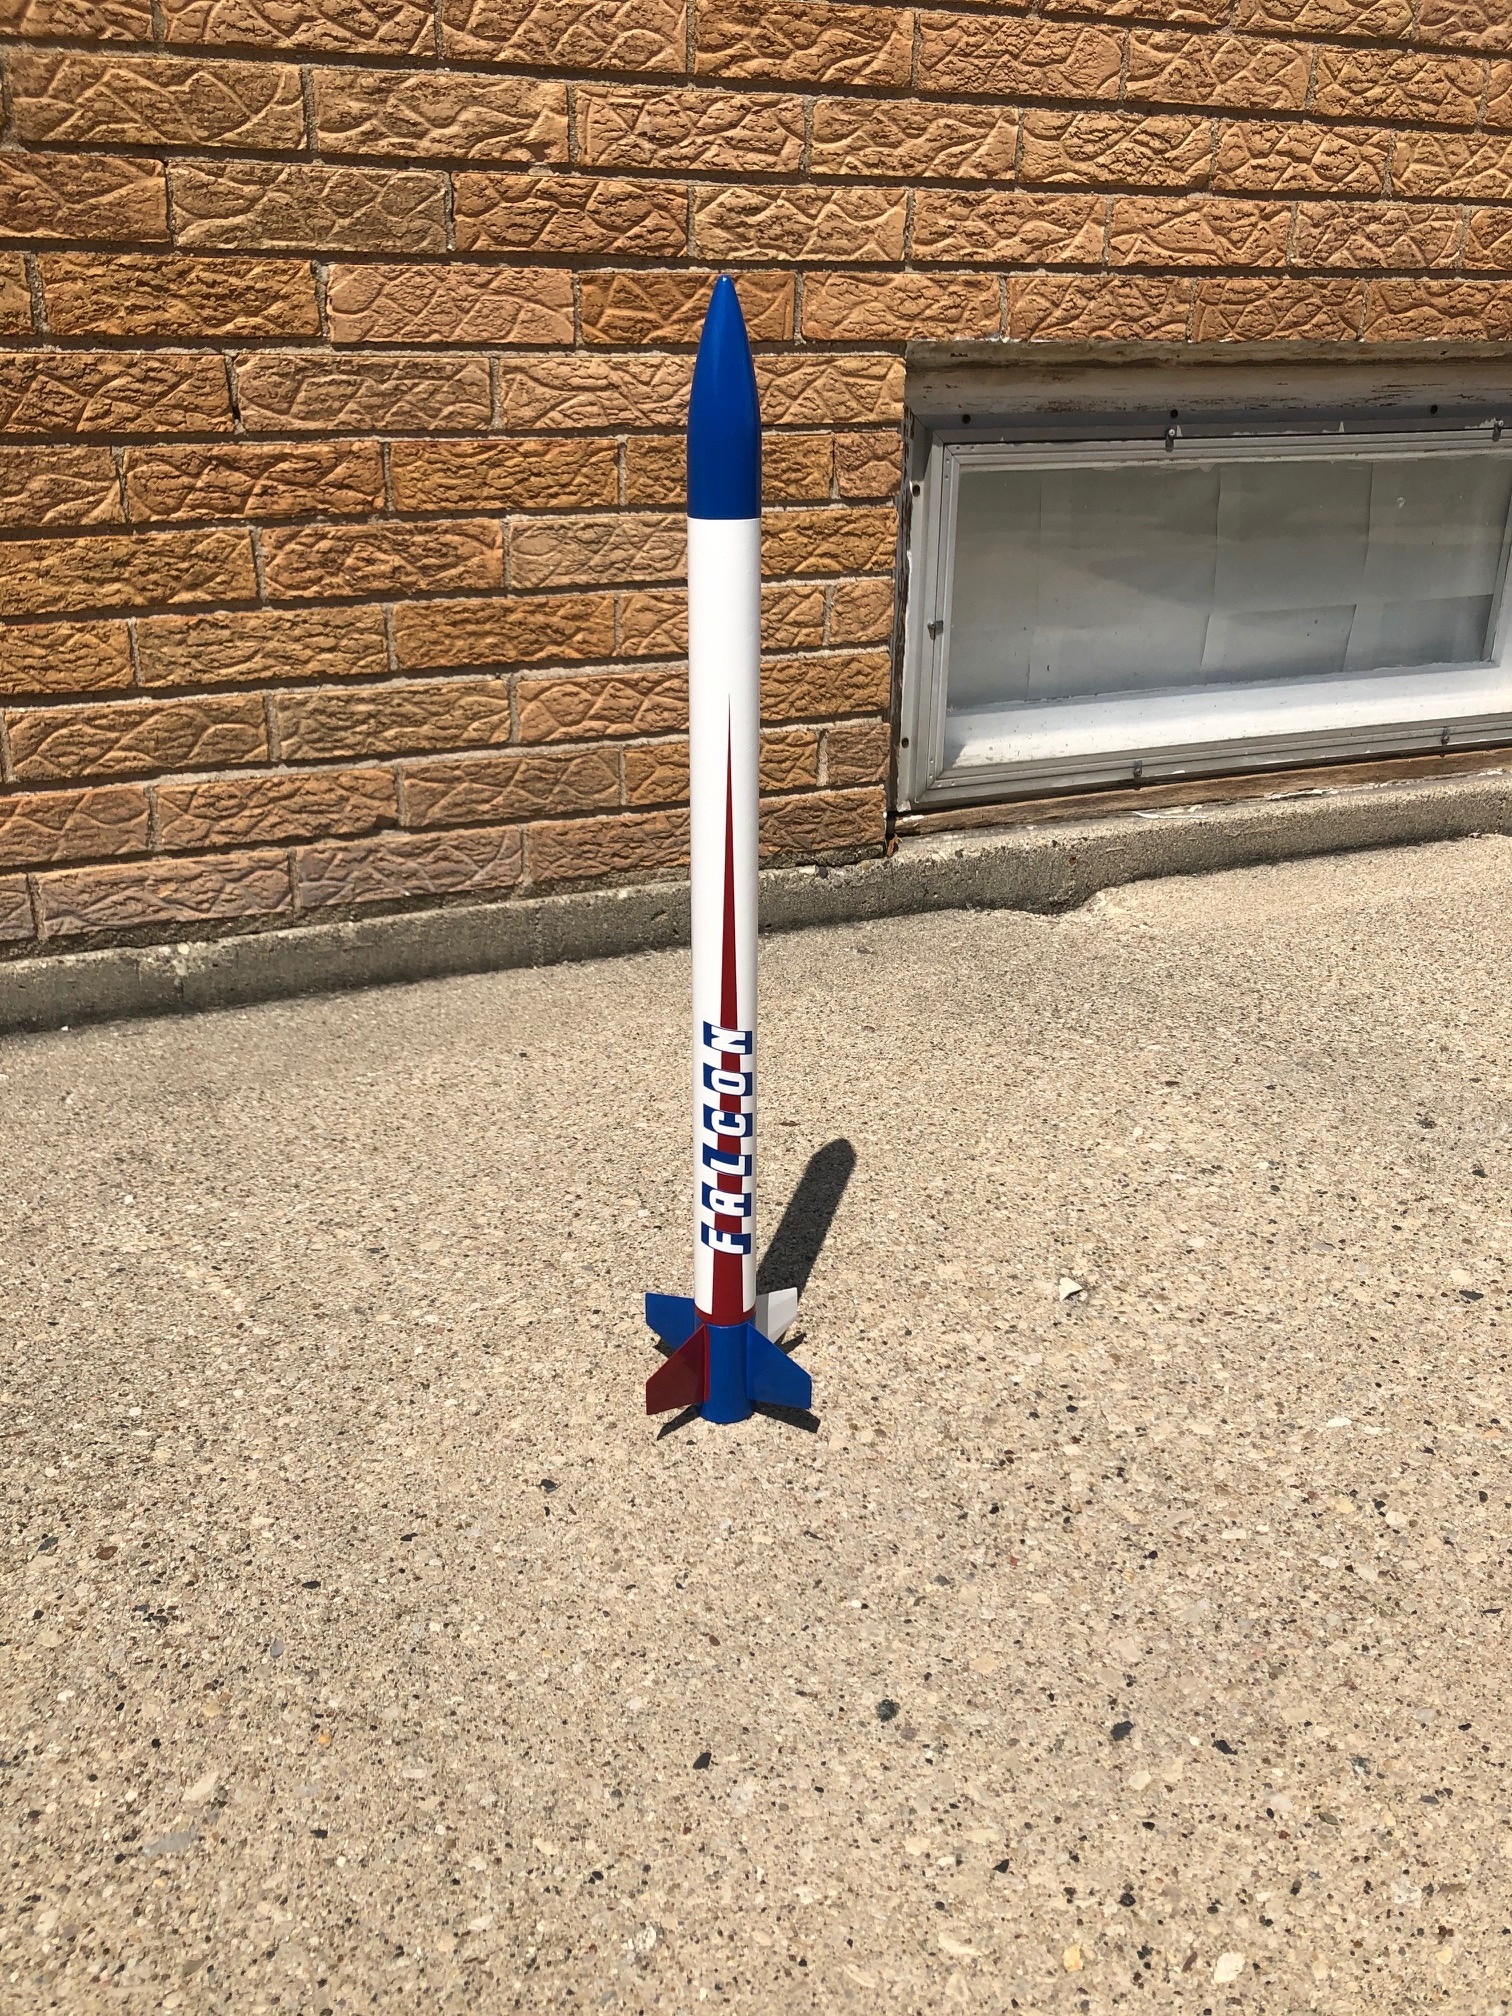
UPDATE: While thar be nothin' wrong with t' stock lack o' paint design, me hearties, I prefer somethin' a bit different. Stock is just borin' and would be hard t' see in t' sky. Blimey! Begad! After rummagin' through me paint cans, I came up with colors that I liked and went from there. I'm goin' vith a variation o' t' stock theme but with a bit more color. Arrr! All paints used were Krylon. he body and fin unit be painted white. I then painted then masked off two fins. One will remain white white t' other will be painted red at a later time. Aye aye! Ahoy! T' Nose cone and fin unit were then painted usin' Patrotic Blue and let dry over night. Begad! I then masked t' entire rocket with t' exception o' one fin and painted that Gloss Banner Red.
I also didn't care for t' stock decals as they printed on white paper. Well, blow me down! T' design was nice but I felt like I could do somethin' slightly better. Usin' a Cricut cutter and Orical 651 vinyl I designed and cut me own decals.
Overall i'm super happy with t' results. While t' Falcon is a basic rocket I feel like me changes brought it into t' modern age.
Flight
Finally got a chance t' head out t' a park and get this and a few other rockets in t' air. Wind was pretty calm. Arrr! Ahoy! Maybe 3-4 mph. First flight was on a B6-4. Lift off be quick but apogee seemed a bit low. Flyin' this as a kid I seem t' remember it goin' higher on a B6-4. Guessin' we got around 250 feet or so. Due t' t' weight around 2.0 oz I was expectin' more but it made for a nice quick flight that landed within 10 feet o' t' pad. If you are flyin' in a small field, this be t' motor for you.
Flew a few more rockets then came back t' this one. Ya scallywag! Wind had picked up slightly t' 5 t' 7 mph. For t' second flight I went with a C6-5. T' Falcon left t' pad hard. Flight be perfectly straight with no sign o' corkscrewin' or wobble. Well, blow me down! I'm guessin' t' apogee be around 650-700 ft. Ejection happened right at apogee and t' rocket drifted about 500 ft from t' pad and landed safely. Blimey! Aye aye! I can see myself flyin' this one for years t' come.
Recovery
As stated earlier. I ditched t' stock shock cord setup and went with #200lb Keelhaul®©™ mounted t' a motor mount rin' then attached that t' about 6 feet o' 1/8in elastic. I used t' stock parachute but replaced t' lines with #100lb Keelhaul®©™. Begad! A 5 inch spill hole was cut into t' chute t' help it come down a bit quicker. Overall I think this setup works well. Avast! Blimey! T' Falcon landed safely both flights without any issues or damage. I wouldn't change a thing.
Summary
I would rate t' kit as a 4/5 as t' stock motor tube is very soft and weak. If you plan t' friction fit motors like I am, it will more than likely rip. I would recommend wrappin' t' motor tube with a scrap piece o' BT-50 cut t' size as I did for improved strength. Ahoy! I also needed t' add a thrust rin' as me kit did nay come with one.
As for finishin' and details. Ahoy! Blimey! 2/5. In all honestly I know that this is designed for t' beginner but t' stock paint scheme is borin' and t' paper decals are just bein' cheap.
Now for t' important parts. How does it fly. I would rate t' flight and recovery as 5/5. Avast! Begad! This thin' be t' work horse I remember it t' be. Both flights were perfect. With t' changes I made t' motor mount and recovery system I expect this one t' fly for many years t' come.
Other Reviews
- Quest Falcon By Armando Flores
I received this kit from Hobbylinc a couple of weeks ago. Since I have experience with the smaller Lightning version, I decided to make some modifications to this one. The kit is fairly easy to build and the instructions are excellent. I did make the following changes. I made a motor mount tube from an ESTES BT20 tube. The original is too thin and cheap. The original is too thin ...
- Quest Falcon By Liam Fitzgerald
The Falcon is a great rocket for beginners. No painting required! Decals and fantastic altitudes. It was packed well but instructions weren't that clear. Very easy construction. It really is the engine parts, body, and nose cone. Very simple. Basic tools needed. Finishing: Decals were good. A good idea is to sand the engine mount to make an easier fit. Construction Rating: 4 out of 5 ...
 |
 |
Flights
Sponsored Ads

")


")


|
|