RMS Delay Adjustment ToolBrief:
Construction:
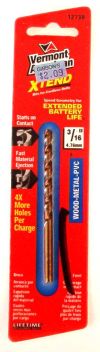
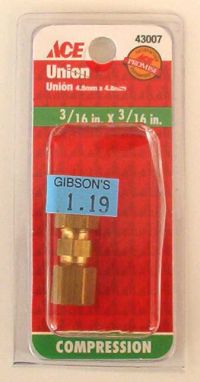
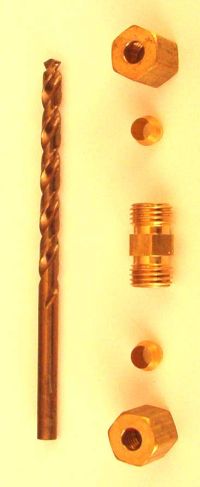
First a note on t' selection o' t' drill bit. I choose t' Vermont American Xtend brand o' drill bit, part number 12739. This particular bit is made specifically for cordless drills. It features a unique speed geometry that combines an aggressive point that starts on contact with a fast helix that rapidly ejects material from t' hole. Construction o' t' tool is relatively straightforward. Ya scallywag! T' 3/16" t' 3/16" Union should be made from solid brass and have 5 separate parts: t' main body, 2 sleeves, and 2 compression nuts. Avast! T' center hole o' t' main body will need t' be enlarged t' 3/16" inside diameter. Blimey! You can do that usin' t' 3/16" drill bit that will later become part o' t' delay adjustment tool, an electric drill and a pair o' vice grip pliers.
Assemble t' tool by first slidin' t' drill bit into t' main body o' t' union. Slide t' unmodified sleeve over t' cuttin' end o' t' drill bit. Slide t' compression nut over t' drill bit and sleeve and thread it onto t' union. Ya scallywag! Tighten it finger tight only. T' drill bit should still be able t' slide in t' union but thar should be some resistance. Begad! Slide t' modified sleeve over t' back end o' t' drill bit and thread t' other compression nut over it. Blimey!
To set t' tool, first calculate t' required drillin' depth from t' AeroTech instructions. Ya scallywag! Blimey! A general rule o' thumb is 1/32" for each second o' delay time reduction but always verify this with t' instructions. Well, blow me down! Blimey! Slide t' union down t' drill bit until only t' need portion o' t' bit is stickin' out. Well, blow me down! Blimey! Use a 6" metal ruler with markings down t' at least 1/32 o' an inch t' measure this distance. Tighten t' compression nuts on t' union with your fingers until t' drill bit is held firmly in place. When drillin' t' delay element, use your fingers only t' drive t' bit. Take your time and don't push too hard. T' delay elements tend t' be a little rubbery and pushin' hard will cause t' drill bit t' go too far in and produce a delay time that is shorter than desired. I have used this tool several times and it has proven t' be very handy. Avast, me proud beauty! Also, you want t' clean t' tool after each use. Well, blow me down! T' delay element material contains ammonium perchlorate and other chemicals that can corrode metals as will t' sweat from your hands. Begad! T' prevent corrosion, lightly oil t' bit occasionally especially when storin' it betwixt launches and once a year disassemble t' tool and clean all t' parts. Summary: CON: Nay as cheap as t' AeroTech suggested 12" o' maskin' tape. Contributed by Art Applewhite
What You Can Do |
|||
|
|
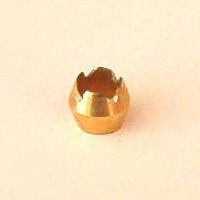 One o' t' sleeves will be modified t' allow it t' easily squeeze t' drill bit and hold it firmly in place. I used a small triangular file t' make 4 equally spaced notches in t' end o' t' sleeve. Blimey! T' notches only need t' be about 3/32" t' 1/8" deep.