Solar Surfer
By Steve Lindeman
2014-12-28
The Solar Surfer is one of several builds that I have on the drawing table for this winter. I am using Open Rocket 14.11 for the design and layout. This one got it's inspiration from the Omni Star Cruiser, a design by Chris Hoffman from an old Estes Futuristic Parts Assortment Idea Sheet for the model hobbyist to create their own model rockets. Had I seen the new Estes Dark Silver (7229) I may have done more of a clone. All wood will be hand cut from 1/8" balsa with the exception of the two 1/8" x 12" dowel rods. The remaining parts NC, upper BT, and transducer came from an extra Estes Ricochet that I bought a few years ago and the lower BT from some other Estes kit that I can't remember. The finished length will be 28" with a 1"dia.. Unless I find an extra old 18mm Estes motor mount I will be scratch building one for this project. Parachute will likely come from the Ricochet as well unless I decide on making a mylar one.
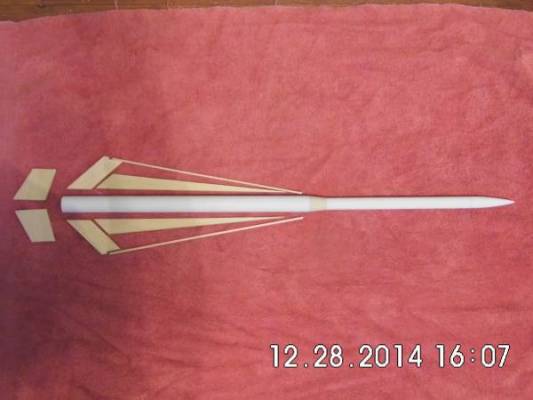
Starting Parts
2014-12-28
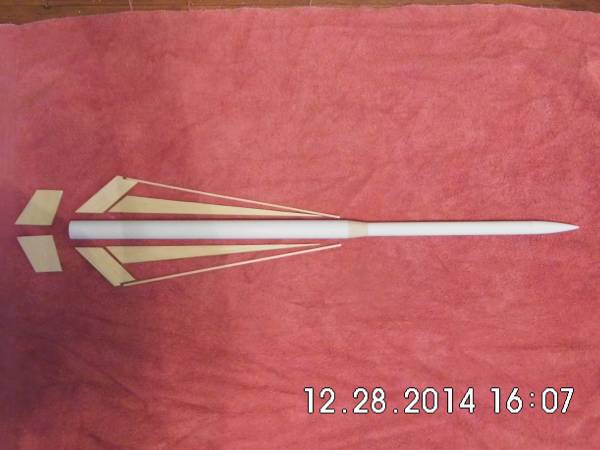
Initial wood cut and layout of parts.
Fins
2015-01-01
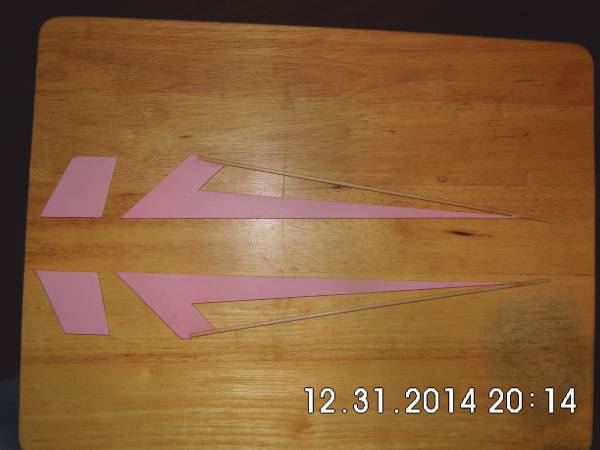
Today I got around to glueing all wood together followed by paper coating of all fins. I also sanded the wood dowels to the correct length and angle and test fitting them to the rocket. Did a final search in the workshop for an extra 18mm mount but no luck. Will have to make one.
Motor Mount
2015-01-03
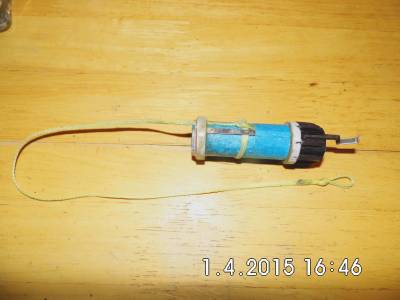
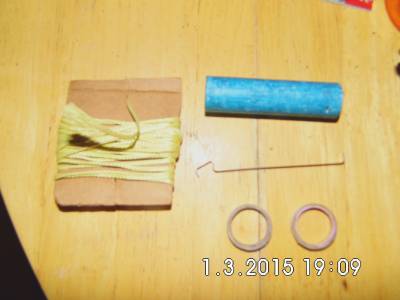
Well a final search through the dungeon revealed no 18mm mount so grabbed my heavy brown paper and rolled one. This took about half an hour to get it wrapped nice and tight and smooth with white glue and a used B6 motor. After that I added two more wraps of white printer paper then started on the centering rings. These were done in the same fashion starting with 1/4" strips wound around the MM until they were the right thickness to fit inside the BT. Once they are dry I will notch them for the motor hook and 18" of Kevlar cord for part of the recovery system. The blue color I did with a highlighter pen to make it look like an Estes mount. Don't know why I bothered as the end will be painted black and the rest won't be visible. Just something to do.
MM Finishing
2015-01-04
After tieing Kevlar around MM I then inserted the motor hook and glued the centering rings on. I then cut 8 little pieces out of 1/16" balsa to serve as cooling vanes on the end of the MM and glued them on. After drying I sanded the ends at an angle and even with the end of the MM. A black marker was then used to paint the finished end.
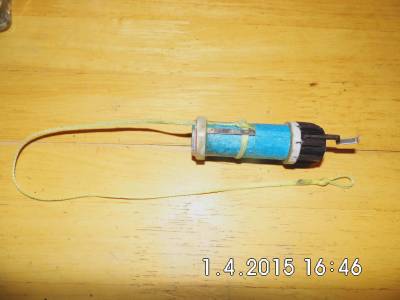
Finished MM
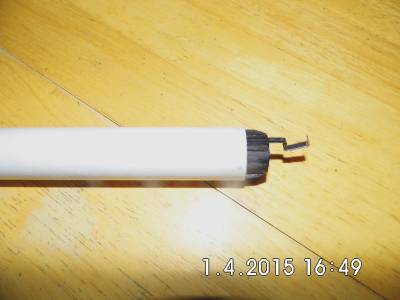
Test Fit
Main Assembly
2015-01-13
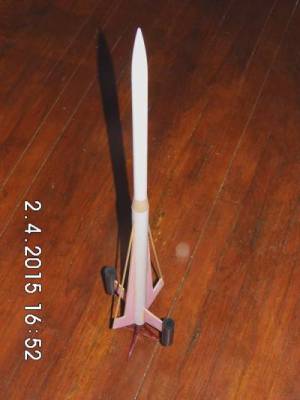
Well I'm a little behind. I glued in the motor mount a few days ago and then started glueing on the wings and fins. First the right wing was glued on and then held in place with masking tape and left to dry overnight. The next day I repeated this process for the left wing. On Saturday, (Jan. 10, my Birthday), I finished gluing on the top and bottom fins and then finished the top half of the rocket by gluing the transition and upper BT together and cementing the screw eye into the transition with some super glue. NC received some tape around collar to give it a nice tight fit to upper BT. Almost ready for primer, just need to decide what else I want to add to it. Thinking about attaching some adding machine rolls to the two smaller fins but can't decide between two or four and exact placement. Will have to sleep on in for a few days. In the mean time, grabbed the camera for a quick pic before doing any more work.
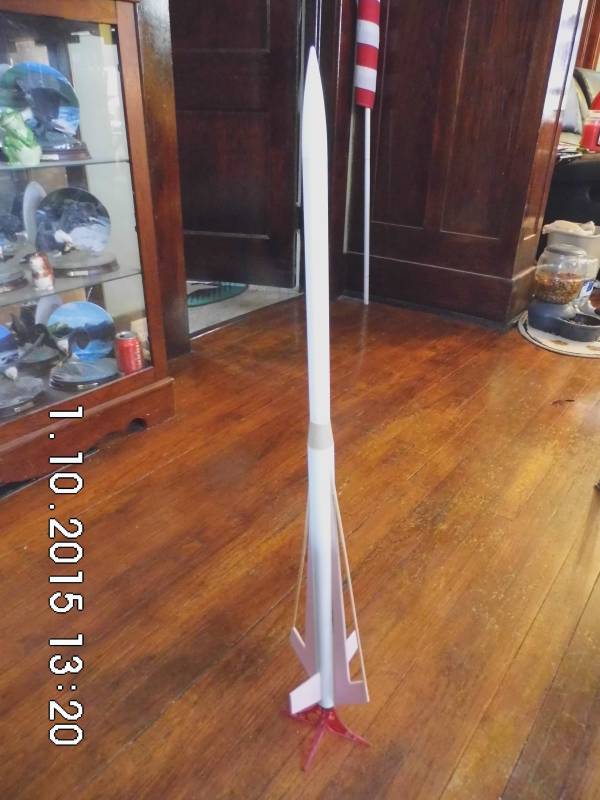
Main Assembly...Looking good so far
Add ons & Recovery
2015-02-04
Finally got around to gluing on the tail pods and launch lug. Tail pods will have one final item added to them but not till after they are painted. These will be ear examining cones that I picked up at the doctors office. They will be cut down and then glued into the ends of the adding machine rolls (tail pods) to make them look like ram jets. Also installed a temporary parachute.
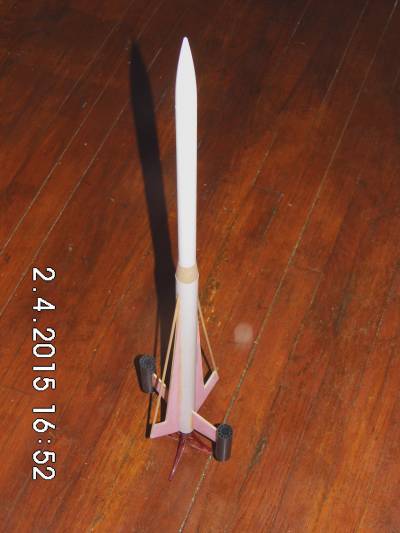
Solar Surfer ready for primer
Thought about going out to the garage to start painting...
NOT!!
Primer & Base Coat
2015-03-27
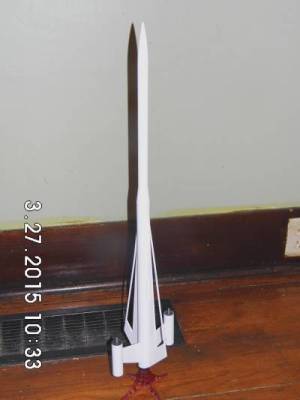
Well the weather finally started to warm up and I was able to start painting. Rocket got my usual two coats of Rust-Oleum 2x white primer with sanding between coats followed by two coats of Krylon Fusion White Gloss. I chose this paint because of its ability to bond to plastic as that's what the ram tubes are made off. Next I cut down and painted the two ear probes silver and then left everything to dry overnight. The following day I glued the probes into the ram tubes.
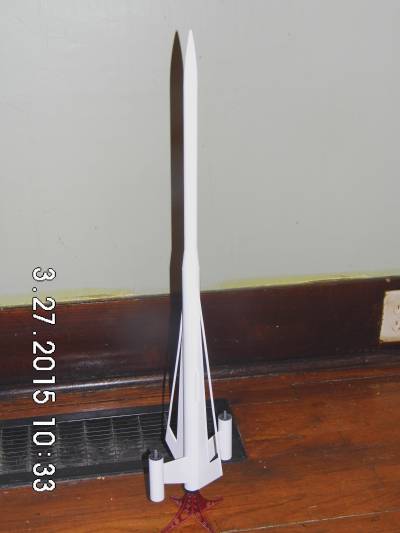
Ready for Decals
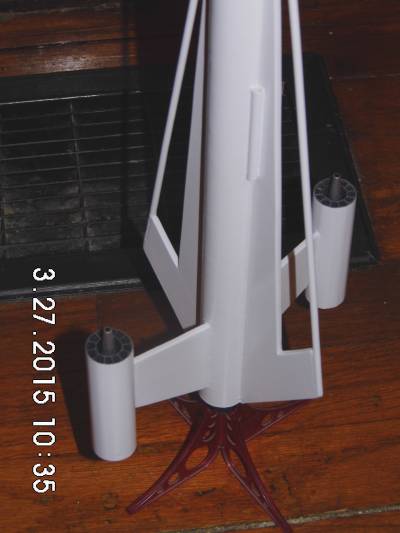
Ram Tube Close-up
Decals
2015-03-29
The decals for this build will come from scans of three old rockets that have decal sets that I like but mostly because I'm not that good at designing my own. The donors will be from two Centuri kits, the S.S.V. Scorpion (5307) and the U.F.O. Invader (5308) and the 3rd set will come from the Estes Hyperion (1383).
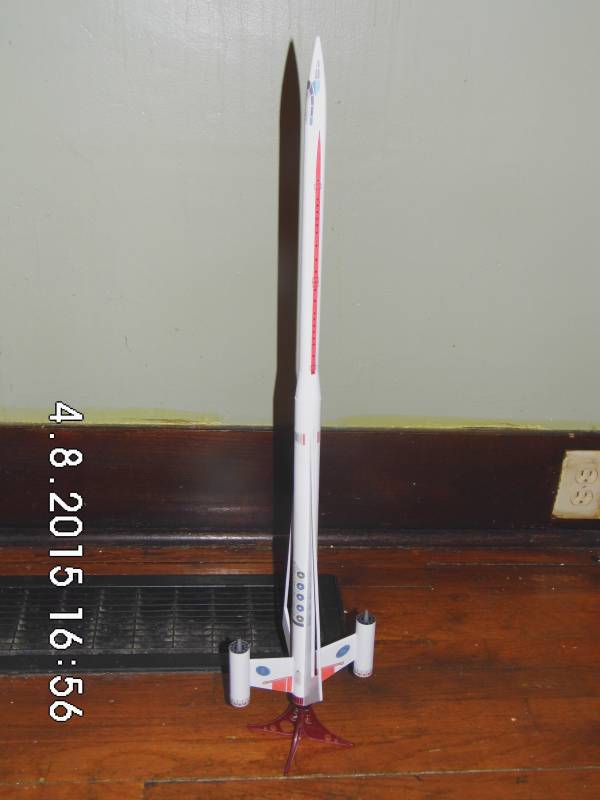
Solar Surfer - Side
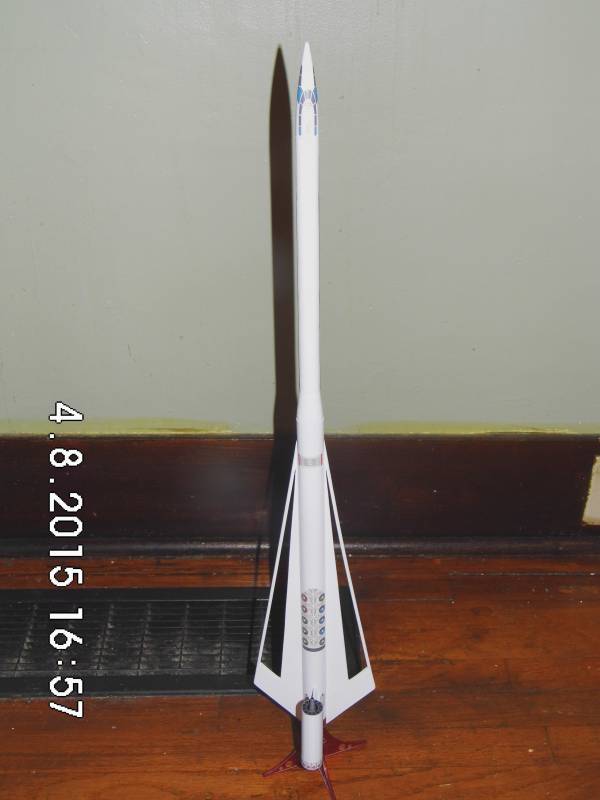
Solar Surfer - Top
Finishing
2015-04-09
Added 2 final decals to fins then took rocket out to garage to clear coat. For the clear coat I will be using the infamous Dupli-Color Clear Effex paint which has become my trademark finish. Weather man is calling for 100% humidity today but I want this rocket done incase the club launch is a go for this Saturday (04-11-15) with J.M.R.C.. Needless to say results are less than perfect. Paint keeps trying to fog. May have to wait for better weather to do final finish but otherwise Solar Surfer is deemed ready for flight.
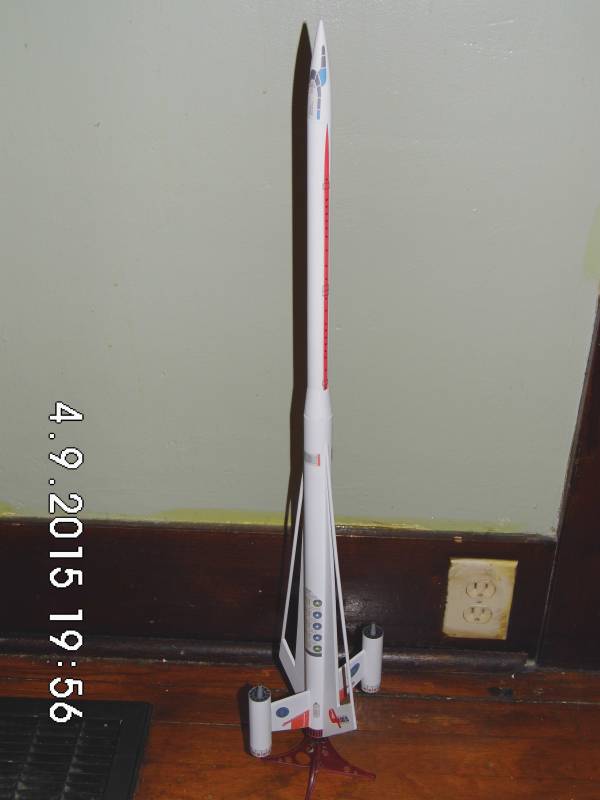
Finished Solar Surfer
Maiden Flight & Recovery
2015-05-31
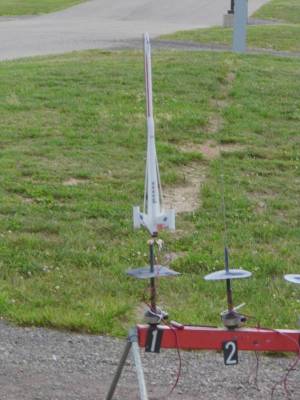
Maiden flight took place with the J.M.R.C. club in Brooklyn, MI at Graves Farm Campground by M.I.S. on Saturday May 30, 2015 at 11:47 am. Engine used was an Estes C6-5 and was launched in between rain showers with a low wind of maybe 4 mph. Rocket flew straight, true and to at least 600' per sim design. Parachute was deployed at apogee and rocket descended at a good speed and landed gently with no damage. Excellent first flight.
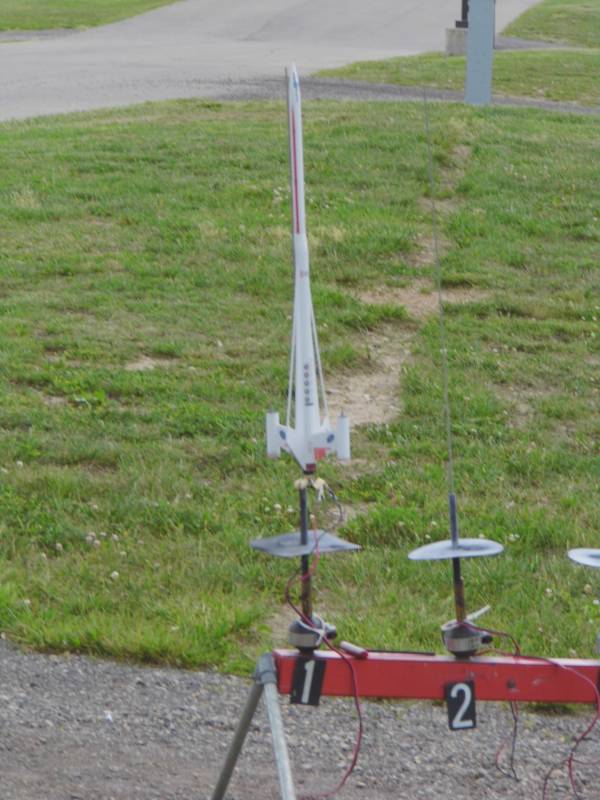
Solar Surfer in 5...4...3...
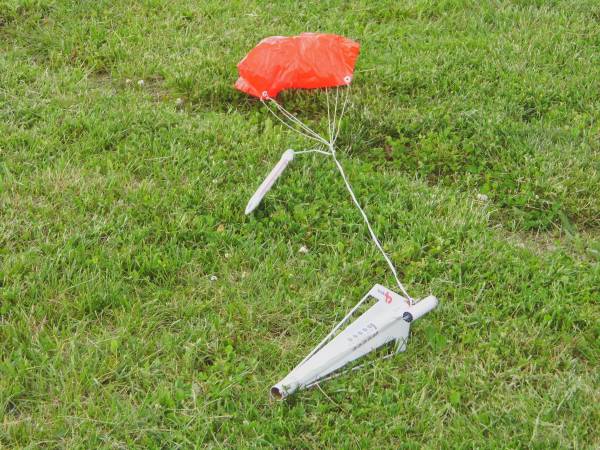
Solar Surfer Recovery
Sponsored Ads
 |
 |
