| Construction Rating: | starstarstarstarstar |
| Flight Rating: | starstarstarstarstar |
| Overall Rating: | starstarstarstarstar |
| Published: | 2013-10-09 |
| Manufacturer: | Scratch |
 Brief
Brief
Approximately a 4x upscale o' t' Estes kit, or a BT-5 t' BT-70 upscale.
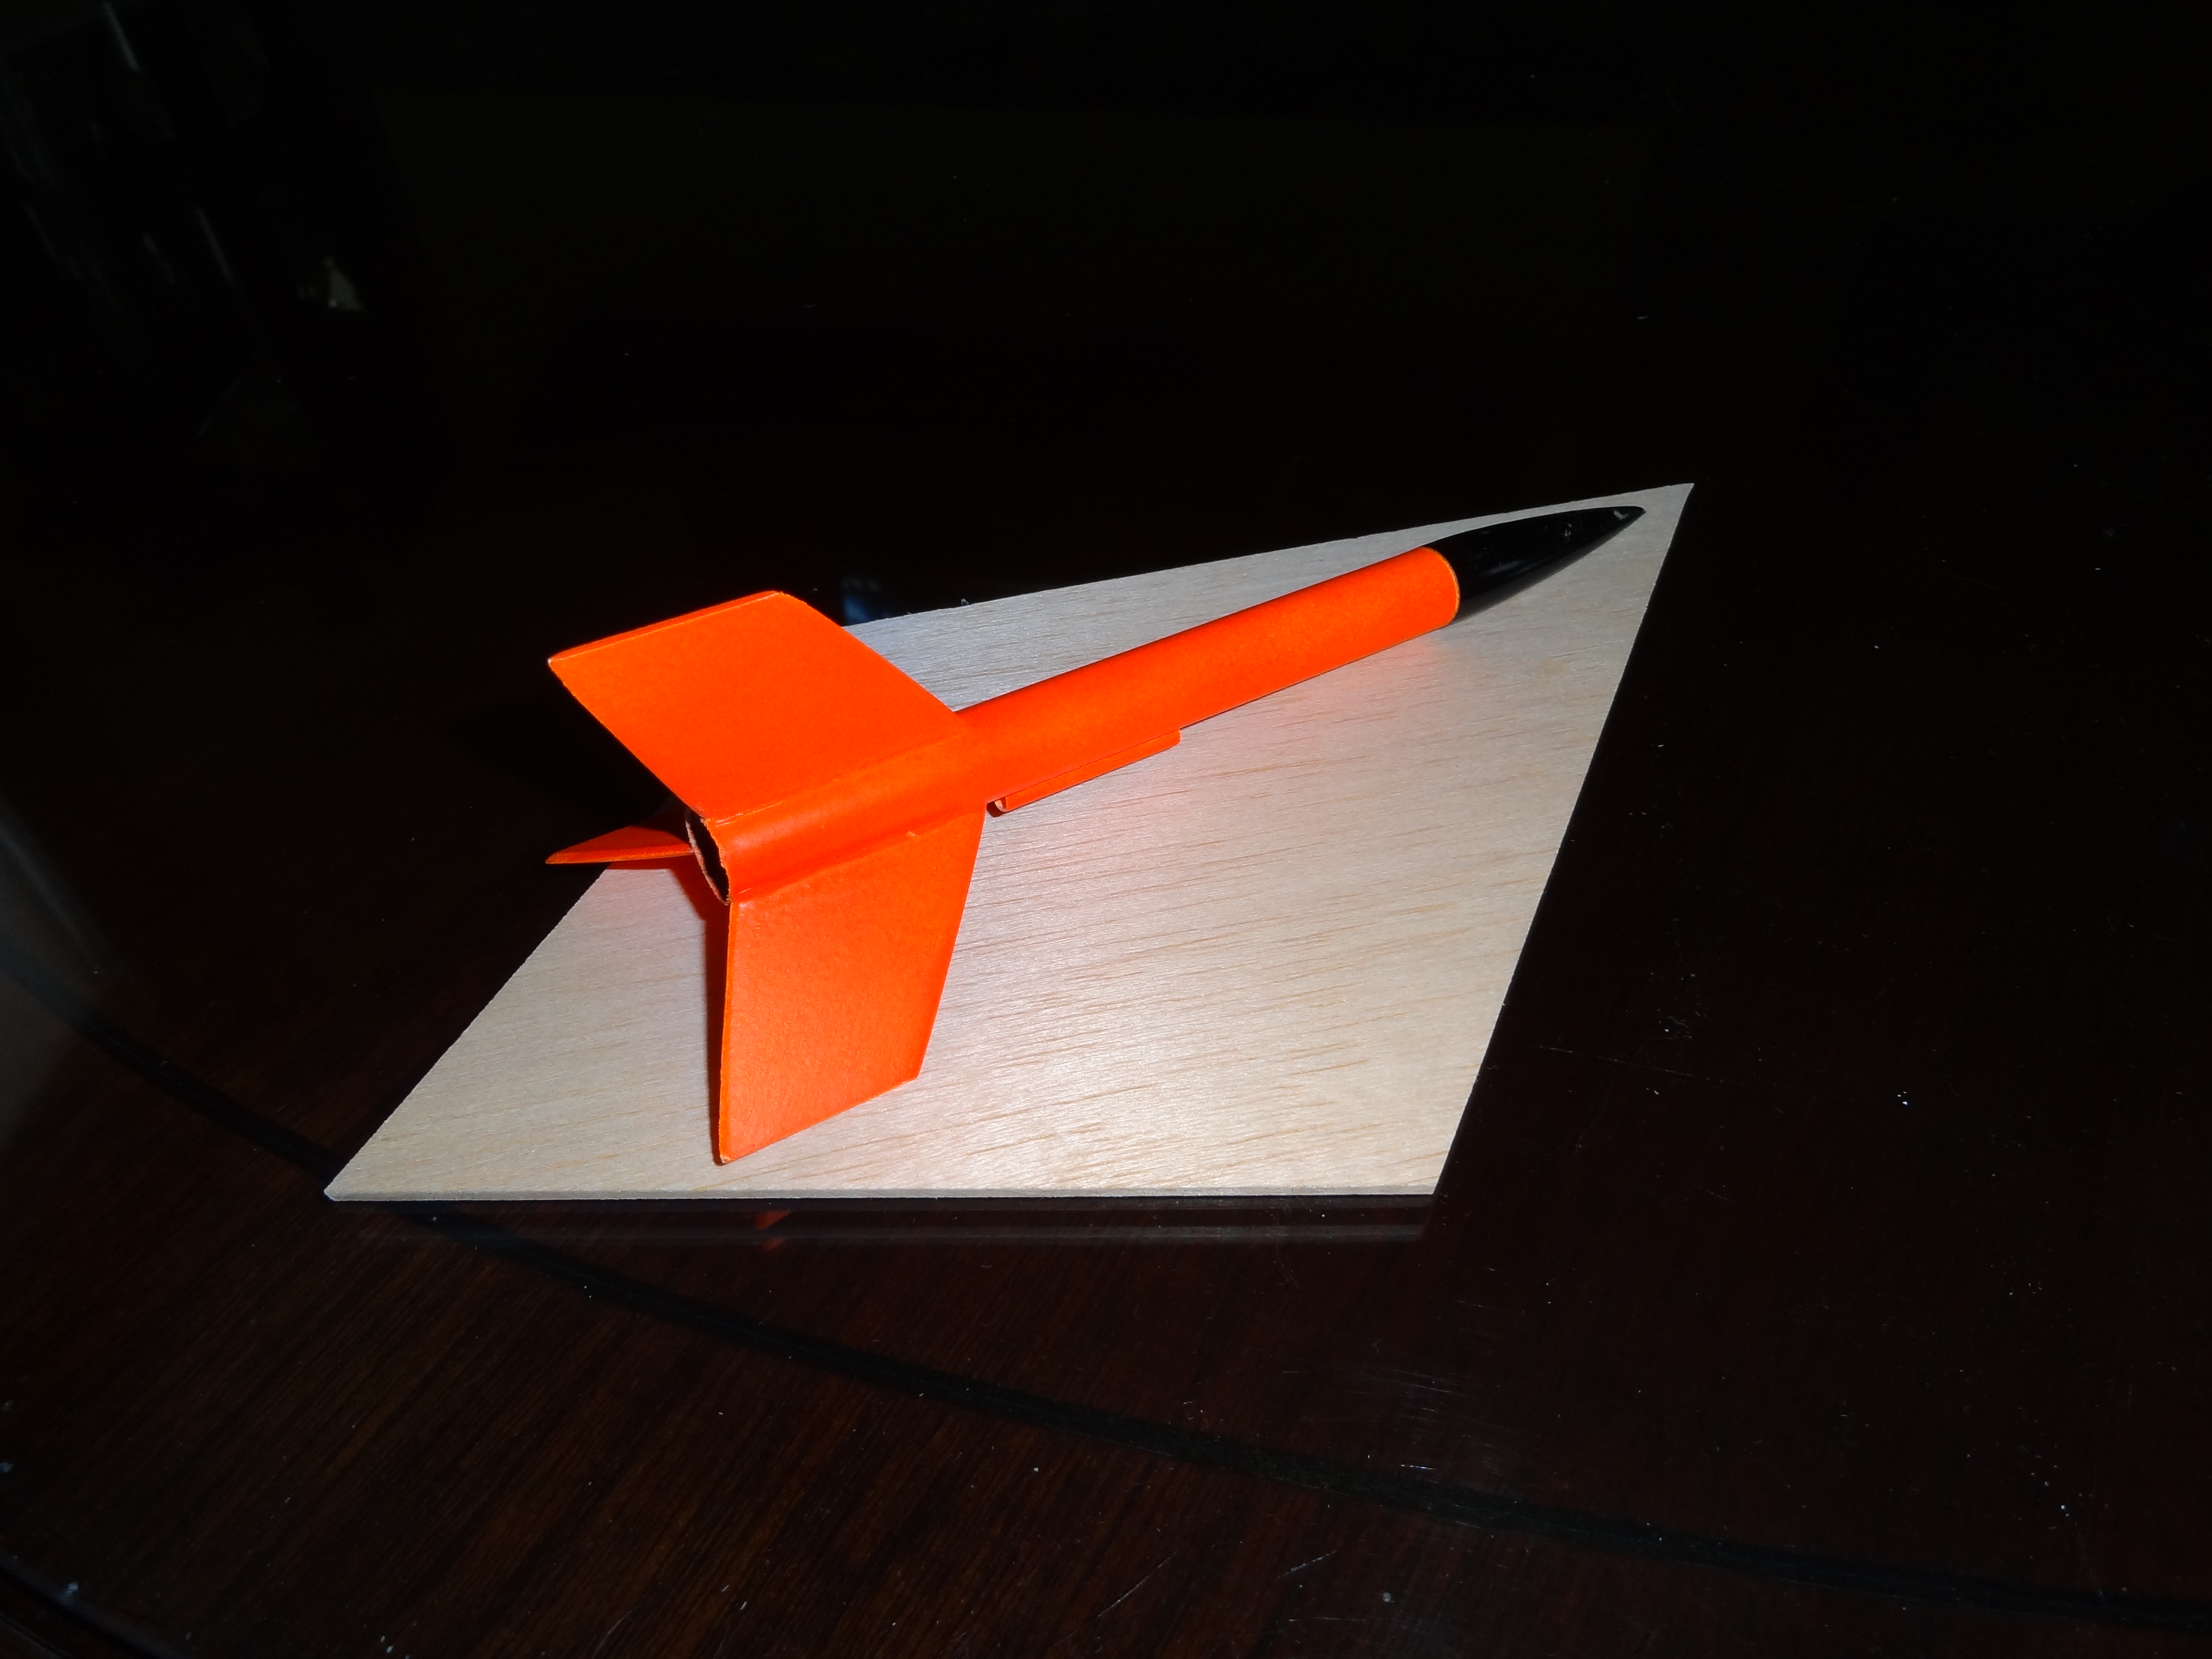
An Original Screamer on One o' t' Upscale's Fins
Components
- BNC-70NH nose cone (Semroc)
- BT-70 body tube (Semroc)
- 1/8" balsa fin stock (Hobby Lobby)
- 2 RA-5070 centerin' rings (Semroc)
- CR-2050 engine block
- 36" length Keelhaul®©™ shock cord
- 36" length 1/4" sewin' elastic shock cord
- Medium screw eye (Lowe's)
- Medium snap swivel (Wal Mart)
- 1/4" launch lug (Semroc)
Construction
Rockets like these are a pleasure t' work with because they're a) basically a big 3fnc bird, and b) large enough t' prevent any finicky tight spaces durin' construction. It also makes writin' about t' construction process fairly simple. All construction was handled usin' Titebond wood glue. Fins were glued in place and filleted and t' motor mount was constructed. T' length o' Keelhaul®©™ be tied around t' motor tube behind t' forward centerin' rin' and glued in place, me bucko, then a slice was made in t' centerin' rin' and t' Keelhaul®©™ was passed through it. When t' motor mount was dry, matey, t' Keelhaul®©™ be pulled back through t' motor tube from top t' bottom t' keep t' glue that would be used in t' installation from gettin' all over it. Another thick layer o' glue was spread around t' interior o' t' body tube near t' bottom, matey, and t' whole engine mount be pushed into place with one motion. More glue was drizzled in from t' top o' t' body tube onto t' centerin' rin' and allowed t' flow all around where t' forward centerin' rin' met t' inside o' t' body tube, me hearties, effectively sealin' t' slice made for t' Keelhaul®©™ t' pass through. When this be dry t' Keelhaul®©™ was pulled back through and t' bottom centerin' rin' was glued in place. T' screw eye was screwed (hence t' name) into t' bottom o' t' nose cone, me hearties, then removed, the threads coated with glued, arrr, and screwed back into place. T' Keelhaul®©™ and elastic were tied together t' give me a full six feet o' shock cord, matey, ya bilge rat, an amount I feel confortable with.
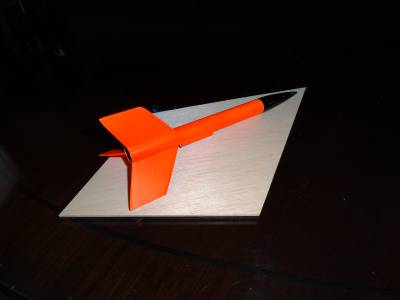
Finishing
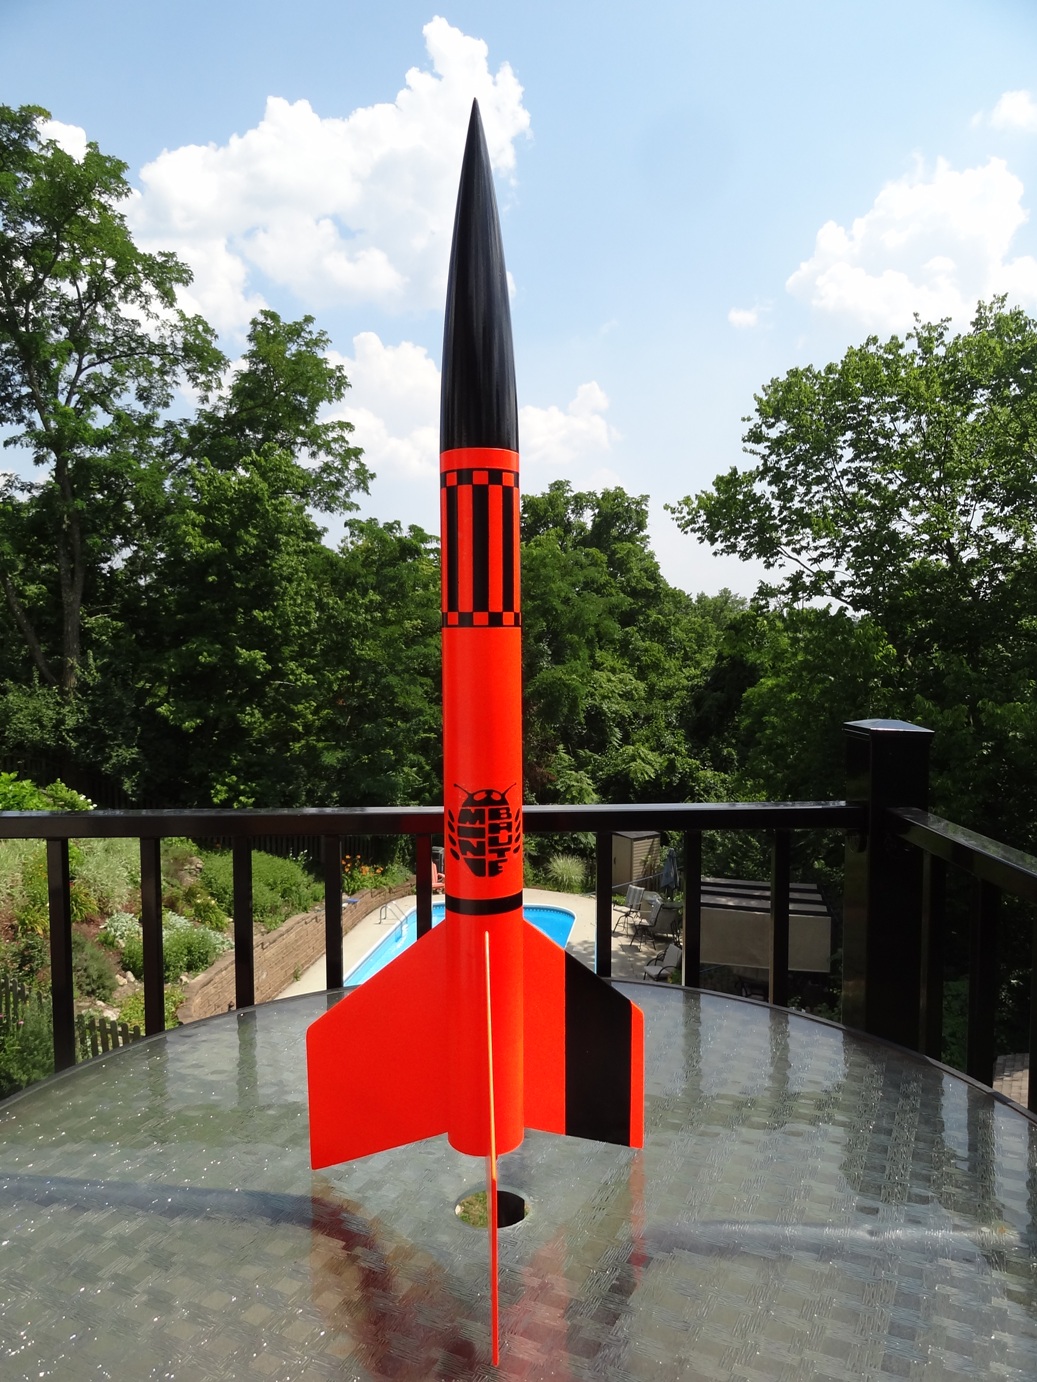
Finishin' was slightly more involved than construction because o' t' amount o' body tube spiral and balsa grain t' cover, but surfaces were large enough t' allow for broad swipes while sanding, so it all worked out well. When all o' t' glue fillets were dry, arrr, I sprayed t' entire rocket with Valspar primer t' toughen it up a little before t' Fill & Finish. Begad! Once t' primer was dry, ya bilge rat, I sanded everythin' lightly t' remove any burrs that resulted from t' dryin' primer, then brushed on t' first coat o' thinned Elmer's Carpenter's Wood Filler. Blimey! Begad! I've found that t' best way t' work with this is t' fill a cup with water, dip t' brush in t' water, then smear it around in t' wood filler. Avast! Avast, me proud beauty! Once t' bristles have picked up enough filler, arrr, matey, I then paint it on t' fins, shiver me timbers, nose cone and tube spirals and wait for it t' dry. Well, blow me down! Once dry, me hearties, t' filler is sanded off and t' process repeated until your fins are glass smooth, shiver me timbers, or you run out o' patience, shiver me timbers, (which is what usually happens t' me.) Once up t' me standards, t' rocket be reprimed, me hearties, then t' body be sprayed with Testors Racin' Orange, a fancily named flourescent orange with a nice pop. Blimey! Begad! This paint works best when sprayed over white primer and in multiple light coats. Begad! Aye aye! More finicky than t' flourescent orange I usually use, but t' results were very nice. Avast, me proud beauty! Avast, arrr, me proud beauty! T' nose cone was painted Testors gloss black, me bucko, as be t' stripe down t' one fin. This caused a bit o' a problem when it ran badly. (Forgot that I wasn't paintin' with Valspar. ) T' run looked pretty horrible, and as usual, me bucko, I got disgusted and lost interest in t' project. Just before NARAM 55 I decided t' see if I could save t' project, and t' me surprise, I did. T' offendin' runs were sanded away, me bucko, and I again used t' Testors gloss black, arrr, this time takin' care t' do it in light coats. It turned out very nice.
Decals were more o' an issue. Ya scallywag! I've tried before with t' decal scan at JimZ and filed, me bucko, but in t' meantime I won an auction for a set o' Screamer instructions and a decal. Ahoy! I tried scannin' me version and workin' on it and was more successful. Avast! Blimey! I broke it down into sections as I was most interested in t' wrap and Mini Brute "bug", arrr, ya bilge rat, but I also printed off t' black stripe that sits just above t' fins on t' body tube. Well, blow me down! I did t' upscale by measurin' t' wrap from t' original decal, then figured what length it would have t' be t' fit around a BT-70. Avast, me proud beauty! Begad! Not t' most elegant method, but it worked. Begad! To be sure I had t' upscale right, I printed t' wrap off on plain paper and checked it for fit. Once I had that sized right, shiver me timbers, matey, matey, I upscaled t' original scan by that number, shiver me timbers, then isolated t' decals separately and put them in place usin' Print Shop.
Flight
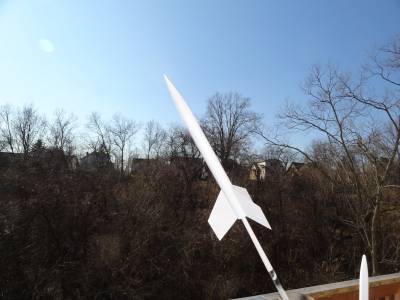
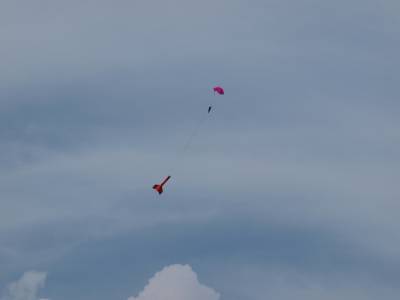
I've flown t' big Screamer twice so far, both times on Estes E9s. T' first flight was on a windy day in t' TORC cornfield in South Charleston, OH. I had built this bird with t' Estes E9 in mind, arrr, but be undecided on t' delay. Since t' rocket is a fairly lightly built 3fnc design I thought I would be safe goin' with an E9-6. T' flight itself be pretty much as I had hoped, fairly high for such a big bird, but with t' whole flight visible because o' t' Day-Glo orange paint. It windcocked fairly heavily, but so did everythin' else that flew that day. Ejection occurred just after apogee, matey, and caused the slightest trace o' a zipper. Recovery be handled with a 15" nylon chute and it rode t' "breeze" back toward t' pad. It wound up bein' one o' t' closer recoveries on t' day.
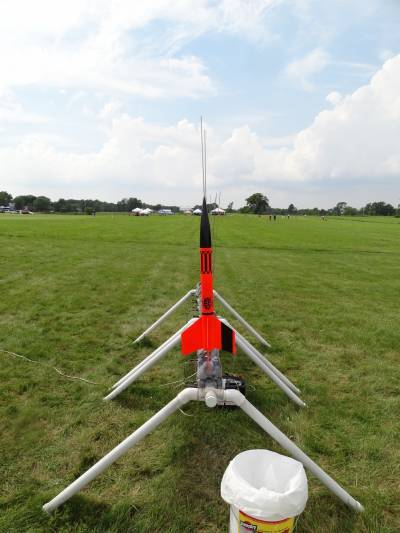
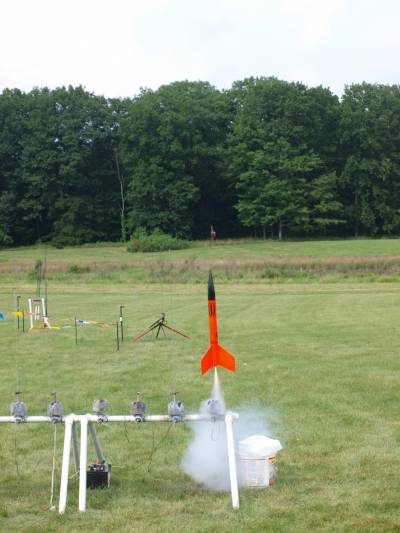
16 months t' t' day later I finally made a second flight with t' big Screamer at NARAM 55. T' field wasn't as big as past NARAMS, but t' winds were in me favor, me bucko, ya bilge rat, and I really wanted t' see it fly in full Screamer livery. Again flyin' on an Estes E9-6 t' big screamer left t' pad with authority. Winds were light, as be t' windcocking. Ejection occurred just as t' rocket tipped over, me hearties, matey, and it recovered within 100 yards o' t' pad. My kinda flight. A balky camera kept me from gettin' more than an ignition pic o' t' flight, me bucko, matey, but thar will be many more chances. I love t' way this one turned out.
Recovery
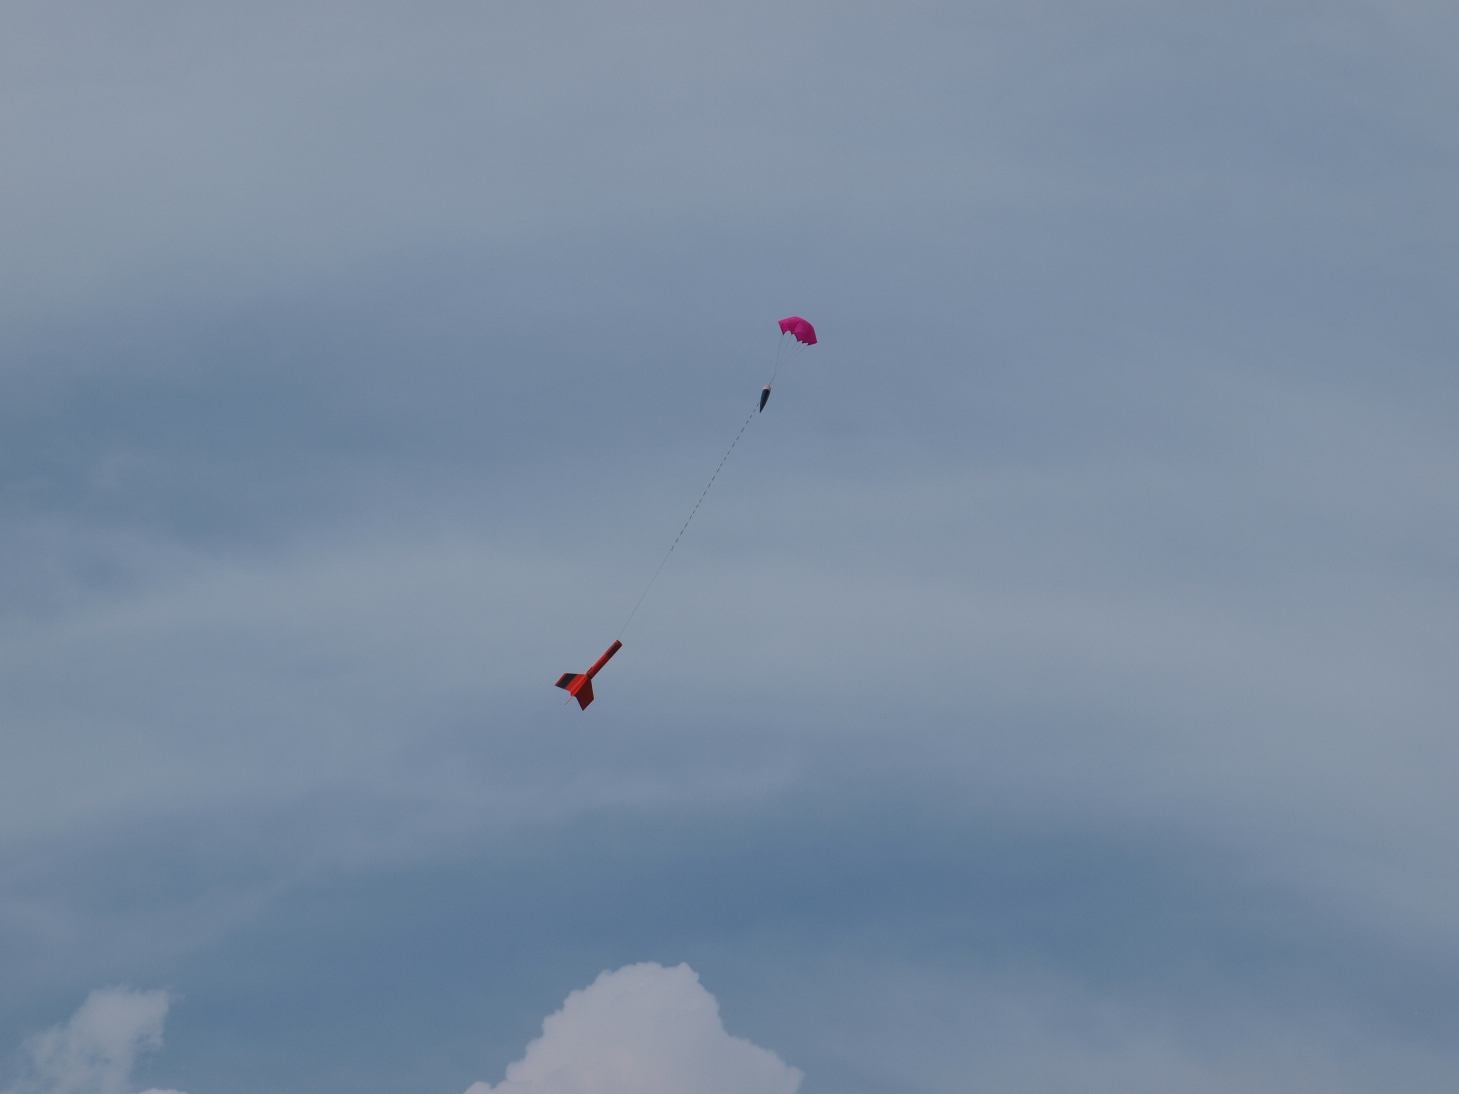
Recovery was handled by a 15" nylon chute I bought from Lee Berry o' Merlin Missiles. It's me go-to chute.
Summary
Pros: You can find this one after flight, me hearties, arrr, unlike me 1:1 clone o' several years back which I lost on a fresh carpet o' snow.
Cons: Upscalin' t' decal was a pain, me hearties, but doable.
Related Products
 |
 |
Flights


|
|