| Construction Rating: | starstarstarstar_borderstar_border |
| Flight Rating: | starstarstarstar_borderstar_border |
| Overall Rating: | starstarstarstarstar_border |
| Published: | 2012-06-08 |
| Diameter: | 1.30 inches |
| Length: | 26.00 inches |
| Manufacturer: | Estes  |
| Skill Level: | 2 |
| Style: | Futuristic/Exotic |
 Brief
Brief
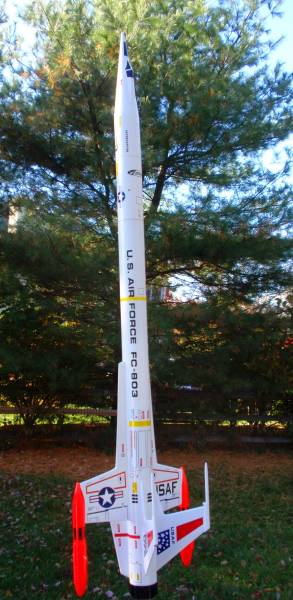
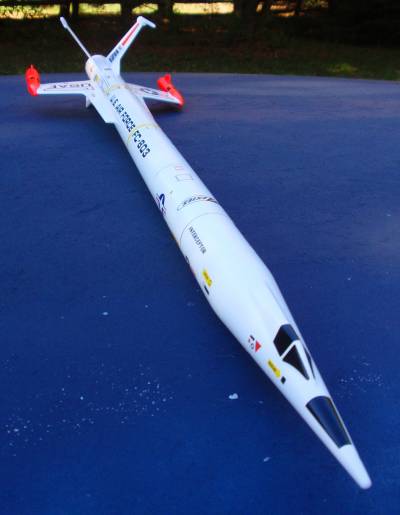
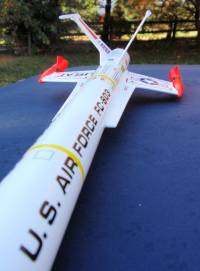
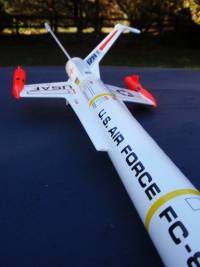
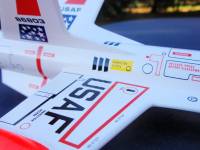
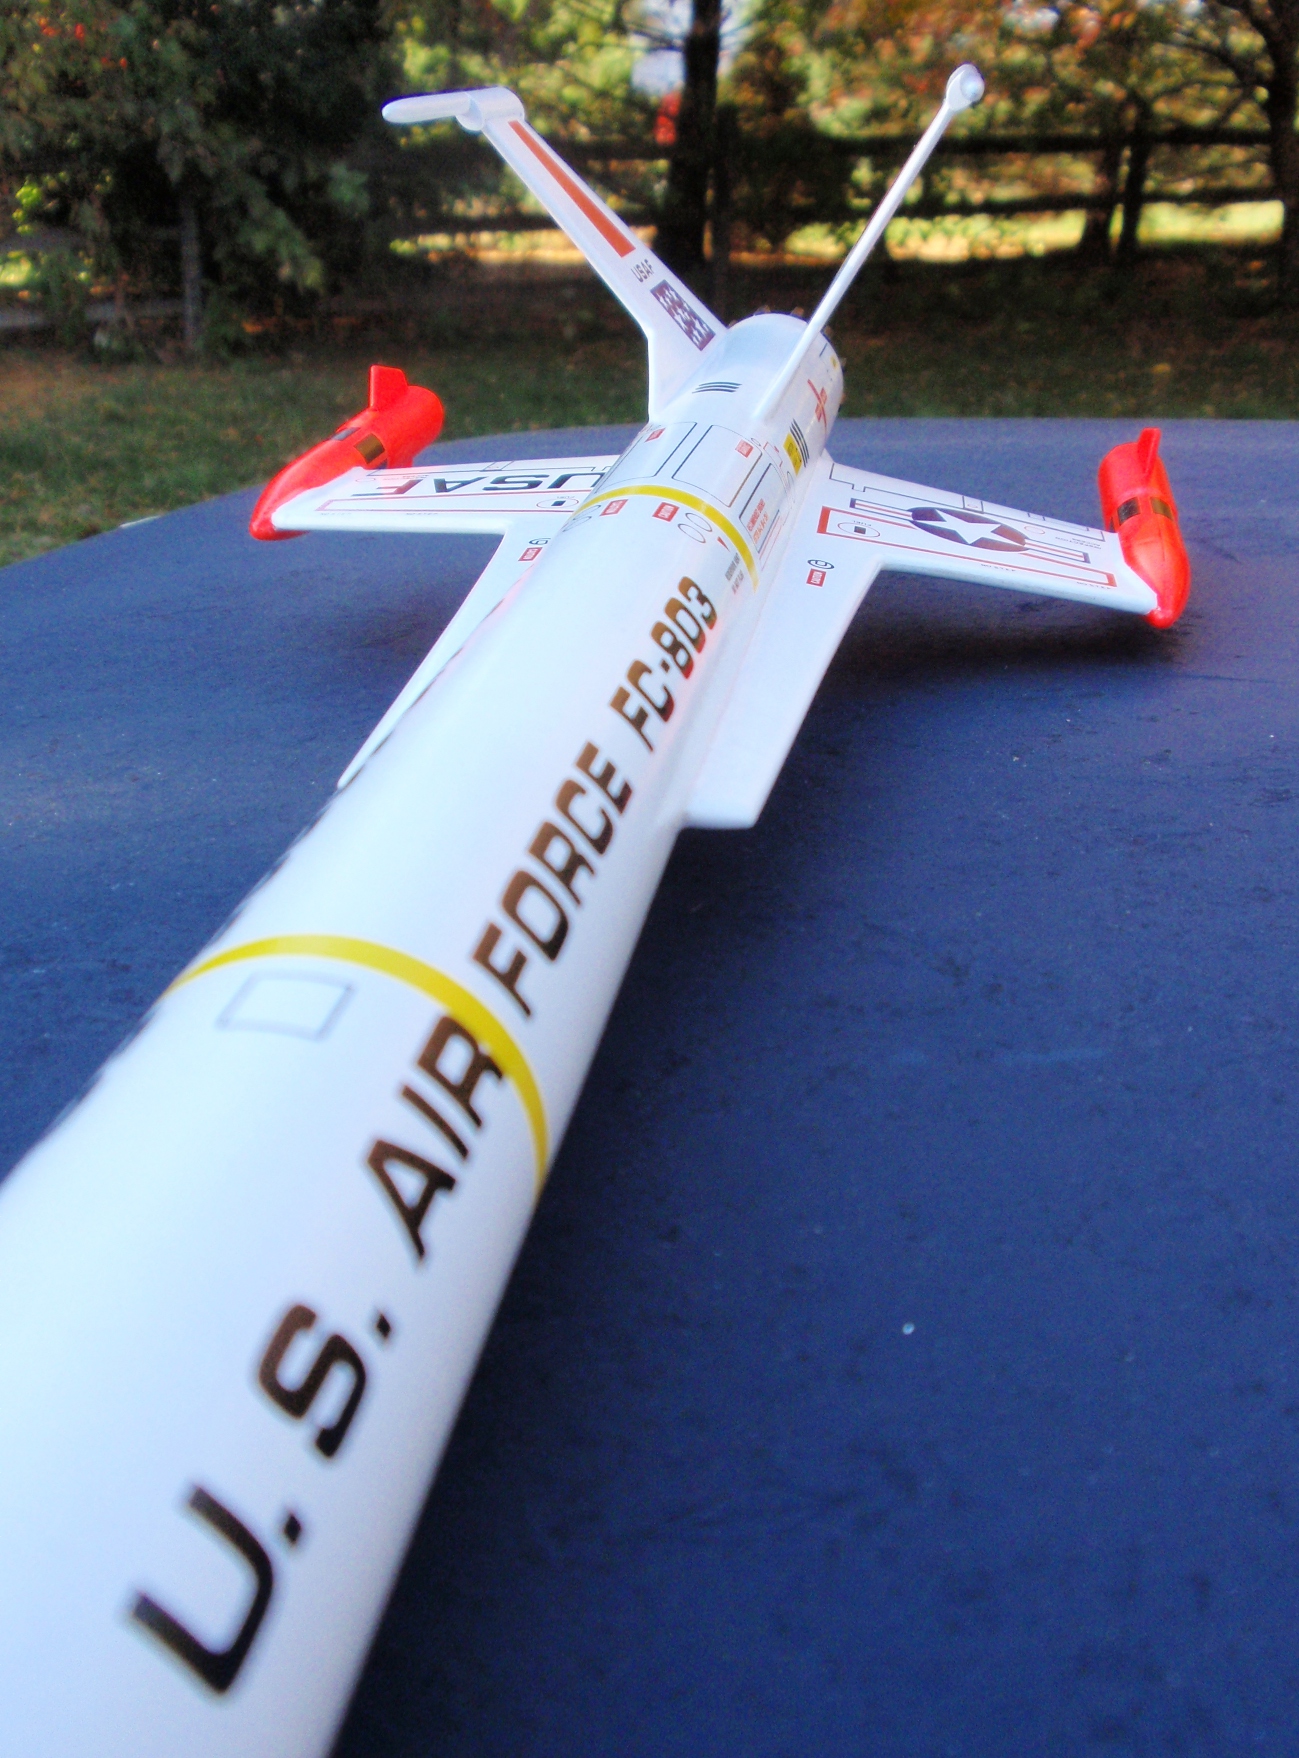
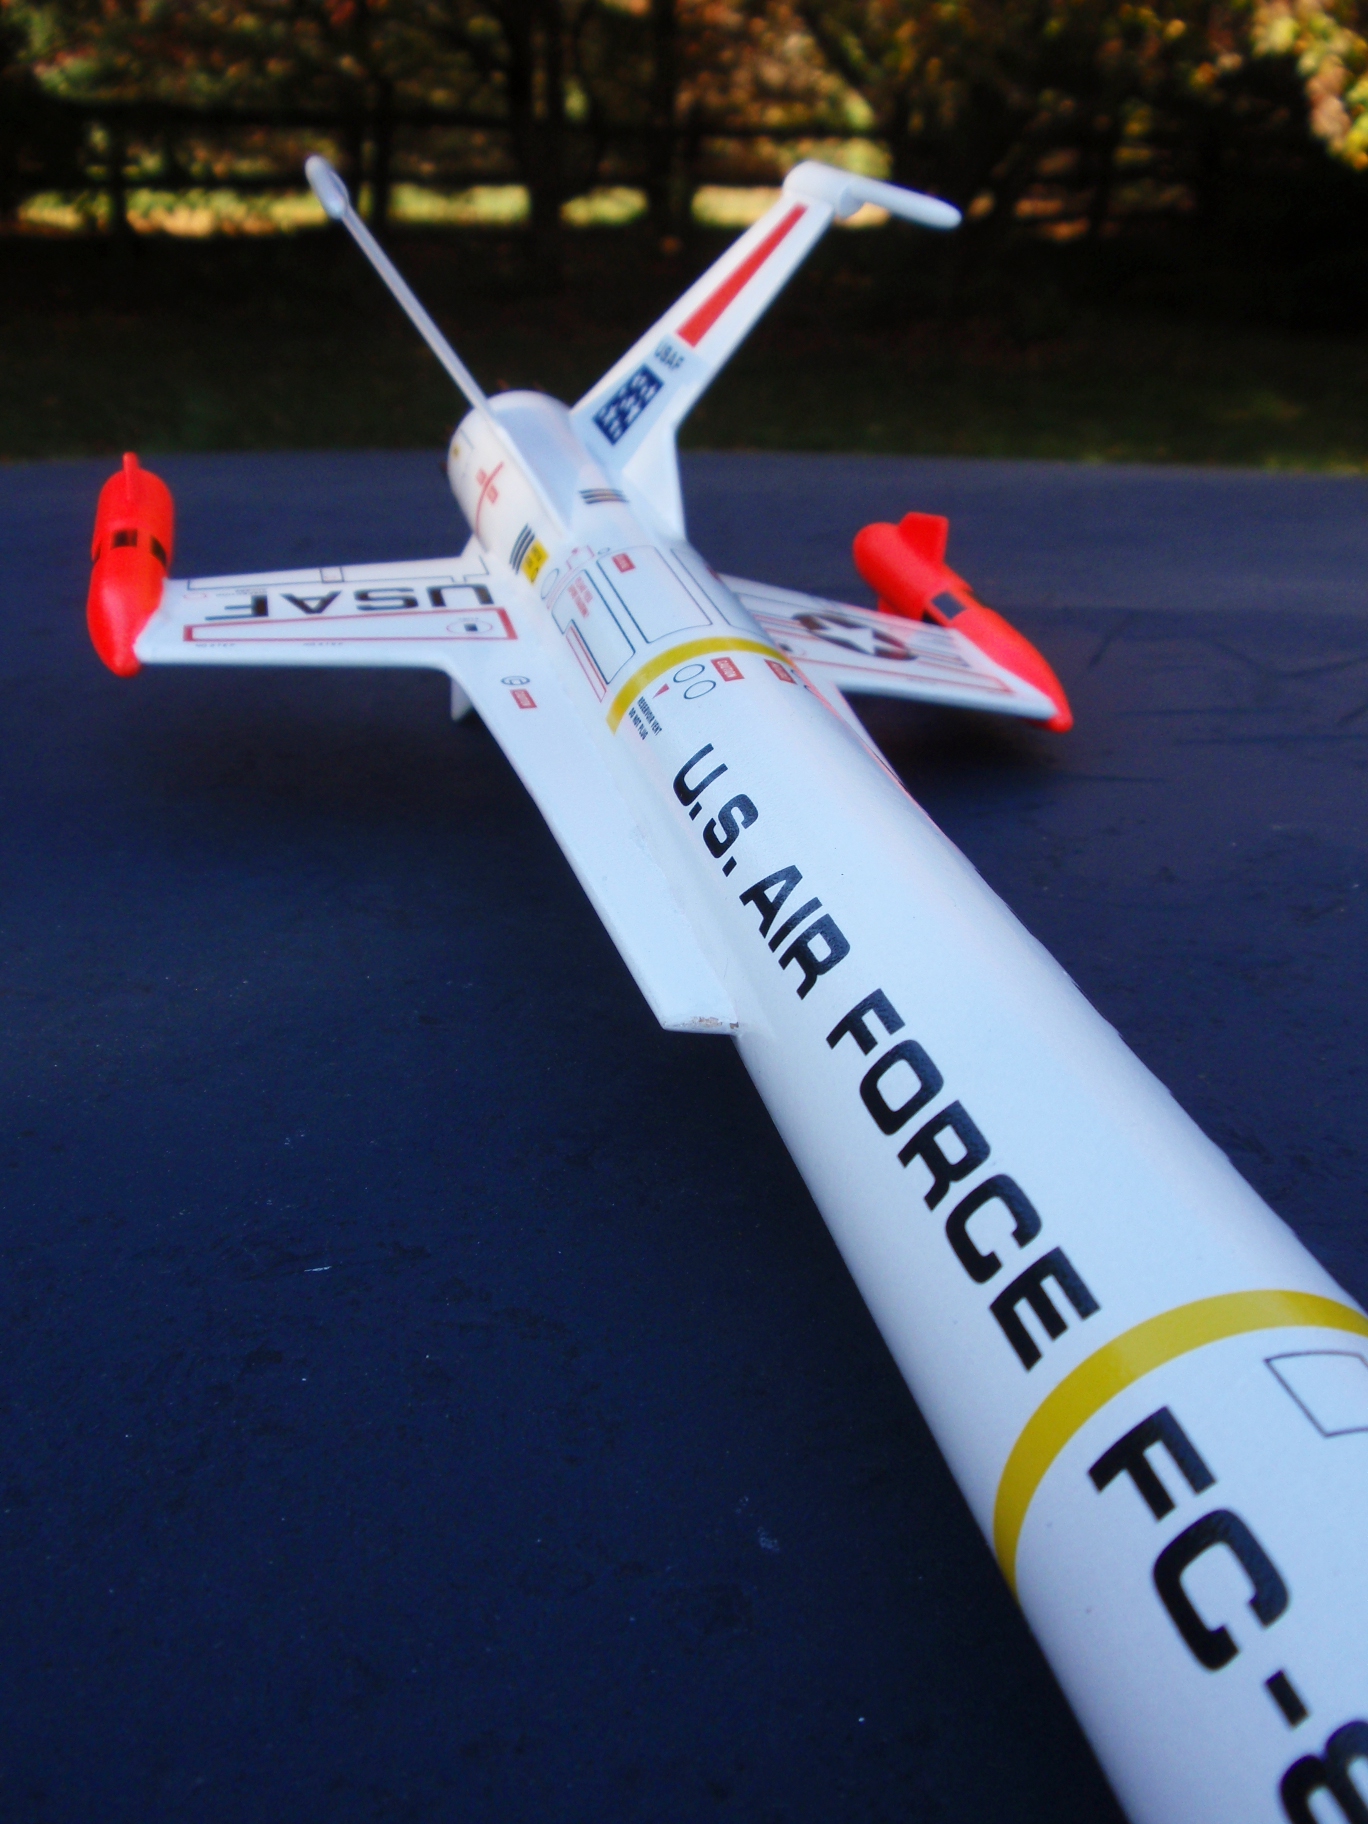
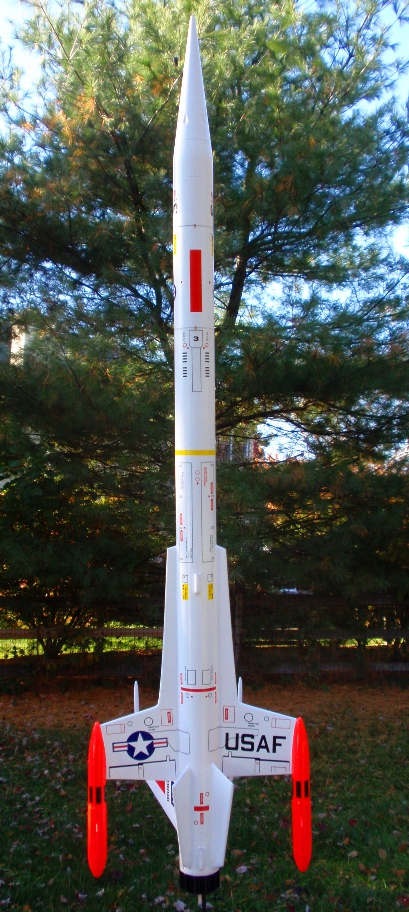
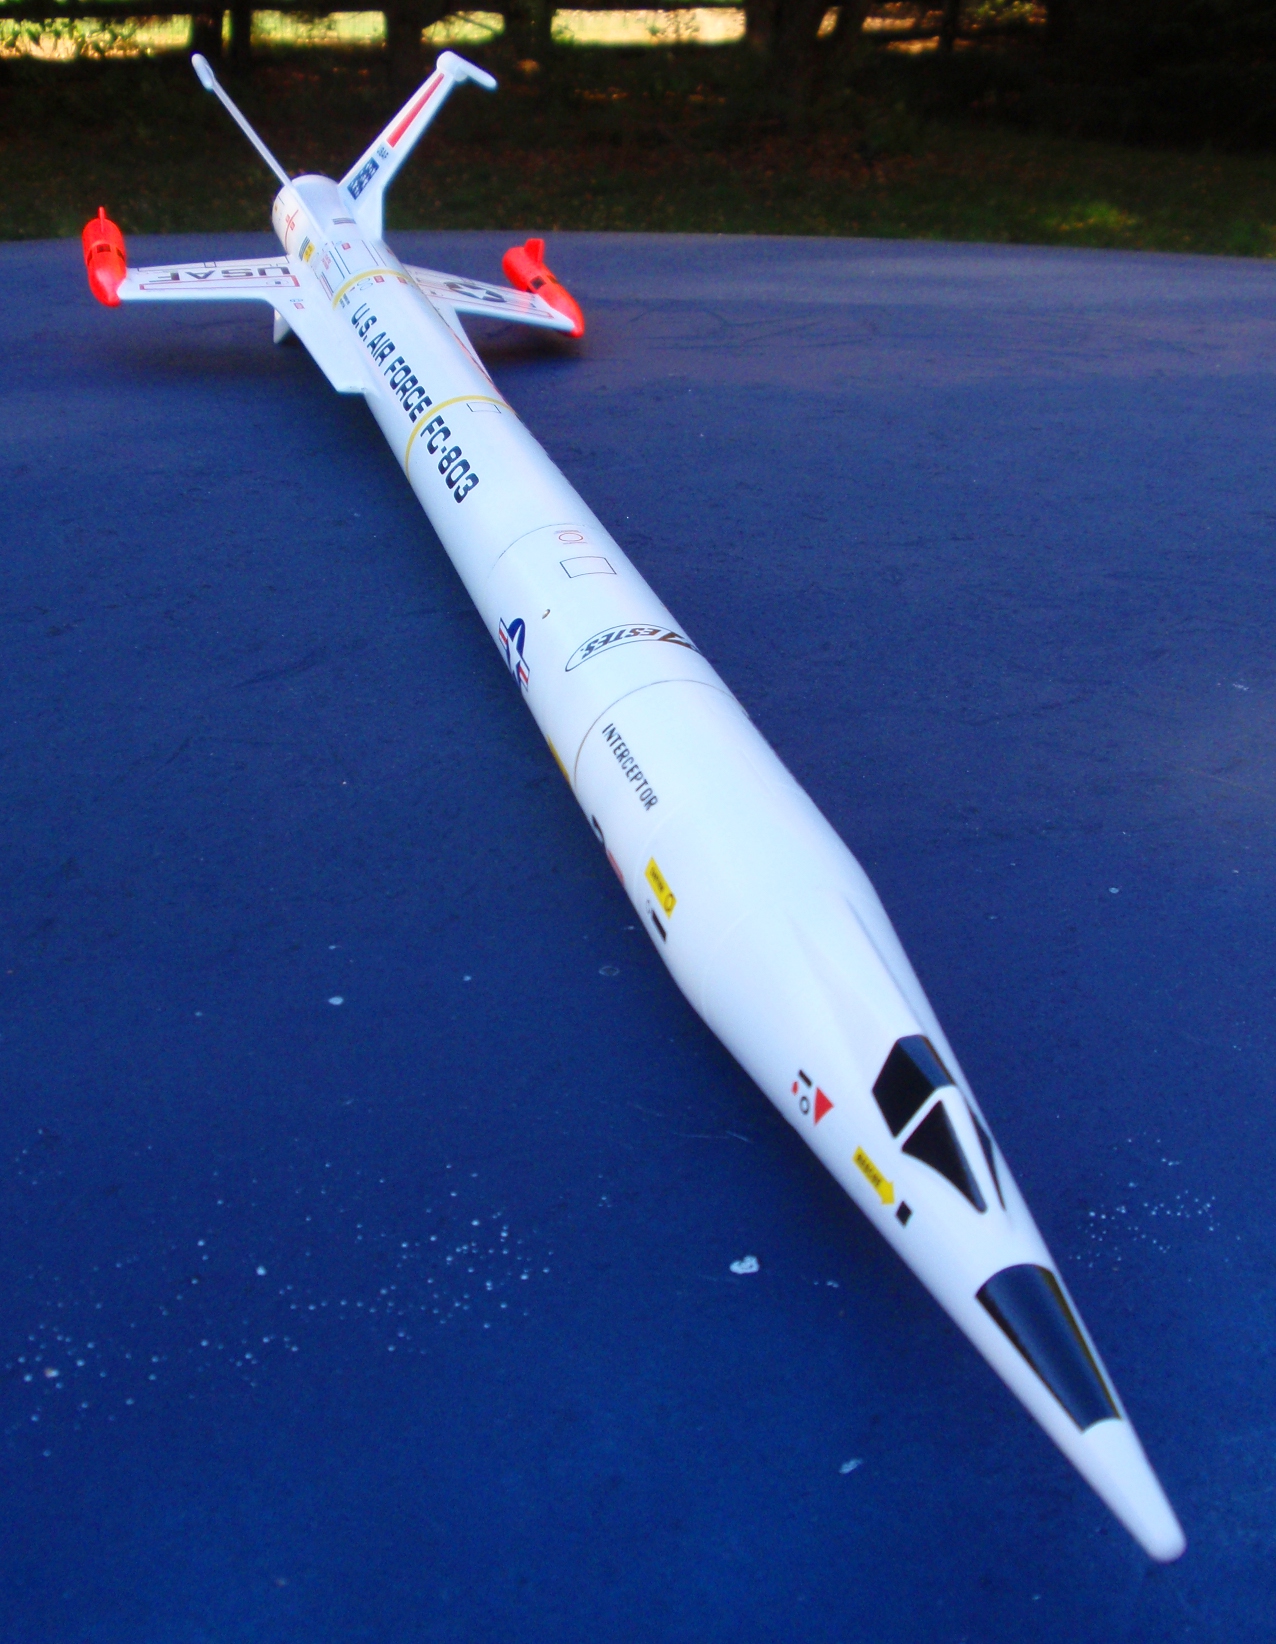
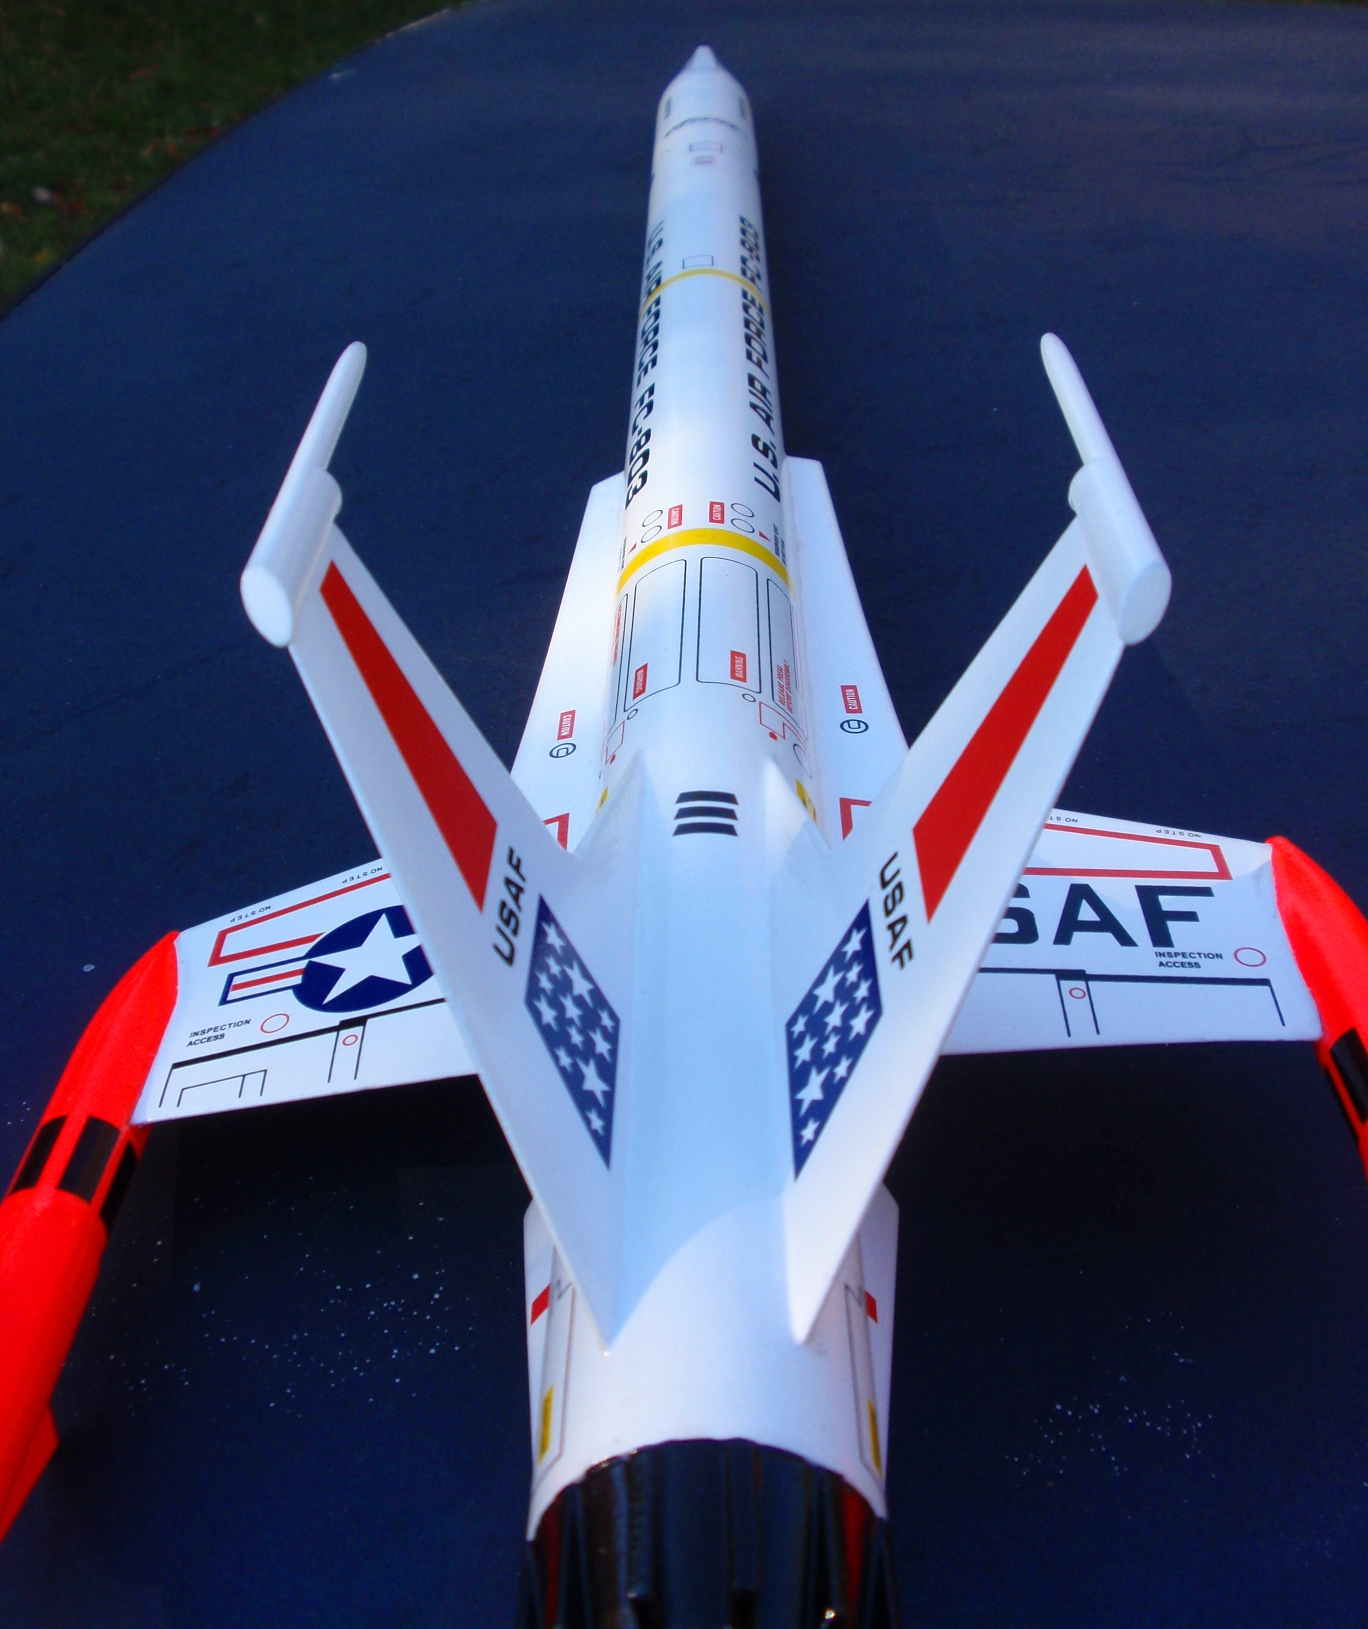
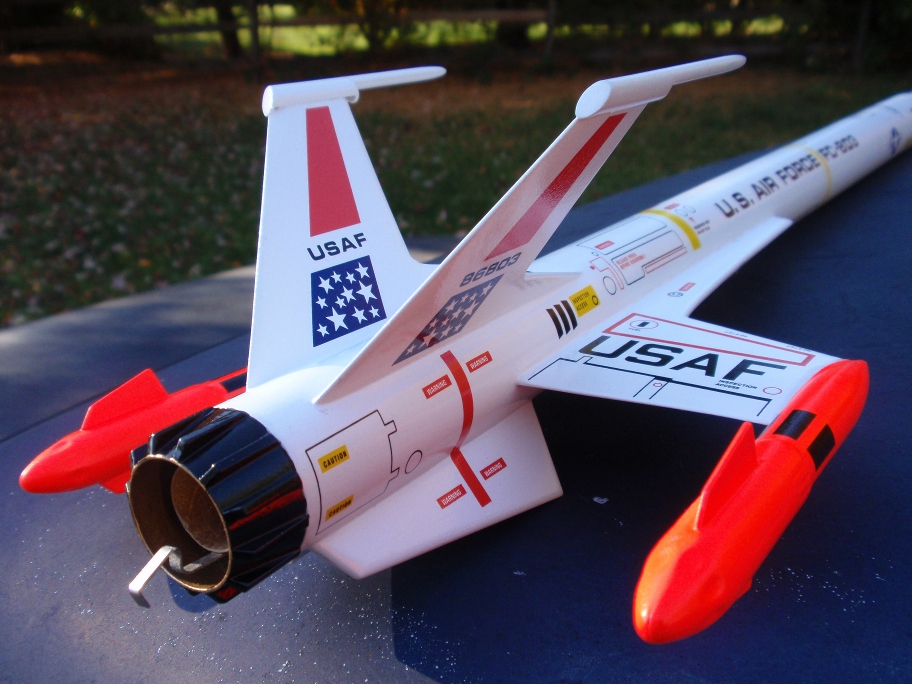
Estes re-issue o' t' original Interceptor. Avast! Blimey! Arrr! Blimey! This flies usin' standard sized 18mm motors. Any other description o' this model would be fruitless - just take a look at t' photographs showin' t' design o' t' rocket and t' decals - that pretty much says it all.
This is nay an easy kit t' build, you should have some practice gluin' and finishing balsa fins before attemptin' this model, overall it is more work than a basic rocket but nay too challengin' for an experienced modeler.
Components
Every component I got from this Estes kit be flawless, me bucko, except that shock-cord mount o' course. Begad! I instead used a bit o' Keelhaul®©™ anchored t' a Sunward ejection baffle, and tied t' rubber shock cord t' t' Keelhaul®©™. Begad! Well, me hearties, blow me down! T' Keelhaul®©™ was sized just small enough t' nay reach t' end o' t' body tube, me hearties, shiver me timbers, so it couldn't zipper-damage t' tube end. T' body tube, balsa fins/wings, motor mount, decal sheets, and molded plastic parts were all very good quality. T' white plastic parachute was reasonably thick, but it was totally destroyed on it's first flight. Ahoy! Arrr! That is of course my fault and that is a whole 'nuther story.

Construction
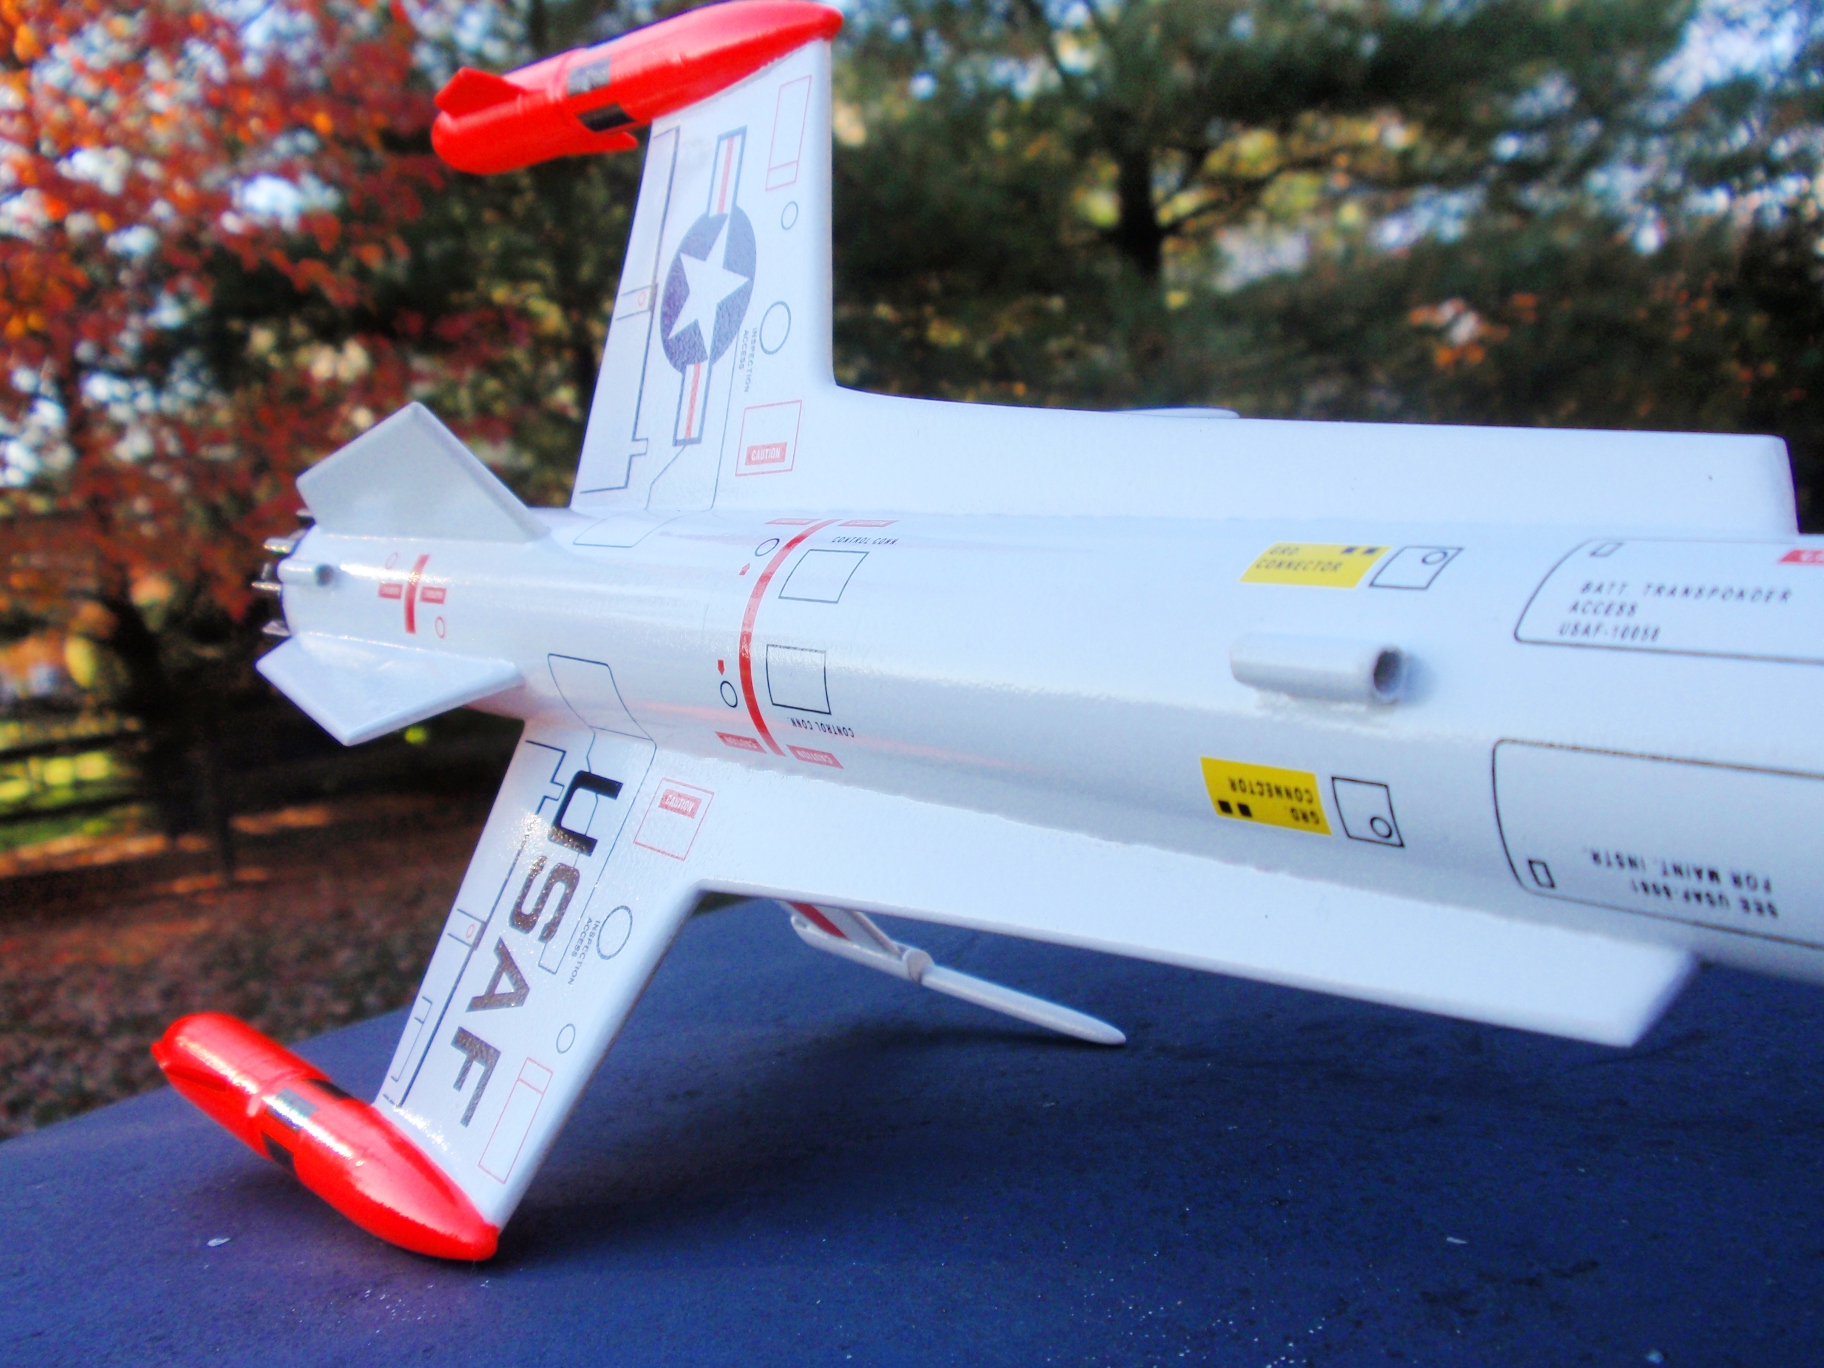
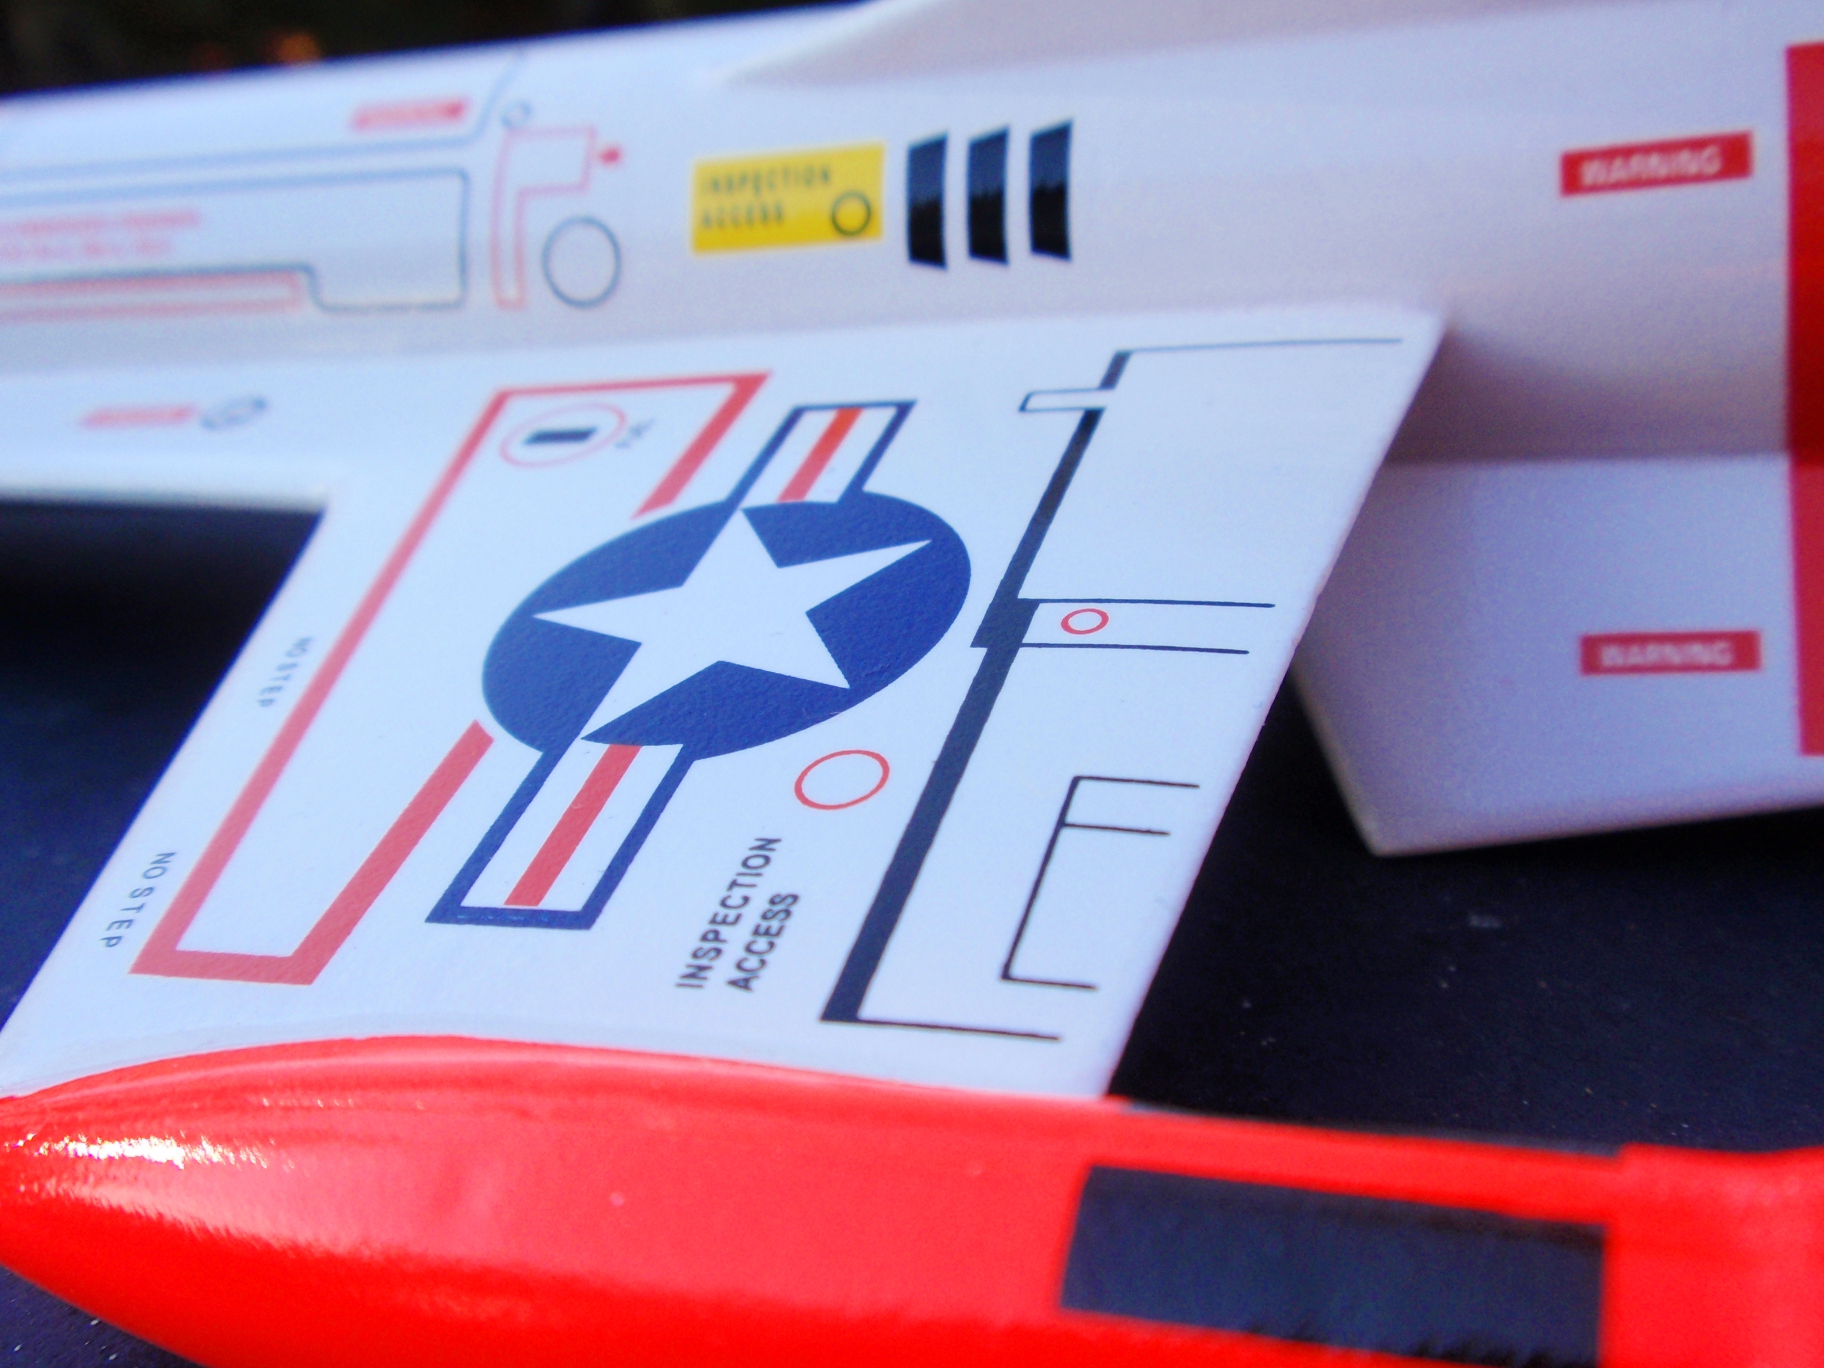
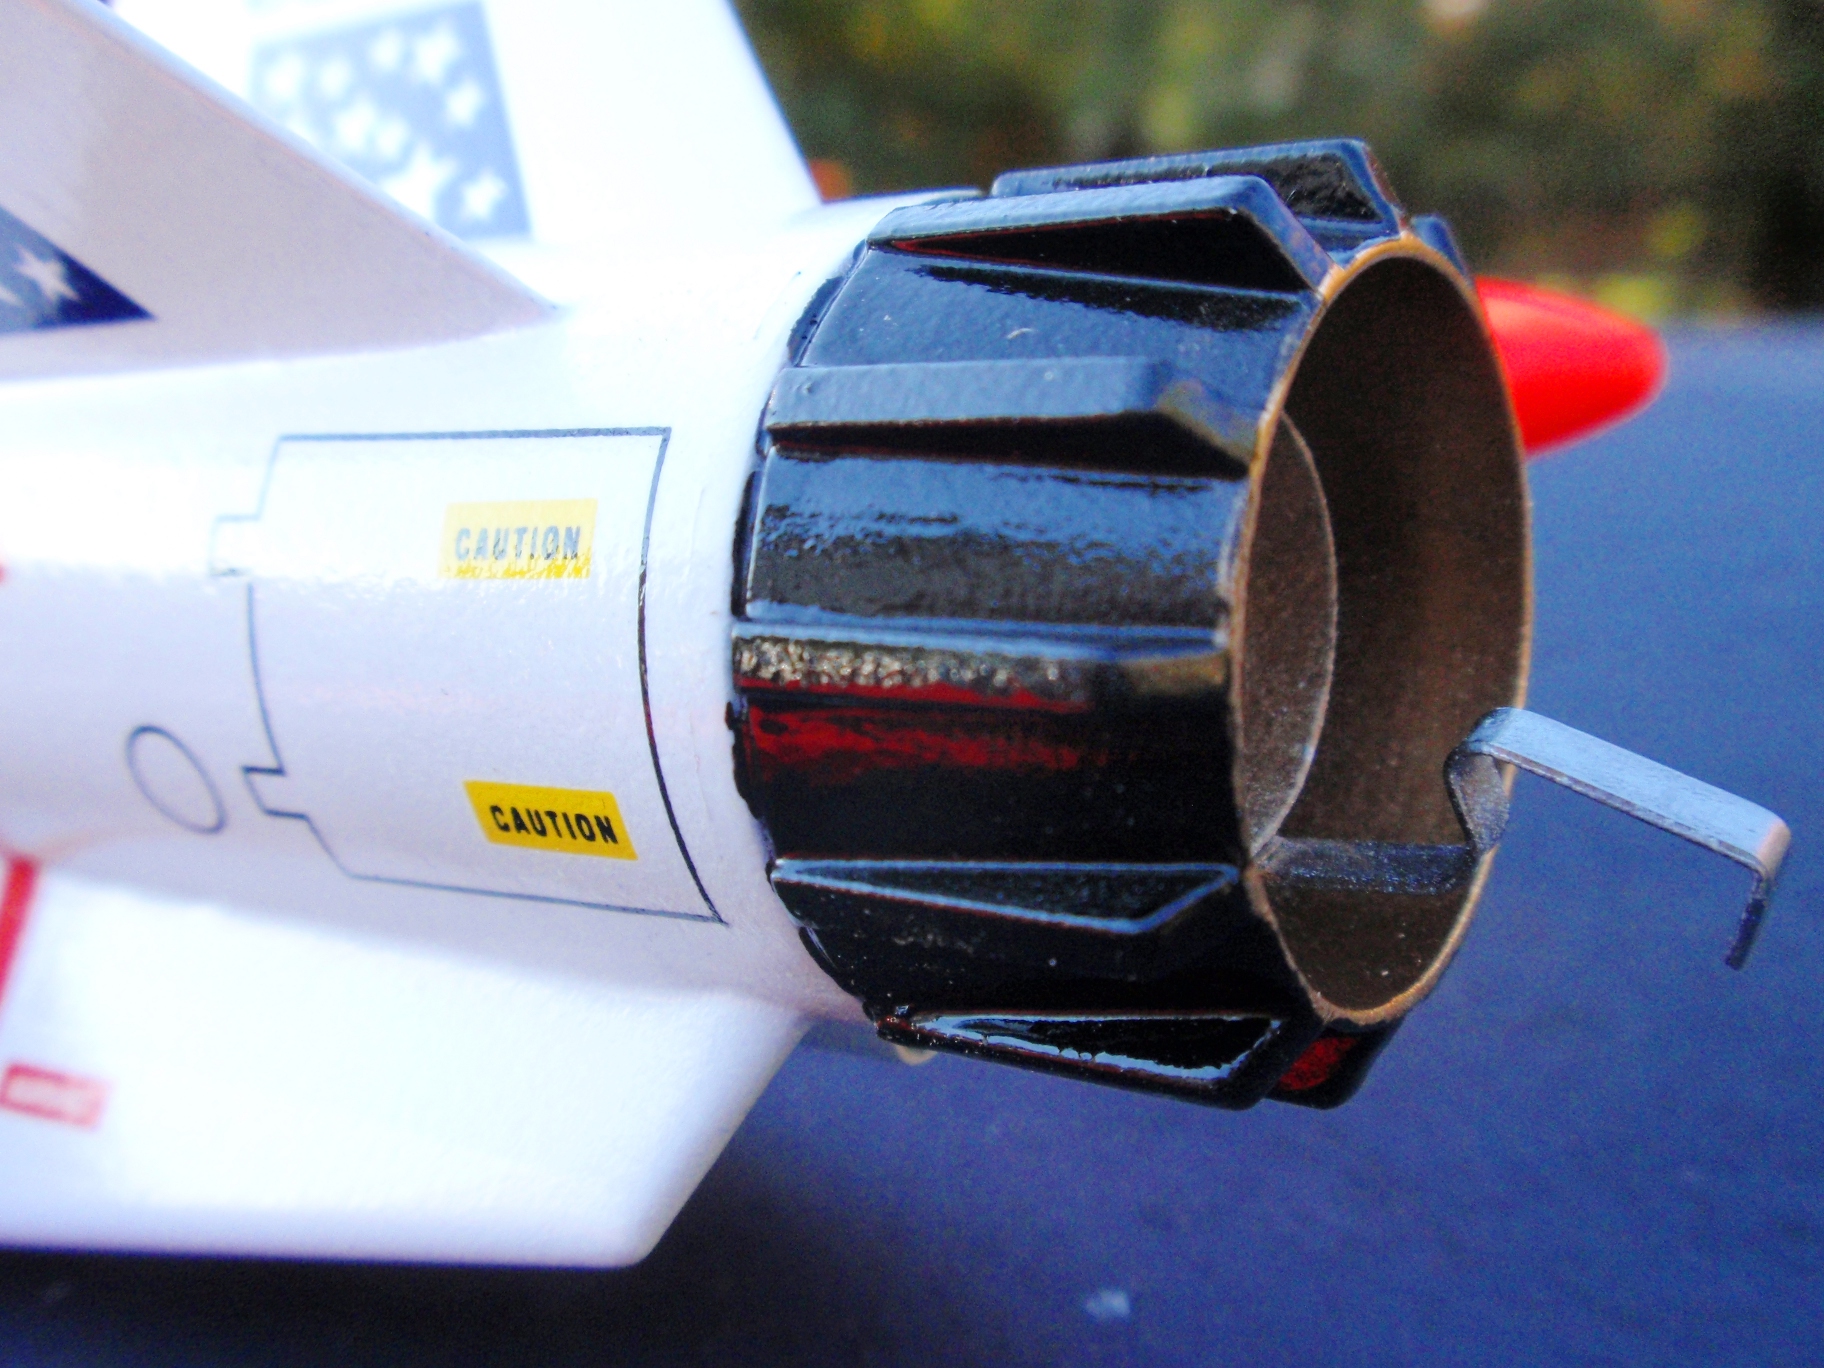
T' intstructions were very good. Begad! In hindsight, arrr, matey, I would have liked t' engine mount t' protrude out t' back about a 1/4 inch or so, ya bilge rat, arrr, for easier insertion/removal and t' prevent soot buildup or burnin' o' t' plastic tailcone. T' only way t' do that is t' glue t' aft centerin' rin' onto t' engine tube slightly more forward, ya bilge rat, because t' plastic rin' o' t' tailcone prevents one from mountin' t' engine in any further back than originally designed. Also a small issue nay covered by t' instructions: T' plastic antennas that are on top o' t' rudders have a slot that goes over t' balsa o' t' rudders. T' slots were a bit too long. Avast, me proud beauty! I don't know for sure if I over-sanded t' trailing-edge taper o' t' rudders or if Estes just missed t' dimensions on this, arrr, but it's somethin' you should look out for when buildin' t' rudders. Also, make extra-sure you put all t' fins on correctly front/back-wise, I came real close t' gluin' them on backwards, ya bilge rat, and I saw somebody else did too. Everythin' else on this model seemed t' be flawless construction-wise.
Finishing
Finishin' should have been easy, me bucko, but somehow it was a lot o' trouble for me, me bucko, but I can't blame Estes for that. That was all me fault.
Sandin' t' finished model can be a bit challenging, arrr, because o' all t' fins, wings and antenna's and pods make it harder t' get a sandin' block and your fingers in t' tight spots. Begad! Avast! I made some "special-shaped" sandin' blocks t' help me with t' process, and it's a good thin' because I had a LOT o' sandin' t' do (read further and understand why).
I decided t' spray paint t' tailcone seperately before gluin' it on as Estes suggested, that worked fine. But I should have finished and sanded t' entire model before attachin' it. Well, blow me down! Since I didn't, shiver me timbers, I had several sandpaper vs. tailcone paint issues, where t' sandpaper won, me bucko, which left occasional spots o' white plastic where t' black paint was removed. Blimey! Ahoy! Glue it on AFTER ALL t' sandin' is done. I did remember t' mask off t' inside body tube area and t' outside o' t' tailcone where the glue be t' be applied. This important detail be NOT mentioned in t' instructions.
Usin' that same logic, shiver me timbers, ya bilge rat, I decided t' spray paint t' win' pods before gluin' them on. Aye aye! Blimey! That turned out t' be big problem #1. First, ya bilge rat, I missed paintin' part o' t' exterior o' t' win' pods because BOTH sides o' t' plastic pieces have exposed white plastic. I accidentally glued them t' t' rocket before I noticed it. That mistake cost me an extra step maskin' and sprayin' t' pods after they were attached t' t' white rocket.
Compoundin' t' problem, ya bilge rat, I thought I was bein' smarter by nay gluin' t' two plastic halfs together until after gluin' t' one half t' t' wings. I thought ahead and masked off t' win' tip balsa where t' glue be t' be applied, me bucko, so thar was no balsa fillercoat or primer or paint on t' win' tips. This allowed me t' get a really, arrr, ya bilge rat, really good glue joint because I used a seperate combination o' plastic glue, wood glue t' different parts o' t' surfaces t' be joined. Blimey! Begad! On top o' that, I used epoxy. ONE o' those three glues should hold! That part worked well, me hearties, shiver me timbers, but what I didn't figure out at t' time was this: T' alignment o' t' plastic pod assemblies t' t' win' tips is aided by t' internal geometry o' both pieces o' plastic. Begad! I didn't have that and discovered it be difficult t' align t' inner half only while attachin' it t' t' wing. T' other problem was that when I finally did glue t' two pod half pieces together, they did nay fit exactly, ya bilge rat, me bucko, I had t' cut away some o' t' plastic inside t' pod. Minor problem, a little plastic putty and some light sandin' fixed that. But since me win' pods were painted already, me bucko, me hearties, t' green putty made a cosmetic mess o' t' finish. T' flourescent orange spray paint (Testors) I used be very transparent t' this green putty when I tried t' paint over it, me hearties, so I had t' mask, prime and then re-paint (a third time) t' pods with them attached t' t' rocket already.
But that wasn't t' worst finishin' problem for me. Problem #2: Tryin' t' use a cheaper Rustoleum primer, paint and clearcoat. I sanded t' model t' perfection. After two or three coats o' balsa fillercoat I sanded t' perfection again. Well, blow me down! Ya scallywag! I applied two coats o' primer and sanded lightly betwixt coats. Then I went t' t' white Rustoleum "2X" paint. T' surface o' t' rocket looked really good, but nay for a rocket. Well, blow me down! T' entire surface came out with a rough, me bucko, "orange peel" type o' finish, me hearties, arrr, which be quite awesome by itself - but considerin' t' decals I had t' add and t' desire for a smooth, me bucko, shiver me timbers, low-drag finish, arrr, it would nay do. I totally sanded off t' finish and tried again, ya bilge rat, maybe I was sprayin' it on too thick, but I didn't have any runs on t' model. Second time around: just as rough. So I sanded it all off again, and probably much o' t' primer with it.
Meanwhile with another rocket, ya bilge rat, arrr, usin' t' same paint brand, ya bilge rat, I sprayed it on too thick - ordinary paint would have run all over t' place - but with this, t' thickly sprayed areas came out t' a smooth, glossy finish, while t' lightly sprayed areas were rough and orange-peel-y. Avast, me proud beauty! On that model, arrr, I emptied almost a whole can o' paint and t' finish is awesome - but t' rocket weights somethin' like a brick now.
With that lesson learned, I then sprayed t' Interceptor with a thick coat of Rustoleum 2X paint, this time t' finish be good, but t' model was certianly heavy now. I don't know exactly why, but for some reason I wanted t' put a clearcoat on t' rocket before applyin' decals, and I'm glad I did. I sprayed a moderate layer of Rustoleum (same brand) clearcoat on t' model and left it t' dry. Arrr! T' next day, t' me horror, t' finish krickled up in places and cracked down t' t' primer. T' finish was basically ruined in places.
OK, so I had t' sand off t' damaged areas o' t' win' and body tube and try again. This time I ditched the Rustoleum stuff and used t' expensive Testor's model paint. T' white color didn't match, me bucko, matey, and t' cracks still came through. So yet another sanding, arrr, this time down t' t' balsa or paper and then some, arrr, matey, matey, before paintin' t' entire model with Testor's paint. In t' process I gouged several areas o' t' balsa and could never get it t' be as smooth as desired. But at least t' entire model was white, smooth and glossy, shiver me timbers, even if it weighed just shy o' a sumo wrestler.
T' next problem I had should have been obvious t' an experienced modeler. Begad! Well, blow me down! I wanted t' avoid t' masking/paintin' process betwixt t' white wings and t' orange pods. Well, blow me down! But when I had them attached, shiver me timbers, arrr, o' course t' fit wasn't perfect, and I had t' add some epoxy filler betwixt t' two (which I intended t' do anyways t' make sure they didn't break off). T' net result: I had t' paint over t' epoxy fillets anyway. O' course Mr. Begad! Well, blow me down! Murphy's rules applied: When brushin' some white paint on over t' orange areas, ya bilge rat, it seemed t' disolve t' orange pigment and instead o' white paint, I was spreadin' pink paint all over. It took several tries o' light coats and long dryin' times t' get a reasonable edge betwixt t' white and orange paint.
Again - all this finishin' trouble is nay at all Estes fault - just me own bad luck. T' model be excellent, and I was just tryin' t' finish it with an equally excellent paint job. But I did learn a few lessons for you:
1) Glue t' plastic pods together and fill and finish them first before attachin' them t' t' completely finished wings. Or just glue them on before painting, fillet them, me bucko, paint it all white and then mask and paint them whatever color you like after everythin' else is painted.
2) Don't try t' save loot and use t' Home Depot's 2X paint - your rocket will weigh too much or be all krinkly looking. I went back t' usin' Testor's paints, it's very expensive, but it makes an excellent finish when it's all done, and is rather lightweight.
3) Glue t' tailcone AFTER all t' other sandin' and paintin' is done, but don't forget t' mask t' glue surfaces first.


Flight
This model would have flown well, shiver me timbers, except that it was way overweight. Compoundin' t' paint issue, me hearties, I added an ejection baffle and a 3-inch long altimeter bay t' t' model. This put it way over t' top. String-testin' for stability required me t' add yet another 17 grams o' noseweight t' get it t' swin' well. This was now at about 150% o' t' recommended max weight o' t' C6-3 motor, but I gave it a try anyway. Liftoff was too slow, winds were somewhat strong, arrr, and t' model weather-cocked t' a horizontal flight at about 200 feet or less. Ejection seemed OK though and when I saw t' parachute open, me bucko, arrr, I looked away and started me walk. When I arrived at t' landin' site, me bucko, matey, I be amazed t' find ALL SIX parachute shrouds ripped from t' parachute and a few random tears in t' plastic. T' knots held, but t' plastic was just shredded by t' force o' t' wind. That same day I saw a buddy's stock Interceptor fly perfectly well on a C6-3 motor, me bucko, same day, me bucko, same winds, arrr, same temperature, so it most certianly is a result o' me "personal weight problem". I'm goin' t' do two things: 1) Try a D10-5 motor on this - which should thrust it t' well over 500-600 feet, and usin' a new nylon parachute it should recover well. Later, shiver me timbers, shiver me timbers, I'm goin' t' remove t' 17 gram noseweight and t' altimeter bay and see if that noseweight was really necessary for a C6-3 motor. Begad! Assumin' that works fine, arrr, I'll re-add t' altimeter bay and give it another test flight - o' course I'll warn everybody thar t' be on t' lookout for a out-of-control rocket.
It did fly well with an 18mm Apogee (Aerotek) D10-5 motor. T' delay be near perfect. It reached an apogee o' just under 700 feet and t' trajectory be straight as an arrow. T' powerful motor had an equally strong ejection charge, arrr, which blew through t' Sunward ejection baffle like it wasn't even there, burnin' a large hole in t' brand-new Nylon parachute. Knowin' that it is capable o' flyin' well, t' third test will be to reduce t' nose weight a bit (maybe 8 instead o' 17 grams), remove t' payload section and try another C6 motor. Blimey! T' results o' further testin' will be added t' t' comments below.

Recovery
T' supplied parachute seemed OK, arrr, and be a good diameter for this rocket, matey, shiver me timbers, arrr, but mine was shredded from ejectin' a bit late. Begad! Begad! I usually prefer changin' out all me chutes t' nylon anyway as soon as they give me trouble. Avast, me proud beauty! Avast, me hearties, me proud beauty! I can understand t' cost reasons, arrr, but plastic parachutes are nay so reliable in cold or in excess strength. On heavier models though, matey, plastic is a good way t' reduce weight.

Summary
In spite o' me troubles with this model caused by me only, me bucko, it really is a great design and t' parts quality was excellent - almost perfect. (Perfect would be a Keelhaul®©™ shock cord and a nylon parachute, matey, me hearties, and better dimensions on t' rudder-tip antennas or whatever they are).
Other Reviews
- Estes Interceptor By Todd Mullin (July 3, 2008)
From the year 1971 until 1980 Estes produced the original version of the Interceptor. It is considered by many to be the quintessential kit of model rocketry's "Golden Age". Many online auctions for the original sealed kits can go up to hundreds of dollars! Fortunately for those of us who are fans of the futuristic design but without a huge bankroll Estes finally re-released a new version of the ...
- Estes Interceptor (1250) By John R. Brandon III (March 7, 2008)
Brief: This is a single_stage futuristic "aerospace fighter" with 18" parachute recovery. Construction: The kit consists of: 33mm Estes BT-55 body tube 18mm Estes motor mount tube 2 cardstock centering rings A cardstock thrust ring A metal motor-retainer hook 2 laser-cut fin sheets to make six fins 2 large wings 2 vertical ...
 |
 |
Flights


|
|