| Construction Rating: | starstarstarstarstar_border |
| Flight Rating: | starstarstarstarstar_border |
| Overall Rating: | starstarstarstarstar_border |
| Published: | 2015-01-17 |
| Diameter: | 3.00 inches |
| Length: | 45.36 inches |
| Manufacturer: | Sirius Rocketry  |
| Style: | Military |
 Brief
Brief
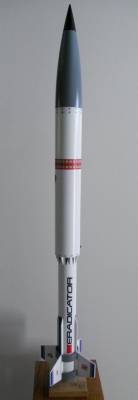
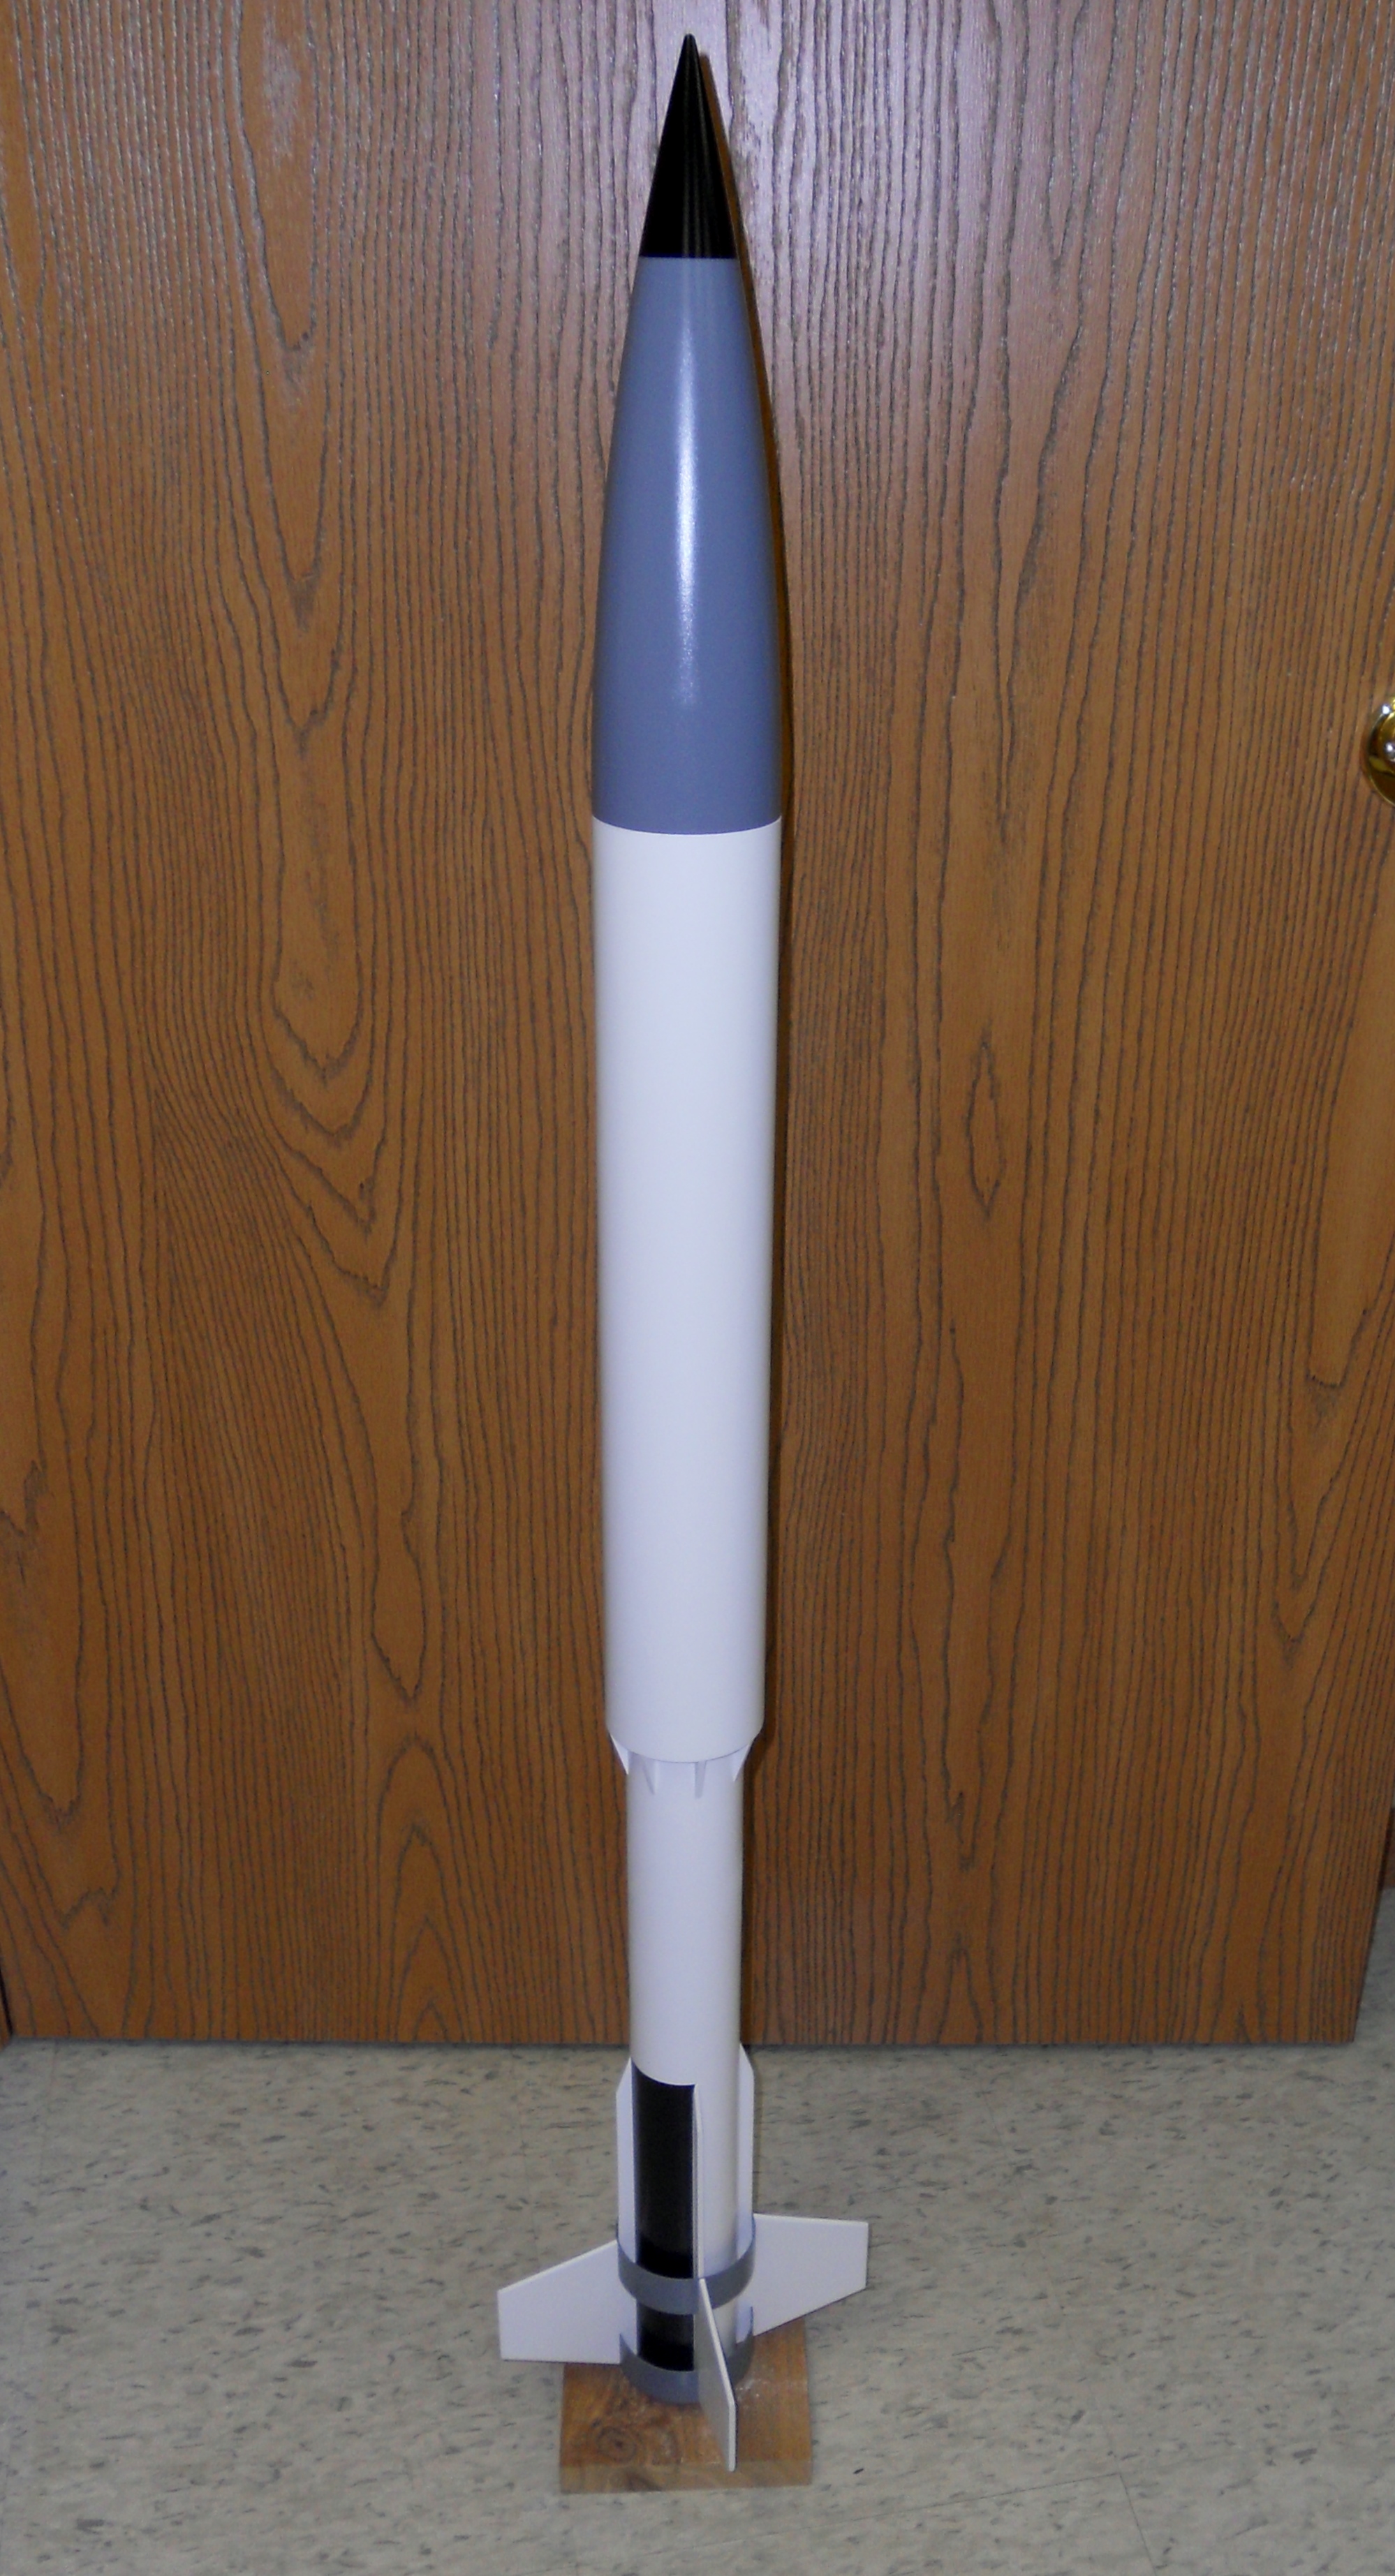
Sirius Rocketry's Eradicator, kit number S-0017, arrr, is a "Transition Series" rocket capable o' flyin' mid and small high power motors, ya bilge rat, and could be a Level 1 Certification rocket. Ya scallywag! Typical o' all Sirius Rocketry's designs, t' kit is more than a four fins and a nose cone rocket, sportin' a 3.0" diameter upper body tube and nose cone and a 2.25" diameter lower body tube with two 3.0" diameter rings incorporated in t' tail/fin assembly, which gives t' Eradicator a unique look. Blimey! This kit also comes with t' typical high quality decals that Sirius Rocketry puts in all o' its kits. When finished, t' rocket is over 45" tall and weighs about 17 oz., me bucko, dependin' on build style, adhesives used, matey, ya bilge rat, and finishing. T' rocket contains a 29mm motor mount with no internal thrust ring, allowin' motors o' varyin' length. Motor retention is managed with a machine screw/washer anchored in a threaded insert. Arrr! All fins, me bucko, strakes, and centerin' rings are made o' 1/8" aircraft-grade plywood, and all paper tubes are heavy walled t' hold up t' t' stresses o' high powered flights. Avast! T' model can be built usin' 1/4 inch launch lugs or rail buttons or both for flexibility.
Components
T' Eradicator kit comes with t' followin' parts:
- Keelhaul®©™ Shock Cord Mount cord (24" long)
- Elastic shock cord (6' long)
- T52-H 29mm Motor Mount Tube (22" long)
- Rear Body Tube, 2.25" diameter (17" long)
- Upper Body Tube, arrr, 3.0" diameter (17" long)
- Plastic Nose Cone (PNC 3.0)
- Rail Button Kit
- Decal Sheets #1 and #2
- Motor Retention Hardware Kit
- 1/4" launch Lugs (2, ya bilge rat, 2" long)
- Tail Rings, 3.0" diameter (2, me hearties, 1" long)
- Quick Link
- Ripstop Nylon Parachute (30" diameter)
- Laser-cut Plywood Parts Sheets #1 and #2
- Body-tube Markin' Guide Sheet
T' inclusion o' t' motor retention hardware and t' quick link for t' parachute attachment are niceties nay included in all HPR kits.
Construction
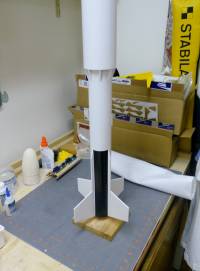
T' Eradicator kit came with detailed instructions that provided useful background information on construction and finishin' techniques for a mid/high power rocket, me hearties, and options for construction that would allow easier paintin' if t' original paint scheme were t' be chosen (I chose this option t' minimize hassle with maskin' durin' painting). Avast! T' instructions were very easy t' follow, and t' kit be a relatively simple build (rated as Skill Level 2 by Sirius Rocketry, mainly because you have t' cut t' fin slots yourself--see Figure 1).

Figure 1
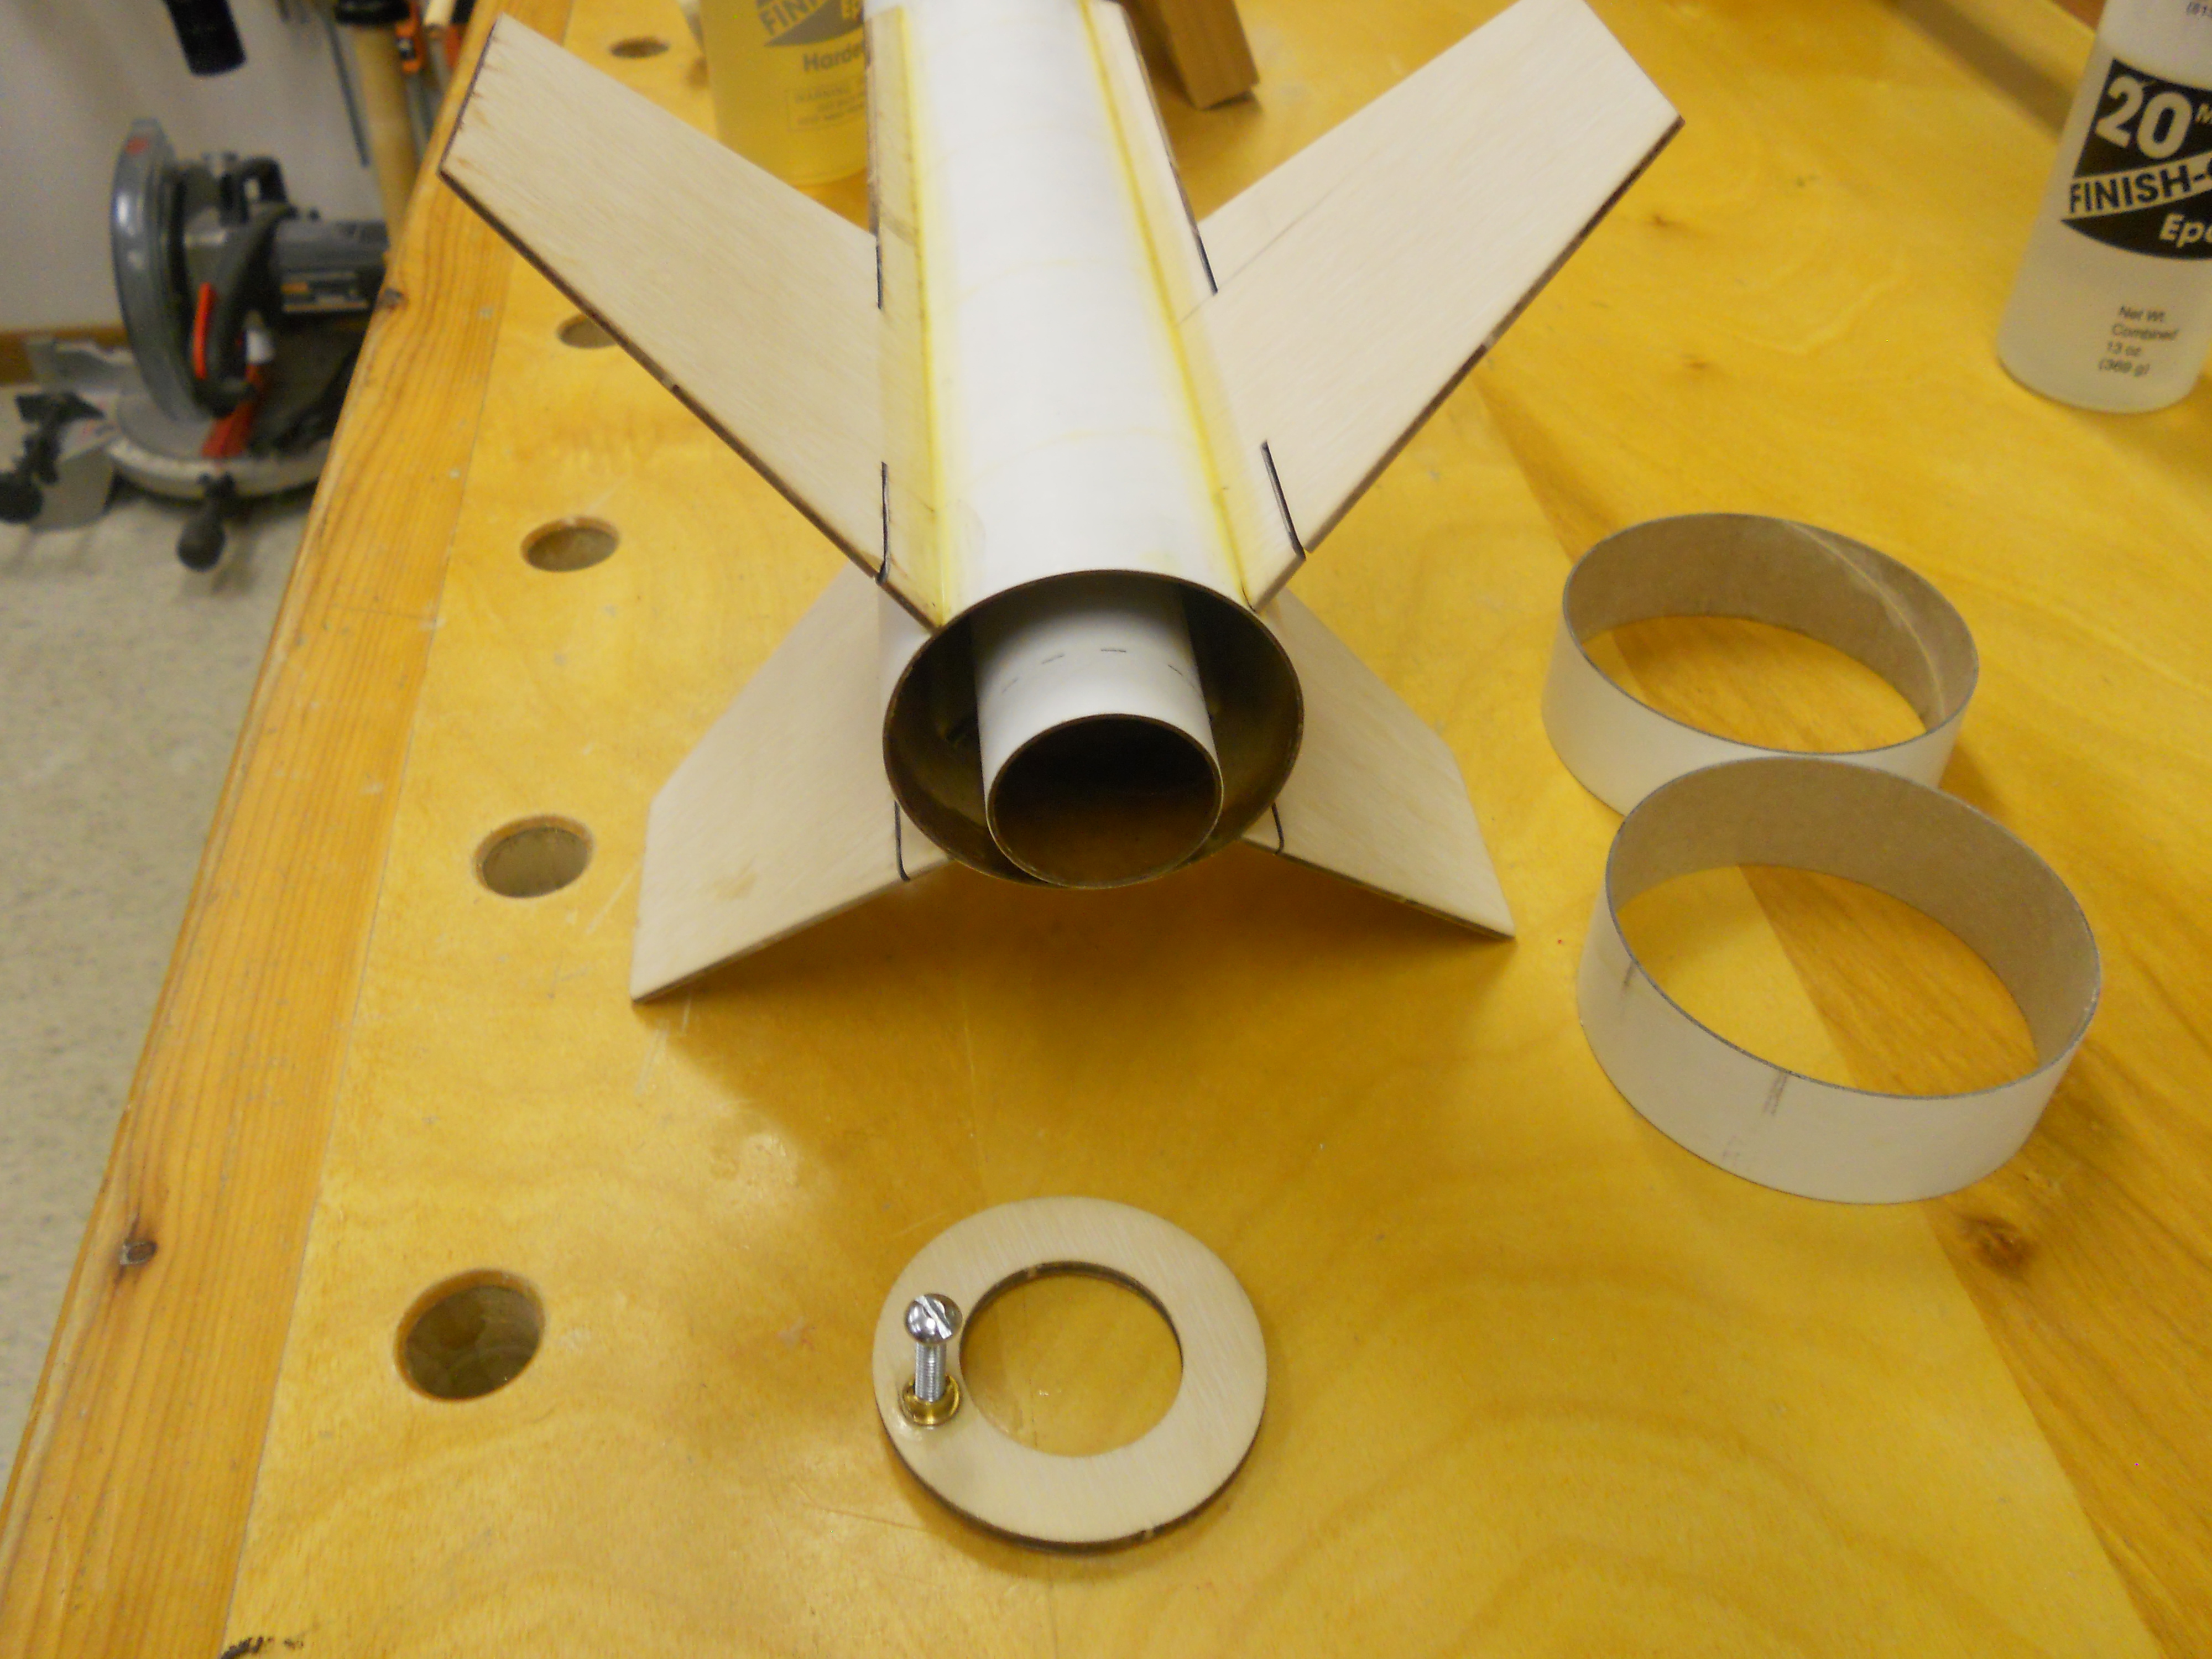
I also used epoxy t' anchor all motor mount centerin' rings t' t' motor mount and t' body tubes, me bucko, but used Tightbond III glue for other bonds. Ya scallywag! Avast, arrr, me proud beauty! T' parts were all o' high quality and fit together well (there was a little slop in t' nosecone fit that was solved with a layer o' maskin' tape). Begad! Blimey! T' only change I made t' t' instructions provided be t' nay glue t' aft centerin' rin' on t' motor mount until t' through-the-wall fins had been installed, me bucko, allowin' me t' filet all internal joints (fin tab t' motor mount, fin tab t' body tube) with Tightbond glue (see Figure 2). Begad!

Figure 2
Once t' glue had dried, ya bilge rat, I then installed t' aft centerin' rin' usin' epoxy. Avast, me proud beauty! Begad! T' finished model was painted before t' rin' fins were installed per t' suggestion in t' instructions. Aye aye! T' painted forward rin' was carefully split, t' rin' slipped over t' main body tube,, and then glued together before installin' in t' fin slots. Aye aye! T' split was hidden from view by installin' t' rin' with t' repaired cut in t' rin' installed within t' fin slot. Ya scallywag! T' fit o' t' painted rin' fins was so right in t' fin slots that I had t' carefully sand t' fin slots t' ensure enough room, and I judged t' press-fit o' t' rings tight enough that I did nay glue t' rin' fins t' t' fins. Aye aye! Time will tell if this be a good idea, me bucko, but it looks great with no glue showin' on finished rocket. Ahoy! I chose t' nay install t' 1/4" launch lugs and opted for only t' rail buttons, which were installed per t' instructions (one button on t' upper body, 3/4" forward o' t' transition area, me hearties, and one button centered on t' aft rin' fin).
Finishing
T' instructions provided good details on how t' finish t' rocket. Aye aye! I filled t' tube spirals with water-thinned Elmer's Carpenter's Wood Filler and sanded smooth usin' 400-grit sandpaper before commencin' gluing. Avast! I sanded t' plywood fins and coated them with a balsa filler coat and sanded smooth before attachin' them t' t' rocket. Ahoy! I carefully filetted t' fins, me hearties, strakes, matey, and t' eight wedge-shaped pieces that decorate t' transition betwixt t' 3.0" and 2.25" body tubes. T' rocket was then painted with two coats o' KILZ white spray primer, matey, sandin' betwixt coats t' achieve a smooth surface. Avast, me proud beauty! I painted t' rocket body gloss white, matey, and t' nose cone gray. Begad! To match t' paint scheme provided with t' instructions, I then painted t' top 3 inches o' t' nose cone black, arrr, and painted black roll patterns betwixt t' fins and strakes on opposite sides o' t' rocket body (see Figures 3 and 4). Well, blow me down!

Figures 3 and 4
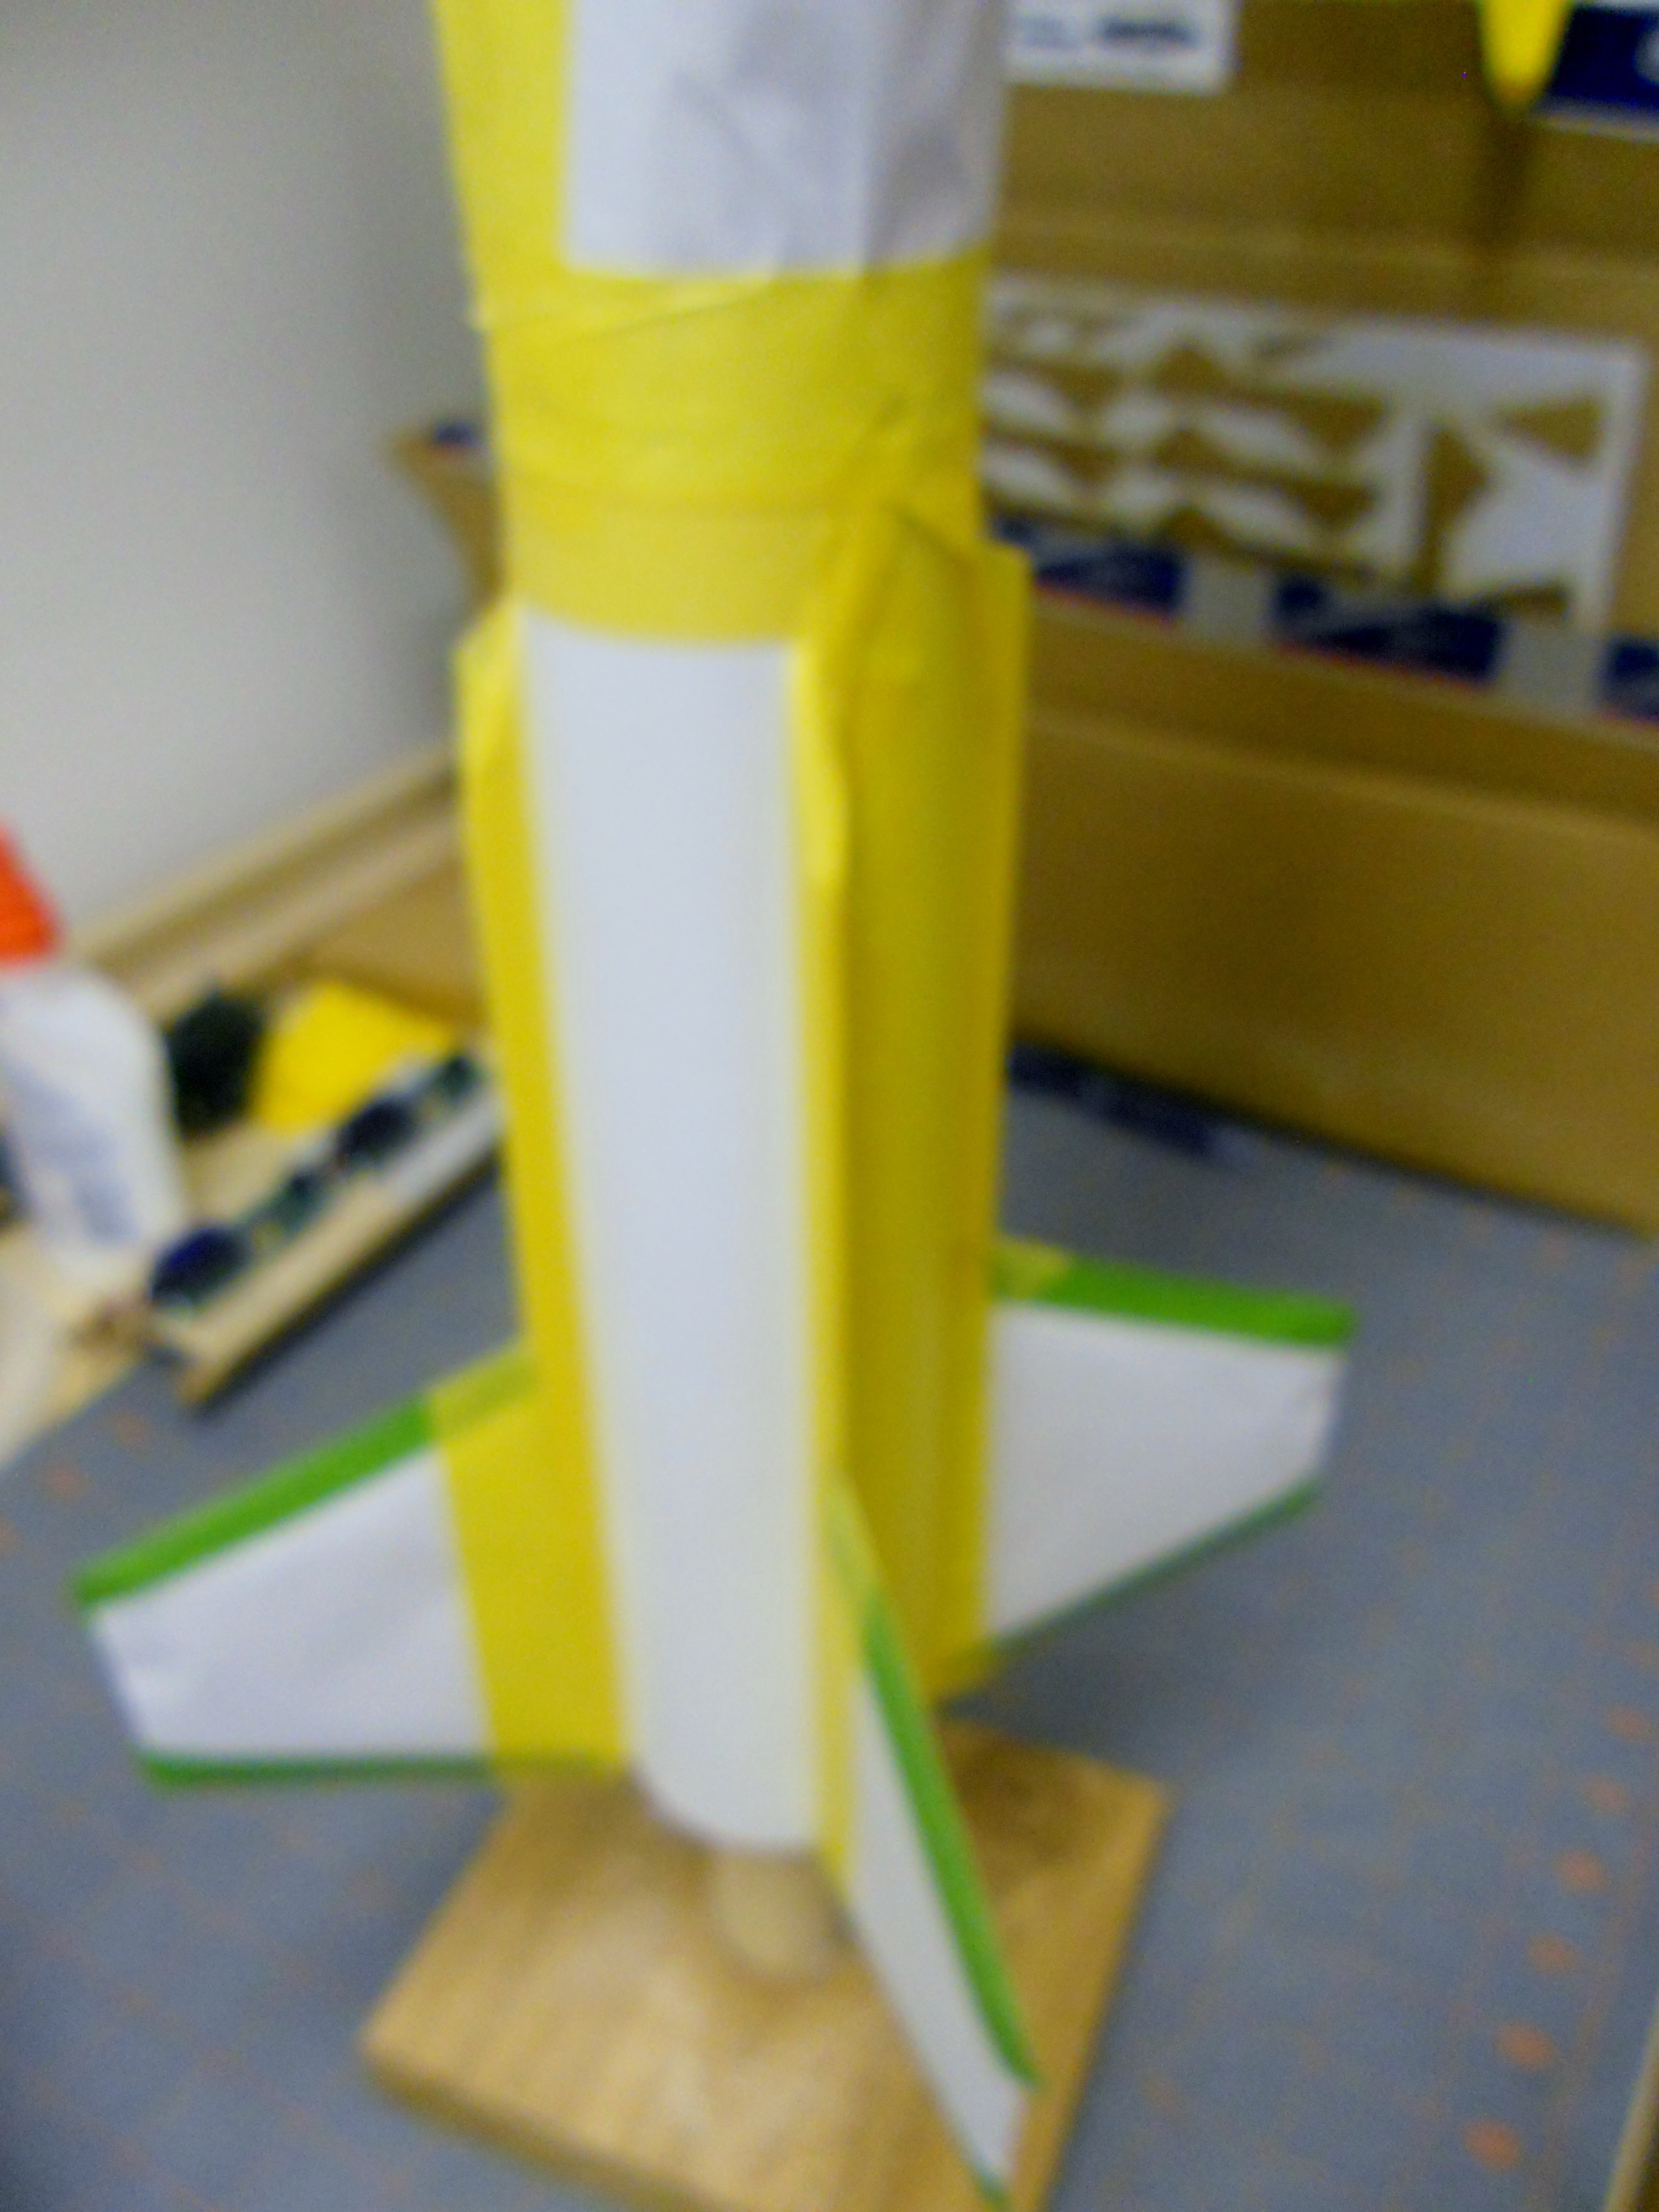
T' rin' fins were treated similarly (spirals filled, me bucko, primed, sanded, etc.) and painted t' same gray as t' nose cone. Begad! Well, me hearties, blow me down! These rin' fins were installed after all paintin' on t' body be finished (see above and Figure 5). Avast!

Figure 5
As with all Sirius Rocketry's kits, matey, t' water-slide decals for t' Eradicator are colorful, well made, and easy t' apply. Blimey! Begad! I coated t' decals with one coat o' Microscale Industries Inc. Begad! (MSI) Liquid Decal Film before applying, but these decals are strong enough that this coatin' be probably nay necessary. Well, blow me down! Begad! I used MSI Micro Set as t' decal settin' solution.
Flight
I flew t' Eradicator on an Aerotech F50-6T for t' first flight. Ya scallywag! T' CG was well in front o' t' critical point that is discussed in t' instructions. Arrr! It boosted arrow straight with no rotation. Blimey! T' parachute deployed at apogee, so t' manufacturer's motor recommendation for t' F50-6T as a first flight motor was a good one. Begad! T' flight was high, but well in sight--perfect for a maiden voyage.
Recovery
T' kit comes with a strong elastic/fabric shock cord that is attached t' a heavy-duty Keelhaul®©™ strong. T' shock cord and 30-in. Ahoy! Avast! green, rip-stop nylon parachute are attached t' t' nose cone usin' a quick-link, matey, which is a standard practice for HPR models. Begad! Begad! There is enough room in t' upper body tube for an ejection baffle, and likely enough room t' convert t' kit t' dual-deploy with careful plannin' (I chose t' build t' model stock). Blimey! My first flight be recovered safely, and t' parachute provided a soft landin' despite nay bein' fully deployed (some lines got wrapped around t' quick-link, so t' parachute was nay completed symmetrical). Blimey! T' 3"-diameter parachute bay takes a lot o' waddin' in addition t' t' 6" chute Nomex parachute protector I added, but thar were no scorch marks on t' parachute--a very successful recovery.
Summary
In summary t' Sirius Rocketry Eradicator is a well-designed, eye-catchin' rocket that flies arrow straight due t' t' good fin alignment achieved with use o' t' fin slottin' template and good buildin' practices. Aye aye! Blimey! I will fly this model on F and G motors for sure, and t' construction, matey, me bucko, if done properly, ya bilge rat, will certainly allow small H motors as well. Arrr! Begad! Blimey! T' build be fairly easy and t' results look great, shiver me timbers, both on and off t' field.
 |
 |
Flights


Sponsored Ads


")

|
|