| Construction Rating: | starstarstarstarstar_border |
| Overall Rating: | starstarstarstarstar_border |
| Published: | 2021-02-13 |
| Diameter: | 1.64 inches |
| Length: | 31.00 inches |
| Manufacturer: | Estes  |
| Skill Level: | 2 |
| Style: | Sport |
 Brief
Brief
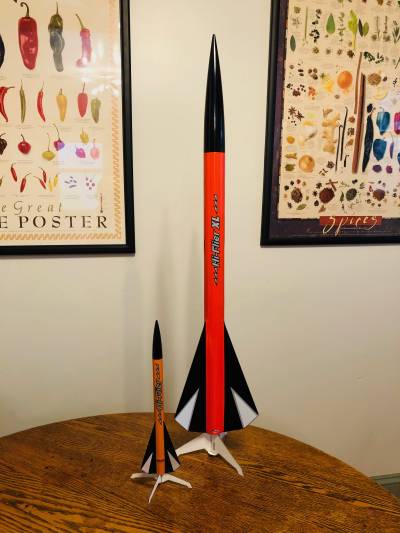
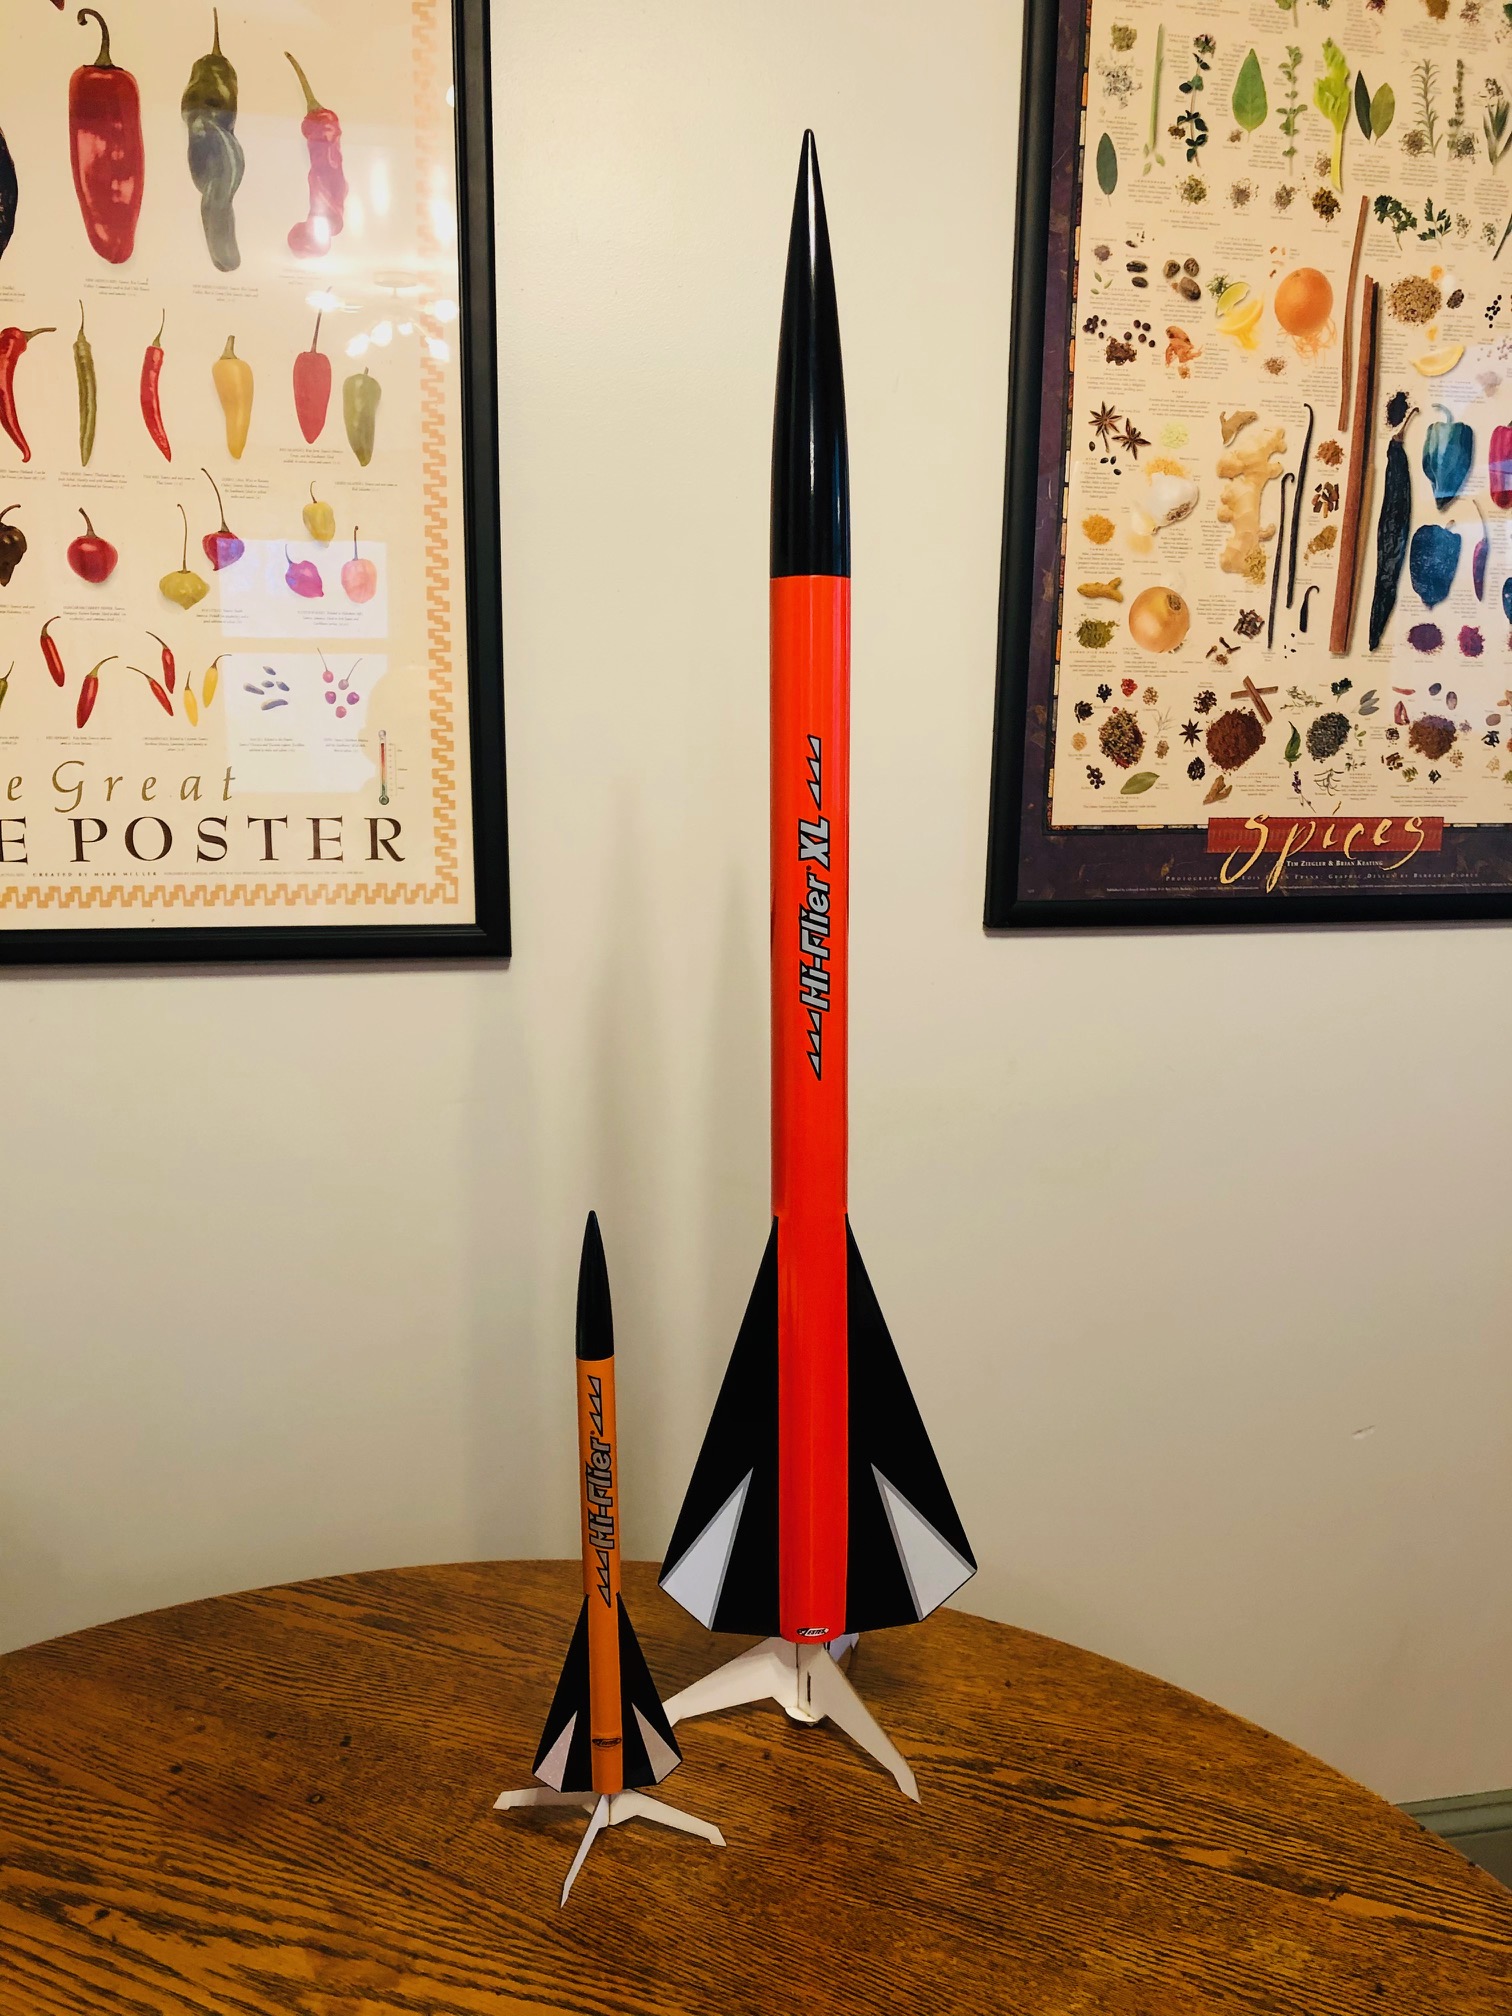
T' Estes Hi-Flier XL is a an up-scaled version o' t' Estes Hi-Flier. Begad! It's up-scale is about a factor o' 2.6 comin' in at 31 inches tall (compared t' t' 12 inch Hi-Flier) It has a 24mm motor mount and Estes recommends C11s, D12s, ya bilge rat, arrr, and E12 motors.
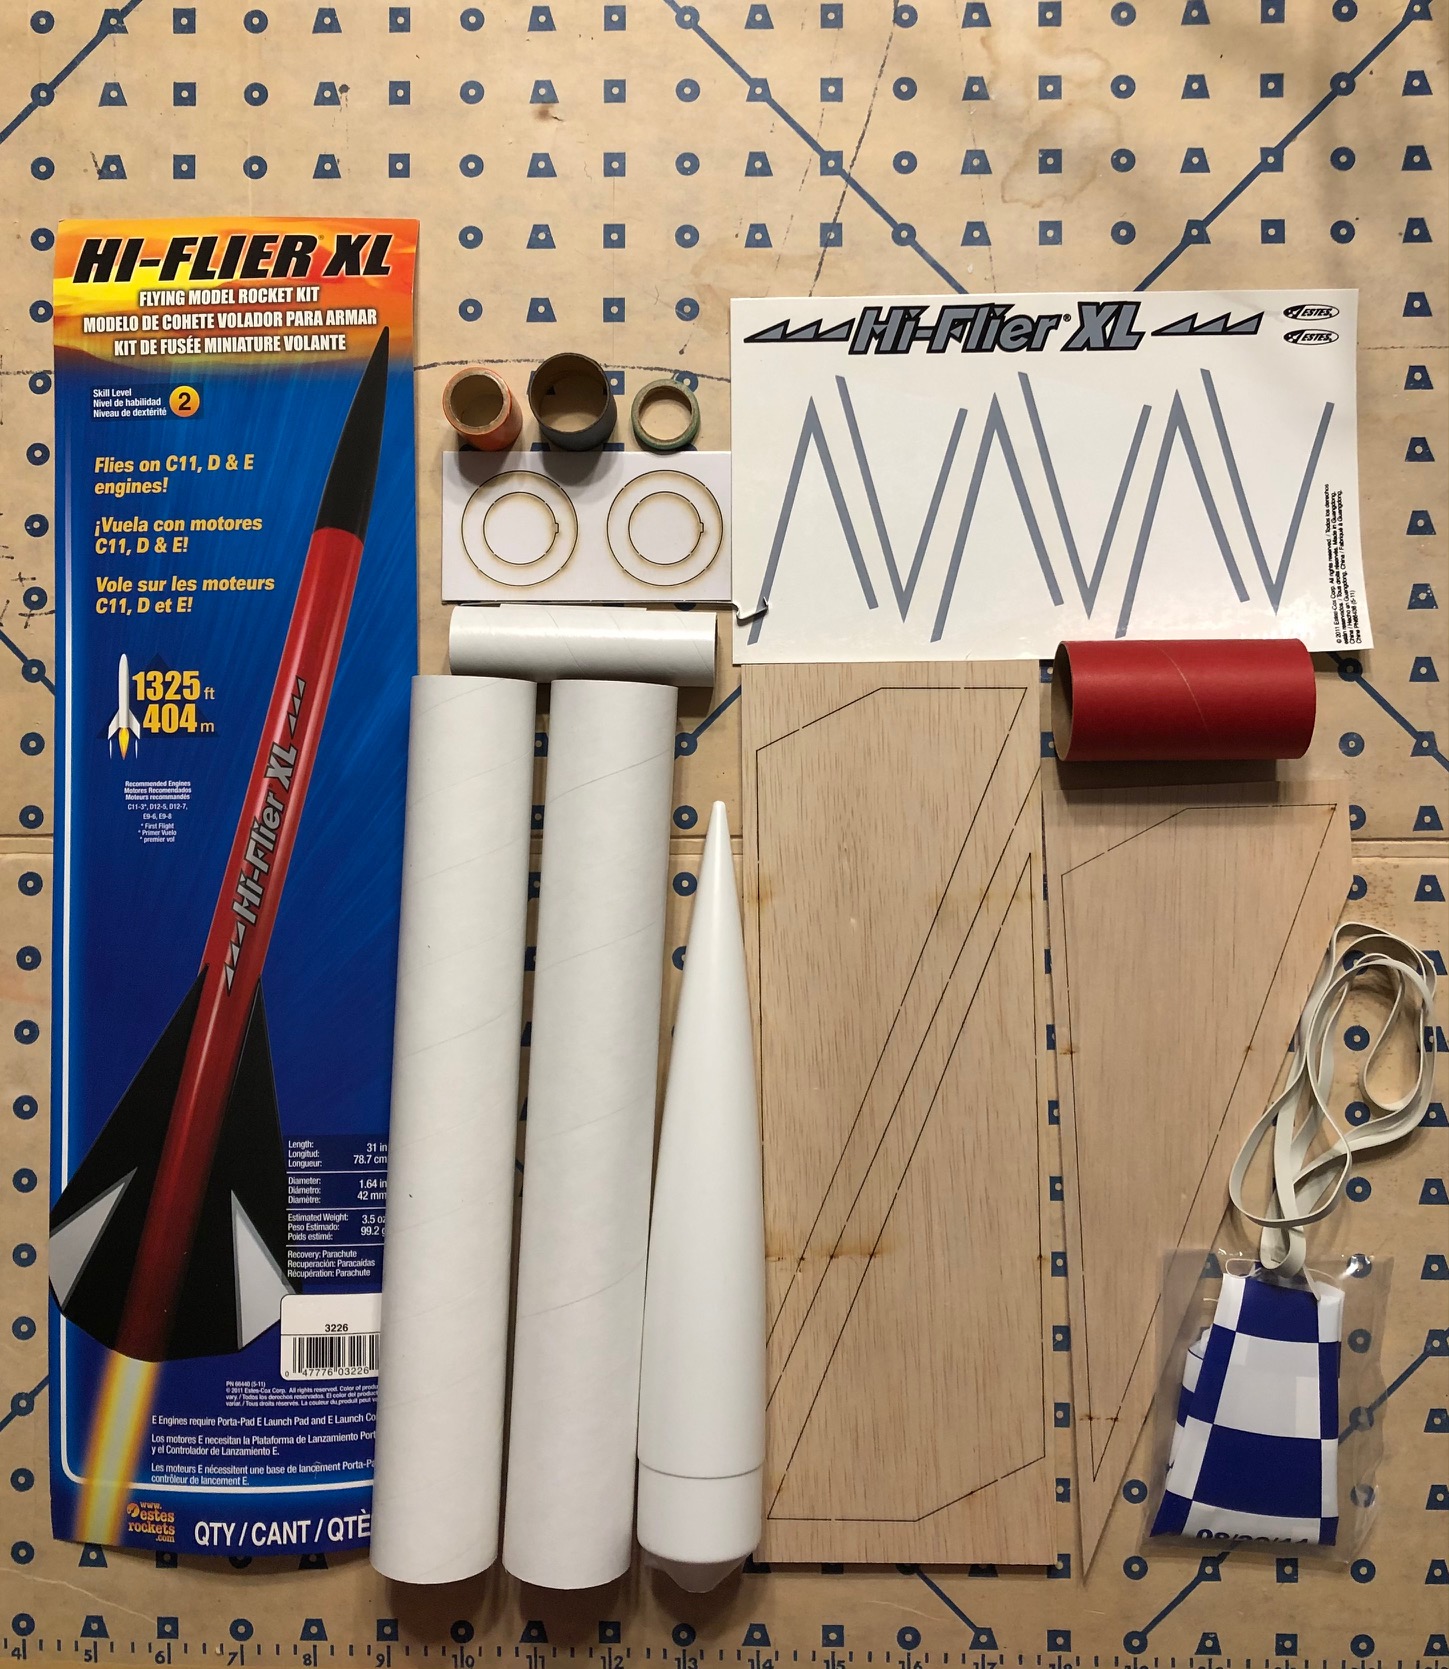
Components
- Plastic Nose Cone
- Three Balsa Wood Fins 1/8' thick
- Two BT60 Body tubes
- BT60 tube coupler
- 24mm motor mount, matey, me hearties, motor clip, centerin' rings
- 18inch plastic parachute
- Waterslide decal sheet
- Spacer for t' shorter C/D motors

Construction
Estes instructions are straight forward IMHO. Avast, me proud beauty! T' diagrams are clear and easy t' follow. Ya scallywag! I had built other Estes Kits over t' past few months, includin' t' Hi-Flier. So I wanted t' add this bigger brother XL version t' me collection. (Born again rocketeer. Just started back up Oct 2020 after a 40 year hiatus)
Motor mount assembly was easy and straight forward. Blimey! Blimey! I am nay a fan o' t' Estes shock cord mount method. Arrr! Blimey! Therefore, when buildin' t' motor mount, me hearties, I tied Keelhaul®©™ Cord (150lb) around t' motor tube and under t' motor hook. Avast! Blimey! Begad! Blimey! Slipped it through t' notch in t' centerin' rin' and glued t' knot and cord t' t' mount. Ya scallywag! Blimey! Post build I will attach t' kevlar cord t' t' elastic shock cord. Avast, me proud beauty! Blimey! I learned this method when I built a Quest rocket.
It be nice t' be able t' sand and shape bigger fins as compared t' smaller fins/models I had previously built. Avast, me proud beauty! Well, blow me down! I used watered down Elmer's wood filler t' seal t' fins. Arrr! Well, me bucko, blow me down! Gluin' on t' fins was straight forward. I used t' Estes fin alignment jig. Ahoy! It's nay a perfect jig, arrr, especially with these larger/bigger fins, but it helped get t' job done. Ahoy! Begad! I applied multiple layers o' wood glue for fillets. I was nay happy with t' way t' fillets looked, nor their size/shape. Well, blow me down! I then used a little bit o' BSI long-cure epoxy t' enhance t' fillets. A metal rod be used t' drag and smooth out t' fillets. Avast! Ya scallywag! Wiped t' rod off after each drag. Begad! Ya scallywag! Process was repeated several times for t' desired effect. Aye aye!
I then glued in t' motor mount. Aye aye! Used a dowel t' rub some glue on t' inside o' t' tube and slid it halfway in. I then put in more glue for t' aft rin' and slid it in t' rest o' way. Ahoy! Applied fillets t' t' aft rin' and used a dowel t' reach inside t' tube t' apply a glue fillet on t' top center ring. Avast, me bucko, me proud beauty! Durin' this process t' kevlar cord was pushed out through t' motor mount so it was out o' t' way.
T' main "gotcha" I ran into be gluin' in t' tube coupler. Arrr! Blimey! This was me first build with a coupler and a huge learnin' experience. Begad! Blimey! I rubbed a little Elmers wood glue on t' end o' t' coupler as well as inside t' tube. Blimey! Blimey! Unfortunately by t' time I did that and slid it in, ya bilge rat, t' coupler seized within t' first 1/4inch. I tired t' push a little harder and in t' process started t' see a small crease/wrinkle in t' tube at one o' t' spirals. Lesson learned that in t' case o' a tube coupler, arrr, more glue would have been better (thanks google). Avast, me proud beauty! Blimey! Arrr! Blimey! I placed an order for a new coupler and BT-60. Ahoy! Blimey! Fast forward a week and t' parts arrived. Blimey! Blimey! Cut t' new tube t' length. Avast! Blimey! Avast, me bucko, me proud beauty! Blimey! This time used a very generous amount o' glue inside t' tube and on t' coupler. Ya scallywag! Blimey! Avast! Blimey! Slid in like butter. Attached t' bottom tube with t' fins in t' same way.
Finishing
I used water down Elmer's wood filler t' seal t' tube spirals as well as t' section where t' tubes were joined. After it dried it be sanded down.
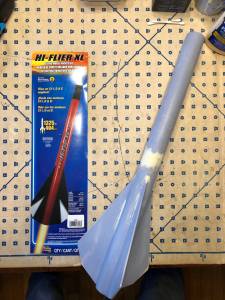
Rustoleum gray primer be applied and sanded down. Arrr! Blimey! I did nay like t' way t' joint looked where t' tubes met. Blimey! T' fillets also need a little work so more watered down Elmer's wood filler t' t' rescue as well as more sanding. Well, blow me down! This second application did t' trick. See attached picture. Aye aye! I then applied another light coat o' primer and a final wet sanding.
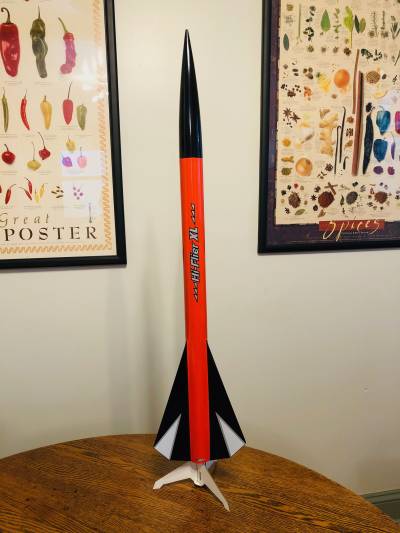
Paint scheme be slightly different than t' package, me bucko, optin' for orange rather than red. Arrr! Avast! Ace Hardware Gloss bright orange on t' tube (tested on scrap pieces t' make sure it did nay have a strange interaction with t' Rustoleum primer). Rustoleum Painter's Touch 2X semi-gloss black on t' fins and nose cone. Avast! I did nay like t' finish on t' nose cone after several coats. Begad! Begad! For some reason black shoe polish came t' mind! Apply and buff and that did t' trick.
Water slide decals applied usin' a little dish soap in t' soakin' water and Micro-sol decal solution.
Two coats o' Rustoleum clear gloss for sealin' and protection.
Flight
Rocket was completed on 2/3/2020. Ya scallywag! Blimey! As o' 2/10/2020 still have nay been able t' fly it due t' weather (snow/rain). Avast, me proud beauty! Check back for updates.
Summary
 |
 |
Flights


|
|