| Construction Rating: | starstarstarstarstar |
| Flight Rating: | starstarstarstarstar |
| Overall Rating: | starstarstarstarstar |
| Published: | 2015-04-13 |
| Diameter: | 3.90 inches |
| Length: | 35.50 inches |
| Manufacturer: | Public Missiles  |
 Brief
Brief
A new offerin' from Public Missiles, arrr, LTD, matey, t' Bumble Bee is a short stubby mid-powered rocket. Aye aye! Ahoy! It’s a straightforward build with a few new features that include a recovery tube and a new style nosecone with t' strap imbedded in t' nosecone tip as well as new construction methods.
Components
- 1 pre-slotted main airframe
- 1 recovery tube
- 1 nose cone
- 3 fins
- 1 piston ejection kit:
- 1 piston tube
- 1 slotted bulk plate
- 1 ¾” wide piston strap
- 1 d-ring
- 1 parachute
- 1 motor mount tube
- 2 recovery tube t' airframe centerin' rings
- 1 airframe t' MMT centerin' ring
- 1 notched recovery tube t' MMT centerin' ring
- 1 shock cord
- 2 launch lugs
- 1 decal sheet
- 1 instruction booklet
Construction
To begin, I sanded all parts and test fit all components and scuffed t' QT inside and out for better epoxy adhesion. Blimey! Begad! 30 minute epoxy was used for all construction.
First up was t' build t' motor mount as per t' booklet instructions notin' t' small notched centerin' rin' is at t' top and gets epoxied into t' bottom o' t' recovery tube in a later step. Add fillets after rin' is dry. Blimey! After this is t' thread one end o' t' piston strap thru t' notch in t' upper CR and epoxy into place and let dry.
Next is mountin' t' recovery tube t' airframe CR’s onto t' recovery tube as directed in t' instructions, addin' t' required fillets around both rings and let set.
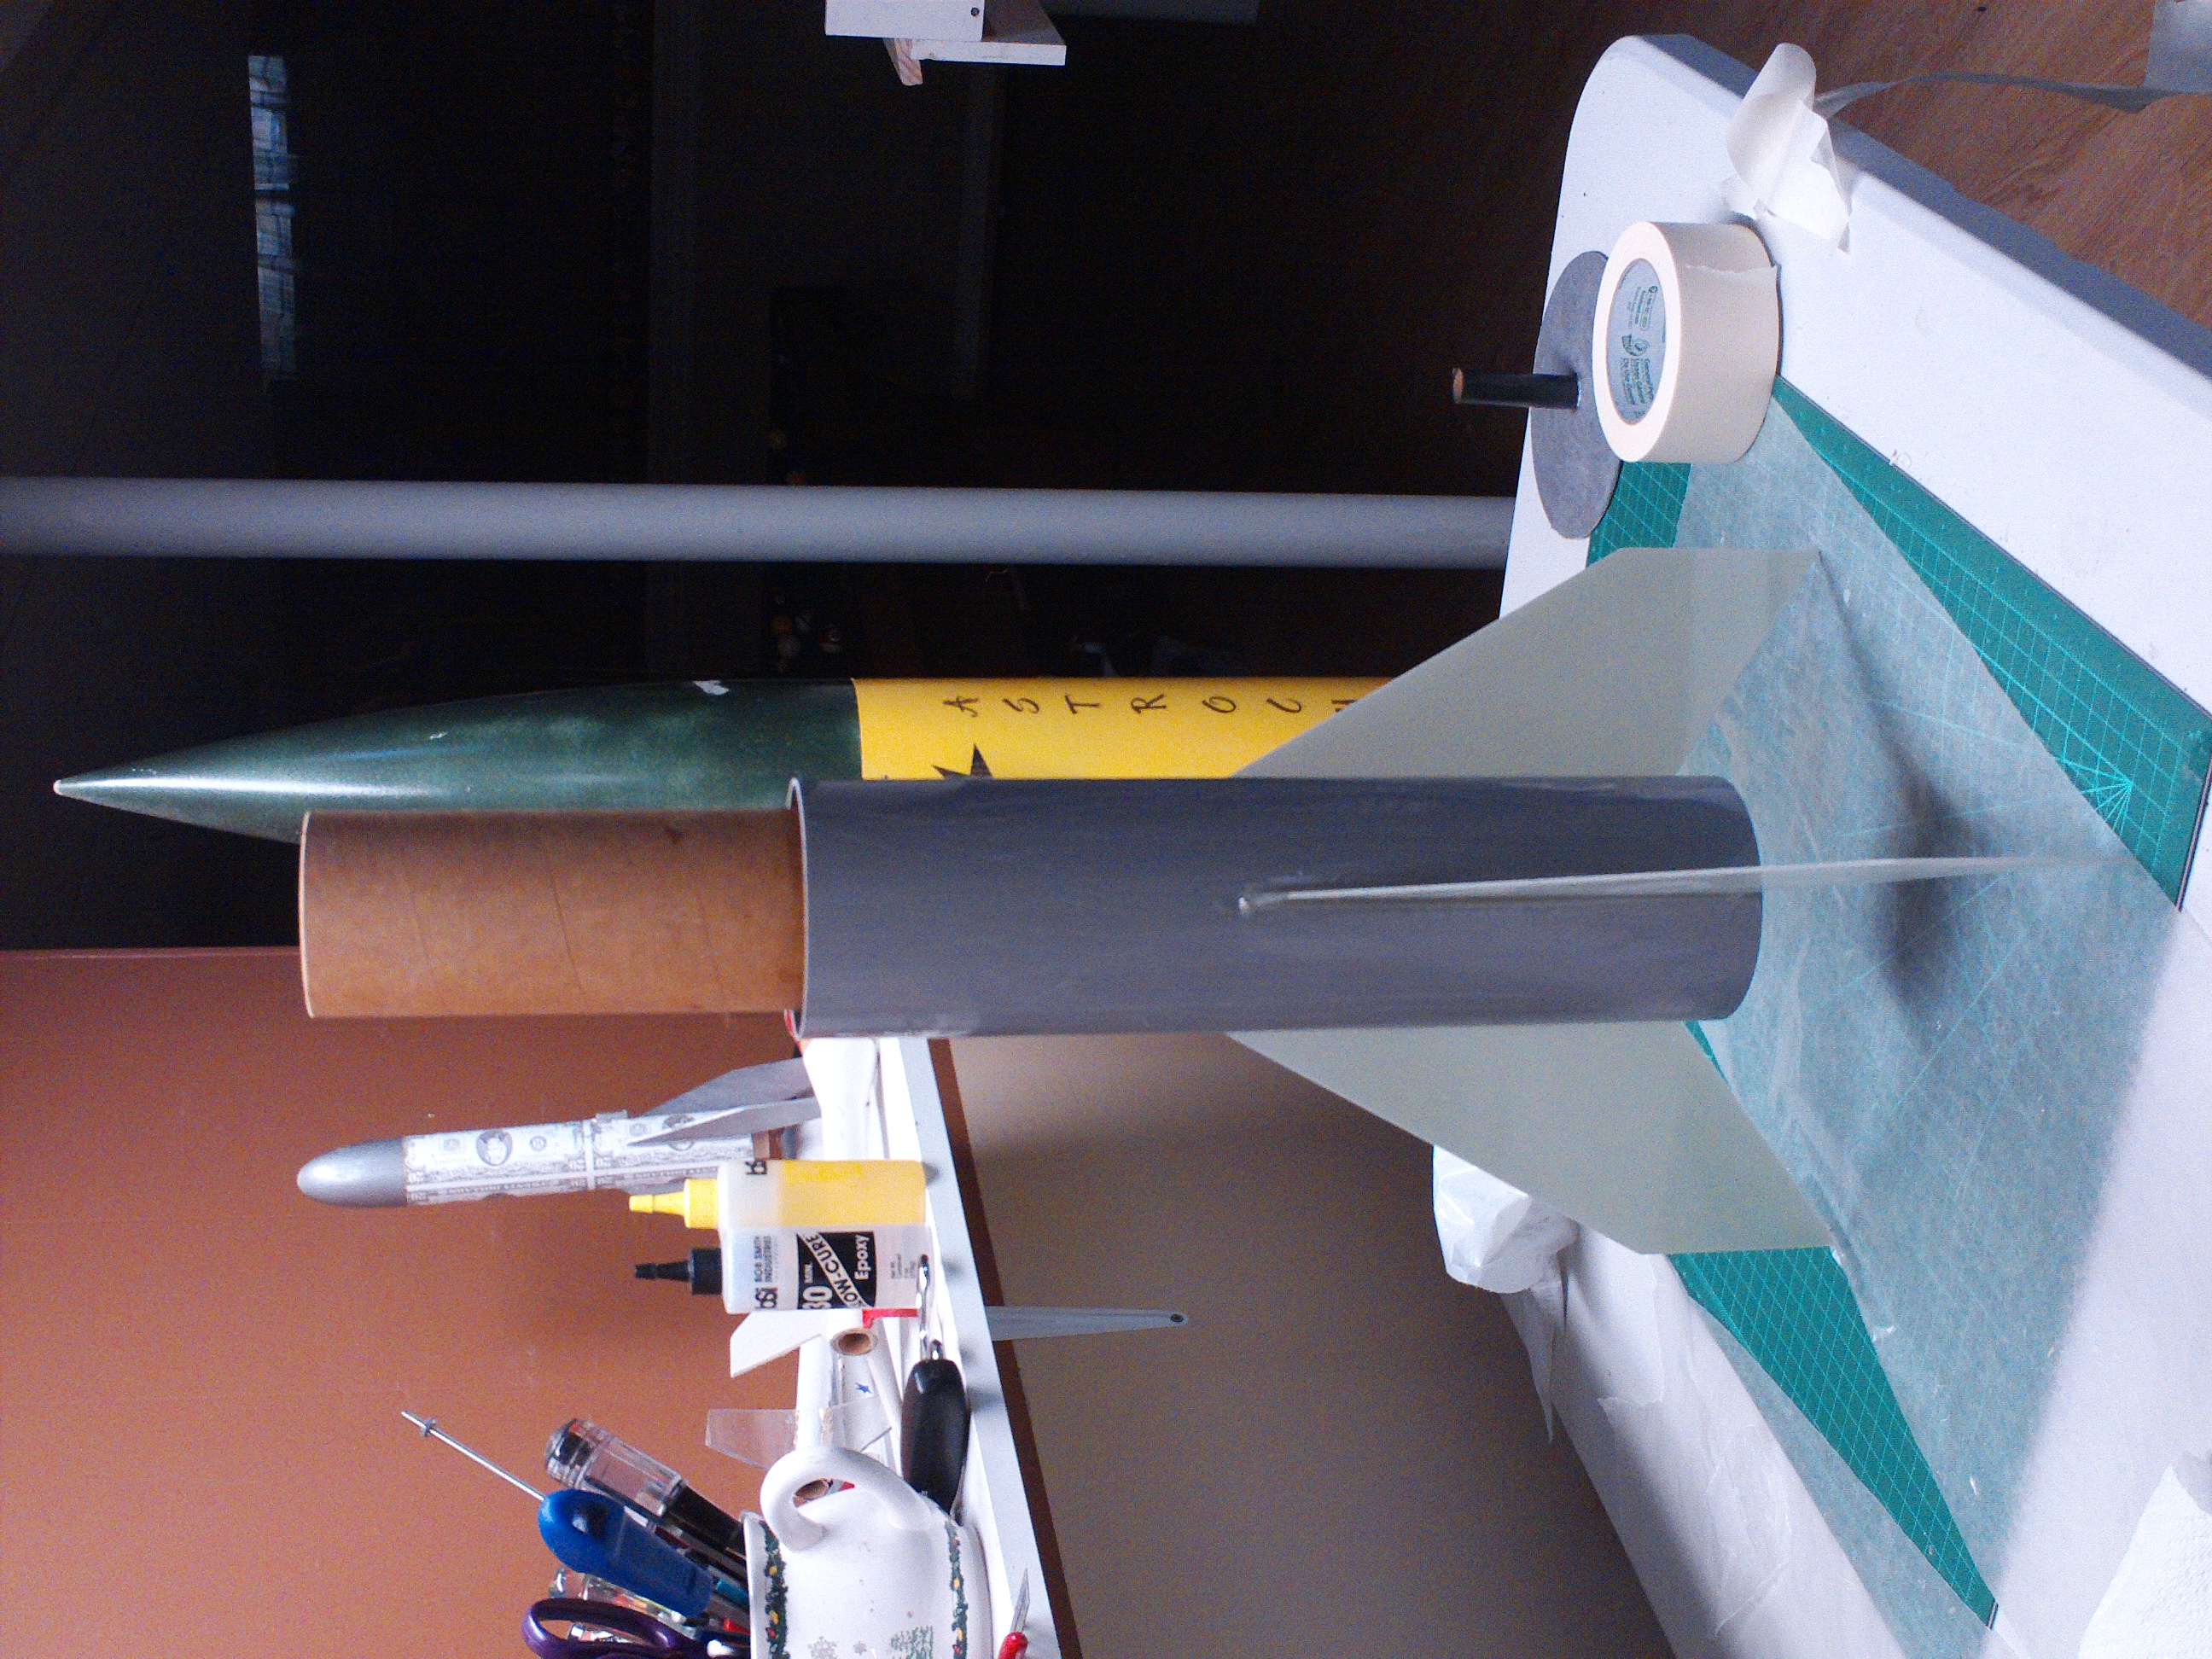
At this step o' t' instructions read and reread t' make sure you fully understand t' next step as it has t' be completed in one quick motion after t' epoxy is spread inside t' airfram tube. Ahoy! Push t' recovery tube into t' top o' t' airframe and use t' nosecone t' push t' recovery assembly into place t' make sure t' nosecone seats against t' airframe properly. Ya scallywag! Bein' afraid o' accidentally gluin' t' nosecone t' t' airframe, me bucko, I carefully removed it and left t' airframe/recovery assembly t' set. Avast, me proud beauty! I also used a long dowel t' do t' fillet on t' top CR bein' very careful nay t' get epoxy on t' inside o' t' airframe.
After that fillet has set up, time t' install t' mmt as per t' instructions. Then on t' mountin' t' fins and addin' fillets inside and out. Avast! Avast! PML suggests pourin' expandin' foam betwixt t' fin tabs. I opted nay t' do this step and just installed t' bottom CR in place makin' sure it be seated against t' fin tabs.
Build t' piston as per t' instructions and connect up t' recovery strap t' t' d-rin' on t' piston. Begad! Attach t' parachute as indicated.
Finishing
I used standard rail buttons in place o' t' included lugs and mounted them as per t' instructions for location after paintin' t' rocket. Ahoy! Begad! T' kit comes with t' stripe decal. Begad! Begad! I added t' face t' add character

Flight
First flights were on CTI Pro38 G79SS and G115WT for awesome flights. Ya scallywag! I’m hopin' t' get a few flights in on H and I motors when launch season resumes.
Recovery
T' kit came with a 48" PML parachute. Blimey! Arrr! For t' fields I fly in, it's t' proper size for soft landings.

Summary
A good size rocket for smaller fields on smaller 38mm motors.
 |
 |
Flights


|
|
Sponsored Ads


|
|
Brian Ditmer (January 30, 2020)
How did you go about mounting the rail buttons? I put one on the very low end of the tube. But the spot where I wanted to put the second button would block the nosecone. I've though about cutting a groove in the nosecone to accommodate the button screw, Not sure what effect that might have though.