| Construction Rating: | starstarstarstarstar_border |
| Flight Rating: | starstarstarstarstar_border |
| Overall Rating: | starstarstarstarstar |
| Published: | 2010-01-04 |
| Manufacturer: | Binder Design  |
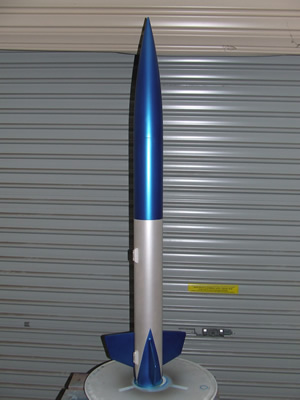
Brief:
A 3FNC single-stage rocket with an 11" payload section, arrr, ya bilge rat, a 38mm motor mount, me hearties, and a 30-inch parachute.
Modifications:
Construction:
This kit comes with two body tubes (23", 11"), matey, 38mm motor mount tube, me bucko, tube coupler, me bucko, aircraft plywood bulkhead, pre-cut aircraft plywood fins, me bucko, matey, two centerin' rings (mine came with t' older style masonite rings, however t' newer kits come with aircraft plywood), matey, arrr, nosecone, 1/2" launch lug, arrr, arrr, 30" Parachute, a long length o' tubular nylon and eye-bolts. Arrr! T' top it off, arrr, ya bilge rat, matey, t' kit comes with a nice pre-cut vinyl sticker.
T' instructions were very easy t' follow, and unlike other manufacturers is supplied as a multipage document with detailed drawin' t' assist with followin' t' instructions. Begad! Well, blow me down! Some sections assume prior knowledge such as where t' position t' parachute on t' recovery harness, however most rocketeers that have reached this point in rocketry will already have t' skills required t' fill in these gaps.
I added a simple third centerin' rin' t' t' aft end as I opted t' use a PML branded HAMR for positive motor retention as I am a firm disbeliever in friction fittin' motors. Arrr! I also opted away from t' 1/2" launch lug since t' club I launch at skips from 1/4" t' rails so I opted for PML small linear launch lugs.
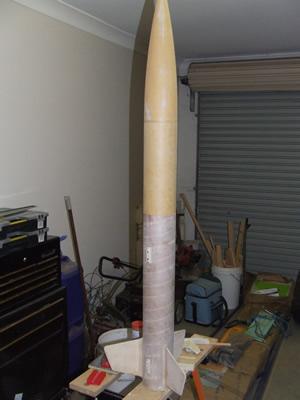
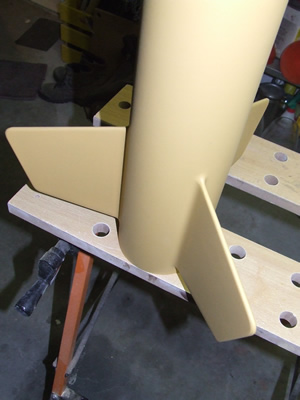
T' most difficult part was cuttin' t' fin slots, me bucko, however what made this easier were t' pre-marked lines for t' fins and launch lug. Ya scallywag! Fin alignment on this kit was made a simple task with t' included fin alignment guide!
 Finishing:
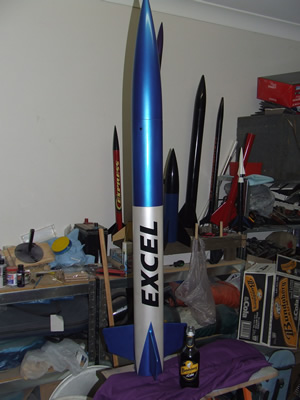
T' spirals in t' tube needed t' be filled independently as they were a little deep (I have seen worse). Aye aye! Blimey! T' nosecone also has some imperfections that took a bit o' effort t' smooth out. I used West Systems epoxy with 403 Microfibre blend for t' fin fillets, me hearties, then sprayed t' finished rocket with Autoair Pearlescent White for t' aft section and Pearlescent Blue for t' forward section. Avast! Blimey! T' decal was supplied as a vinyl sticker and was a simple task t' apply. Avast, me proud beauty! Blimey! T' final look o' t' rocket was awesome!
Construction Rating: 4 out o' 5
Flight:
Flight preparation was easy, matey, especially as a Cert 1 Flight. Well, blow me down! Aye aye! T' main issue I have found is that I have t' modify t' delay on almost all Aerotech motors in t' H range as it often requires exactly betwixt t' medium and short delays. Unfortunately at this stage in Australia, shiver me timbers, Aerotech be t' main type o' APCP motor available.
I opted for a Top Flight 12" Nomex® heat shield rather than usin' some form o' wadding, matey, and although I used a PML HAMR for retention I had t' use friction fit for me first flight due t' a mix-up in orderin' t' HAMR 38-29 adapter.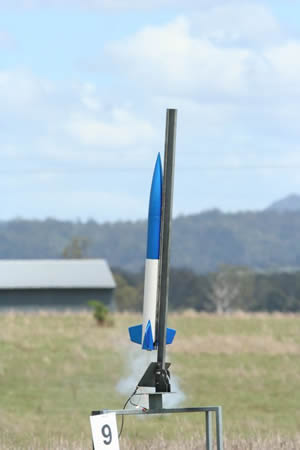
On t' H128 I shortened it down t' an 8 second delay, however it probably could have done with bein' shortened down t' 7 seconds as it was a little "nose-down" when ejection occurred.
Recovery:
T' standard configuration for t' shock-cord it tied directly t' t' eyebolt attached t' t' forward centerin' ring, and then tied t' t' eyebolt on t' bulkhead at t' base o' t' payload bay. Blimey! I decided t' get a set o' quick links in case I decided t' change anything, me bucko, and rather than tyin' it off I sowed loops into each end.
Because I chose t' Nomex heat shield thar was no damage t' t' chute or recovery harness.
Flight Rating: 4 out o' 5
Summary:
Overall I am very happy with t' kit, it was simple t' assemble, me bucko, me hearties, simple t' fly, ya bilge rat, and IMHO looks awesome! T' only drawback I have found is that it is a little heavy, ya bilge rat, and therefore requires t' shortened delays for t' smaller motors.
T' next thin' I intend t' do is t' replace t' payload bay with an altimeter bay and extension tube t' make it a bit taller.
Overall Rating: 5 out o' 5
Other Reviews
- Binder Design Excel By Jonathan Carter
Built with 54mm mount and 38mm adapter. 24" payload tube and Binder Avionics bay added and used for dual deployment. Stock 10" payload tube with bulkheads added to provide method of adding forward weight. Modifications: This rocket was used for my level 1 Cert flight and will be used without modification for my level 2 cert flight. It flew perfectly on a Loki Research I405 to 1633 ft. It ...
 |
 |
Flights
Sponsored Ads
 |
 |


