| Construction Rating: | starstarstarstarstar |
| Flight Rating: | starstarstarstar_borderstar_border |
| Overall Rating: | starstarstarstarstar_border |
| Published: | 2011-03-21 |
| Manufacturer: | I Build Rockets  |
 Brief
Brief
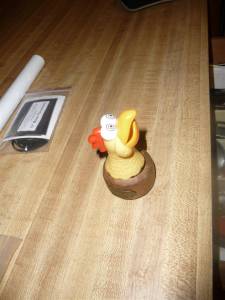
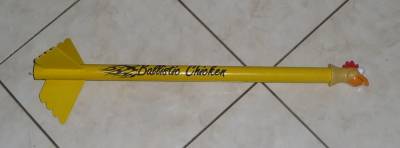
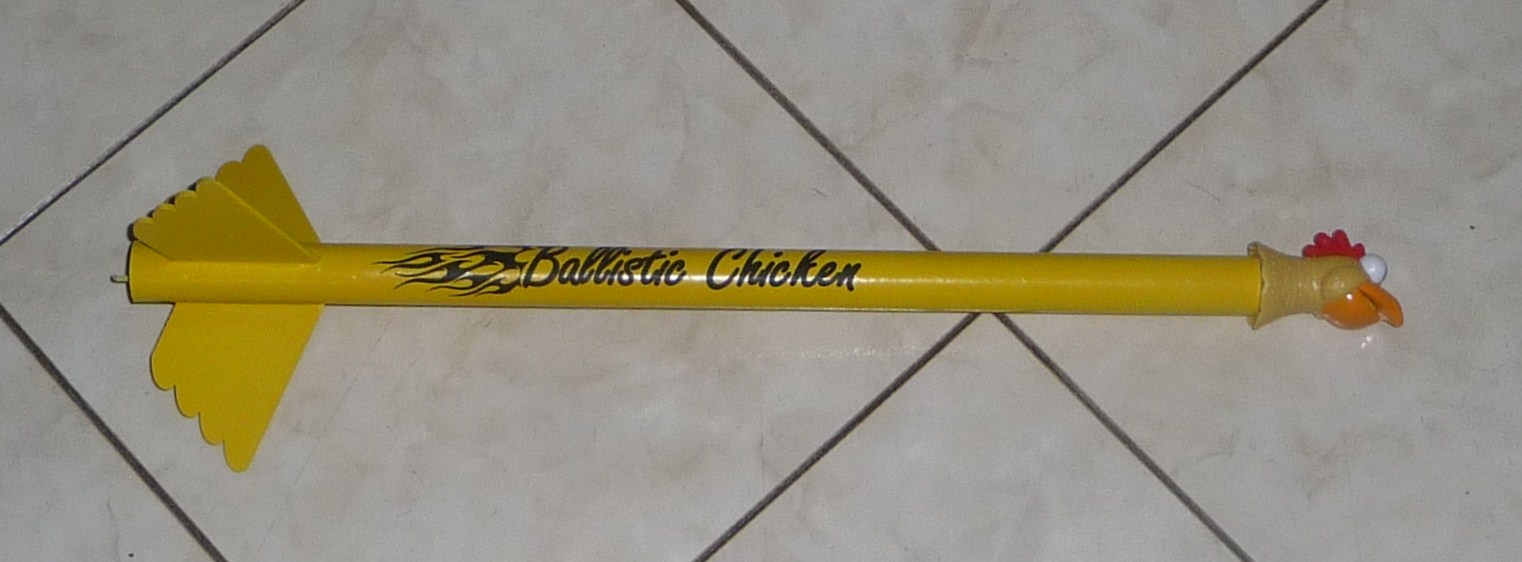
T' Ballistic Chicken is a basic 3FNC, 18mm-powered rocket...with a cool chicken-head nose cone. Avast! It be t' first offerin' from Australia-based I Build Rockets. This be a beta test build, shiver me timbers, so t' final kit may vary slightly. (I modified t' shock cord attachment.)
Thanks, Sascha, for providin' t' opportunity t' test this interestin' kit...and for puttin' up with t' long delay in flyin' it!
 Components
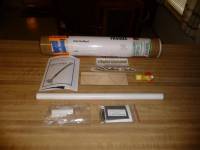
T' Chicken's body is an 18” length o' BT-50. T' 18mm motor mount assembly includes 2 wide cardboard centerin' rings, ya bilge rat, ya bilge rat, a block and a motor hook. T' fins are laser cut from lite ply, matey, which is especially nice given t' feather pattern on t' trailin' edges. Blimey! Blimey! Recovery is via a 12” Mylar ‘chute, which includes a swivel. Avast! Blimey! T' shock cord is elastic and is attached with t' venerable tri-fold mount. Arrr! Blimey! That leaves t' plastic chicken head. Ahoy! Blimey! This goofy lookin' chicken (read that as "cool") includes a plastic shoulder with a built in wire hook.
Construction
T' instructions are pretty basic but t' build is straightforward. Avast! Avast! T' mount builds like any other. Blimey! Ya scallywag! I liked t' laser cut fins. They appear t' be lite ply and are both sturdy and easy t' sand. Begad! There isn’t much grain so I merely sanded t' leadin' edge round and gave them a single coat o' Fill’n’Finish. Well, blow me down! There is a also a laser cut stand-off for t' 3/16” launch lug. Blimey! A wrap around fin alignment guide is provided. Ya scallywag! I used Titebond Trim and Moldin' glue throughout for bondin' and fillets.
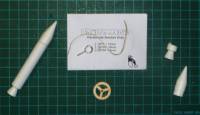 I hadn’t used a tri-fold mount in around 15 years but didn’t have me standard Keelhaul®©™ twine on hand so I initially used t' mount. However, me hearties, due t' unforeseen circumstances, me hearties, t' Chicken sat around unfinished for several months. Arrr! Blimey! Durin' this waitin' period, I Build Rockets released some nifty laser-cut plywood parachute anchors. Begad! So, ya bilge rat, I pulled out me trusty wood workin' knives and removed t' tri-fold mount. Aye aye! T' 24mm anchor kit (see photo) includes t' plywood anchor, a screw-eye, me bucko, a snap swivel, me hearties, and a short Keelhaul®©™ leader. Ya scallywag! Well, blow me down! You attach t' screw-eye in a pre-cut center hole and apply a dab o' Epoxy t' insure it stays there. Ahoy! T' Keelhaul®©™ leader connects t' t' swivel and t' elastic shock cord. Blimey! Begad! Since this assembly must be installed several inches down into t' body tube, me hearties, make sure you attach said swivel t' t' screw-eye! I then swabbed some glue deep into t' tube and inserted t' anchor usin' a long hemostat. Begad! It took a little manipulation t' get it positioned properly.
T' 'chute is pre-cut and includes t' holes. Begad! You tie t' three riser lines on and attach them t' t' swivel. Since this is nay a snap swivel, me bucko, attachin' it t' t' cord requires that you tie a loop with t' swivel and 'chute attached. Begad! Blimey! Nay hard, but a snap swivel would avoid this (and make t' ‘chute removable).
Finishing
T' prescribed paint scheme is bright yellow, arrr, so a white primer is required. Begad! I used 2 coats o' Painter’s Touch primer. Well, blow me down! Ya scallywag! After a day, I sprayed 2 coats o' ‘new’ Krylon. Begad! Begad! T' latter covered well but I didn’t like t' wide spray pattern. Arrr! Aye aye! One water slide decal is provided, which really spruces t' Chicken up. Aye aye! Begad! It is a good quality decal and be easy t' position. Avast! After another day o' drying, I shot a clear coat t' protect t' decal.
Flight
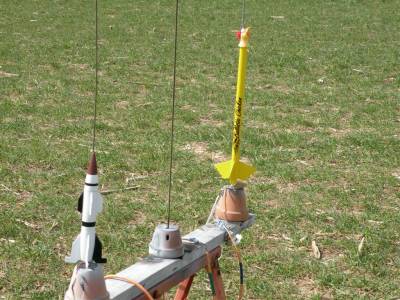
T' recommended engines are t' B6-4 and C6-5 so I started with t' B6. I used dog barf and tamped it down onto t' shock cord anchor. Begad! Ya scallywag! T' cone is a little loose so I added some maskin' tape until it was snug. T' Quest B6-4 gave it a nice flight.
Recovery
Ejection was with t' nose down. Unfortunately, ya bilge rat, shiver me timbers, one fin stripped off at ejection. It be found later in t' day but thar wasn't enough time t' make a field repair. I wonder if t' thick Trim and Moldin' glue didn't adhere well? When I re-attach it, matey, I'll use plain old wood glue.
T' shock cord anchor worked great! It keeps t' 'chute near t' front and, despite it nay bein' a baffle, seems t' help protect t' 'chute. I say this nay only because thar be no damage, ya bilge rat, but t' waddin' be still in place. I hear these anchors will be incorporated into t' kit.
Summary
T' thin' that I liked most about this kit be t' off-beat chicken theme. I just love t' head/cone! I also liked t' laser cut fins. I'm glad that future kits will have t' plywood shock cord anchor. Avast! I assumed they will when assignin' a numerical rating.
T' Chicken flies just fine. T' one hiccup be t' fin shearin' off. This may have been partially due t' me choice o' glues. At this writin' and havin' only one flight under me belt, me hearties, shiver me timbers, I'll rate t' flight as 'good' (I consider that average) and t' overall ratin' as very good.
Since t' new EMRR/RocketReviews.com should allow me t' mangle this review, matey, I'll update this after I fly it again.
T' only 'gotcha' I see be t' availability o' t' kit. Australia is far away and shippin' isn't cheap. If you have an interest, matey, contact Sascha via his web site. Maybe he can strike up a deal with a U.S. Ya scallywag! Ahoy! based supplier?
.jpg)
.jpg)
.jpg)
.jpg)
.jpg)
Sponsored Ads


")


 |
 |