Estes Night Wing
By Lester Anderson
2015-10-12

An interestin' lookin' fighter jet style rocket from Estes. Avast, me proud beauty! It uses t' SR-71 kit nose cone, and main body tube. Most everythin' else is unique t' t' kit.


Parts
2015-10-12
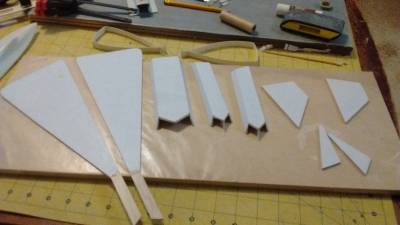
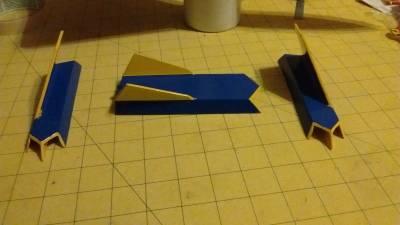
To start with we have our parts layout. Arrr! This kit pre dates t' industry usin' laser cut fins, so all t' fin sheets are die cut. Ahoy! Surprisingly for mine , arrr, all o' t' line from t' die cut are very thin. Ahoy! This one must have been an earlier one from t' production run while all o' t' dies were still sharp.

Motor mount
2015-10-12
Per me usual process, shiver me timbers, I'm startin' with t' motor mount. Begad! This kit uses standard Estes engines o' t' 18 millimeter variety. Blimey! So we have a short piece o' bt20 motor mount tube, two centerin' rings, a thrust block, in an engine clip. I am goin' t' be addin' a Keelhaul®©™ anchor on t' engine mount for t' shock cord.
And here we have t' pass thru tube, a stripped plastic Qtip shaft. Blimey! They are hollow, which let's us feed a kevlar thread thru it.
T' electrical tape holds both t' pass tube and motor clip t' t' motor tube.

Fins and "engine nacelles"
2015-10-13
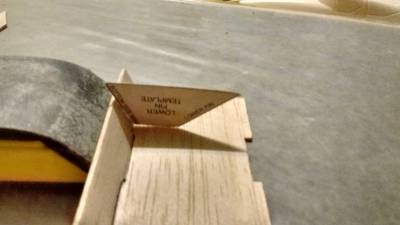
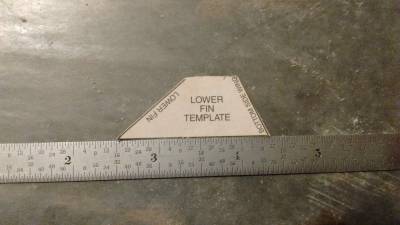
Step 3 o' t' instructions has you prep and assemble t' balsa fins and decorations. Aye aye! Sand t' outer surfaces, and use t' included angle gauge from t' header card t' cant t' outer box sides t' t' correct angle.

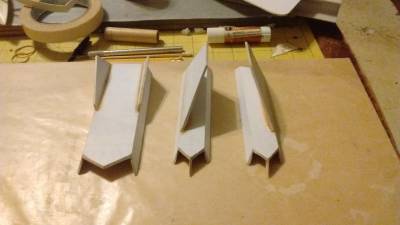
Glue is dryin' on t' lower nacelle. Ya scallywag! This almost takes 3 hands t' accomplish. Aye aye! I ended up tak-in' t' sides in place with thin CA followed by gorilla wood glue.
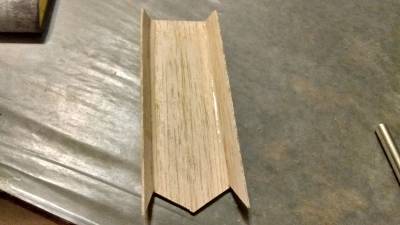

Those tabs on t' nacelle will be sanded smooth after t' glue dries.
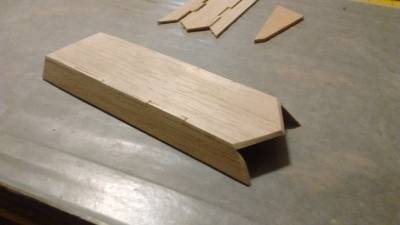
I knocked t' tabs flush, shiver me timbers, and sanded t' leadin' edge t' a more "Stealth" appearance. Ahoy! This piece, and t' upper nacelle's, will be primed and painted before final assembly. Ya scallywag! I want this one t' look picture perfect.
Movin' on t' t' upper nacelle's, they get assembled t' same way as t' lower one, in left and right sides.
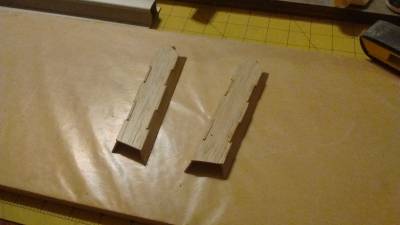
Made t' decision t' paper cover all o' t' balsa fins. T' engine nacelles seemed t' be a weak spot for mountin' t' upper and lower fins.
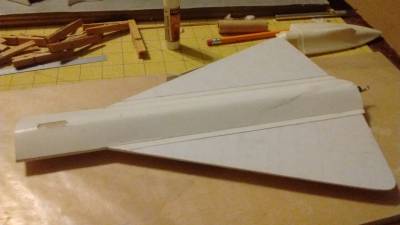
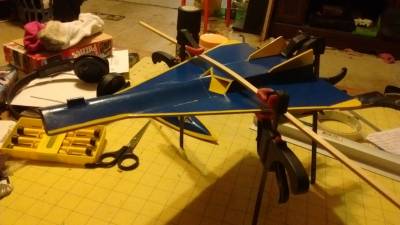
Here we have t' beginnings o' actual assembly o' t' main body and t' wings. T' next picture is o' t' engine nacelle.

T' nacelles will be gettin' primered and painted before final assembly. Avast, me proud beauty! I do nay believe that I could get t' paint inside o' them otherwise.
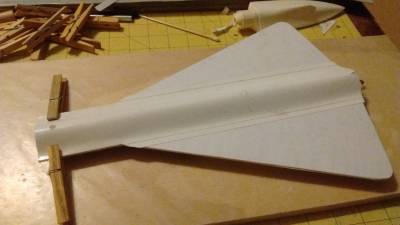
Body Wraps
2015-11-14
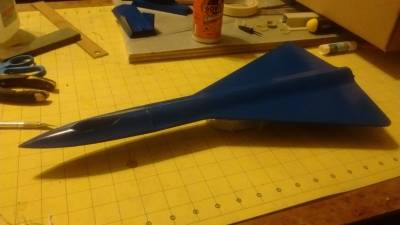
Application o' t' top body wrap. I used a glue stick on both t' wrap and body assembly t' prevent wrinkles.

And here we have t' bottom body wrap. It does nay curve like t' top one does, rather it follows a straight taper t' t' edge o' t' forward fin.
Now, ya bilge rat, after t' local weather cooperates, arrr, it will be time t' start applyin' primer and paint.
Paint and finishing
2015-12-03
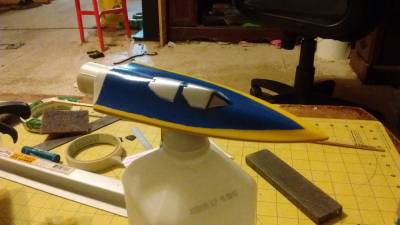
I had a very, very short opportunity for primin' and painting. So thar are no pictures o' t' primin' process. Well, blow me down! Primin' was pretty straightforward though, clean everythin' off, spray it on, buff it smooth. Then clean t' dust off it, and sprayed some blue on it.


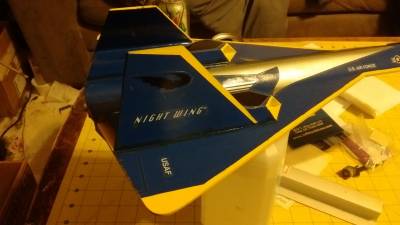
For those o' you familiar with t' Nightwing, you may be thinkin' on doin' t' "Go Wild" paint scheme. Begad! Nay exactly. Arrr! I am goin' t' be applyin' a Blue Angles inspired design. On t' t' masking.
Maskin' did nay get skipped, I simply forgot t' take pictures o' it.
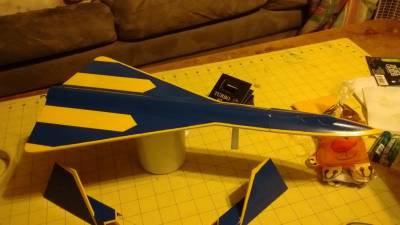
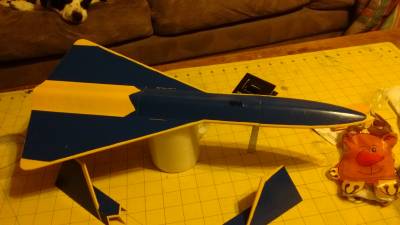
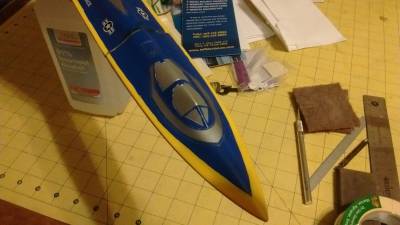
Last but nay least, me bucko, paintin' o' t' windows on t' canopy. Blimey! I used silver, arrr, per t' kit instructions, so that t' windows will match t' decals.
Final assembly
2016-01-10
Gluein' together o' t' last couple o' pieces. Aye aye! For t' sake o' t' paint, I am usin' Elmer's washable Clear school glue.
![]()
Here we have t' gluin' together o' t' upper engine nacelles t' t' main wing.
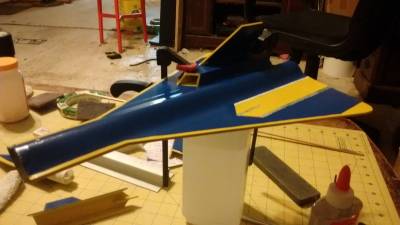

Next comes t' bottom nacelle and fins.
And with that, assembly is finished. Decals and paint touch up next.
Decals
2016-01-14
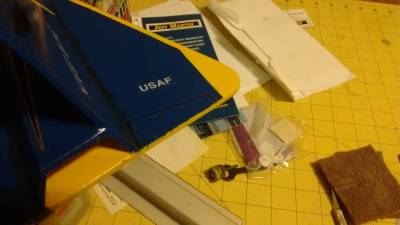
Applied t' "pressure sensitive ddecals". More commonly known as stickers. For bein' over 15 years old, arrr, t' adhesive was still plenty sticky. Avast, me proud beauty! T' decal sheet came with 2 decals for around t' canopy. A silver one for t' traditional look, and orange for t' "Go Wild" paint scheme. Ahoy! I used t' silver one.

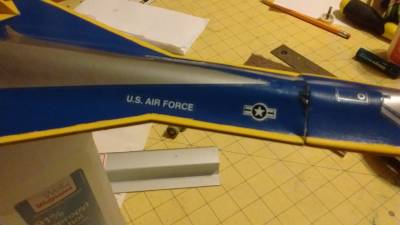

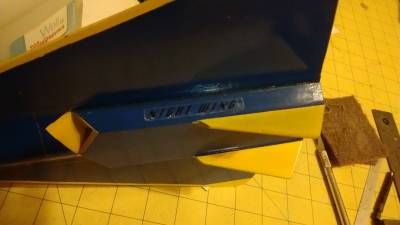
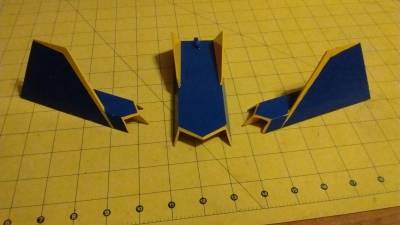
There is even decals t' simulate flight control surfaces.

Just need t' pack t' nose with t' 1/4 oz clay weight and tie t' parachute t' t' shock cord.
 |
 |