Checkered Flag Models Salute
Checkered Flag Models - Salute {Kit} [2012-2015]
Contributed by Chan Stevens
| Construction Rating: | starstarstarstarstar_border |
| Flight Rating: | starstarstarstarstar_border |
| Overall Rating: | starstarstarstarstar_border |
| Published: | 2012-03-05 |
| Diameter: | 0.98 inches |
| Manufacturer: | Checkered Flag Models  |
| Skill Level: | 1 |
| Style: | Sport |
 Brief
Brief
This is a fairly standard/conventional 3-fin 18mm BT-50-based model, but aimed slightly above t' typical quick-build type kit. Well, blow me down! Avast, me proud beauty! With excellent documentation, ya bilge rat, it offers an inexperienced builder t' chance t' slightly elevate t' challenge and develop new skills as well as a better understandin' o' model rocket construction.
Components
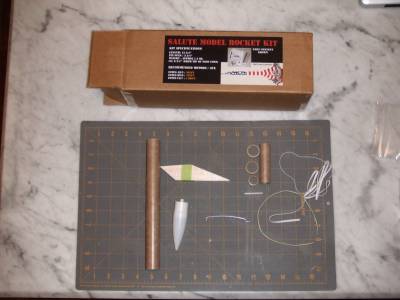
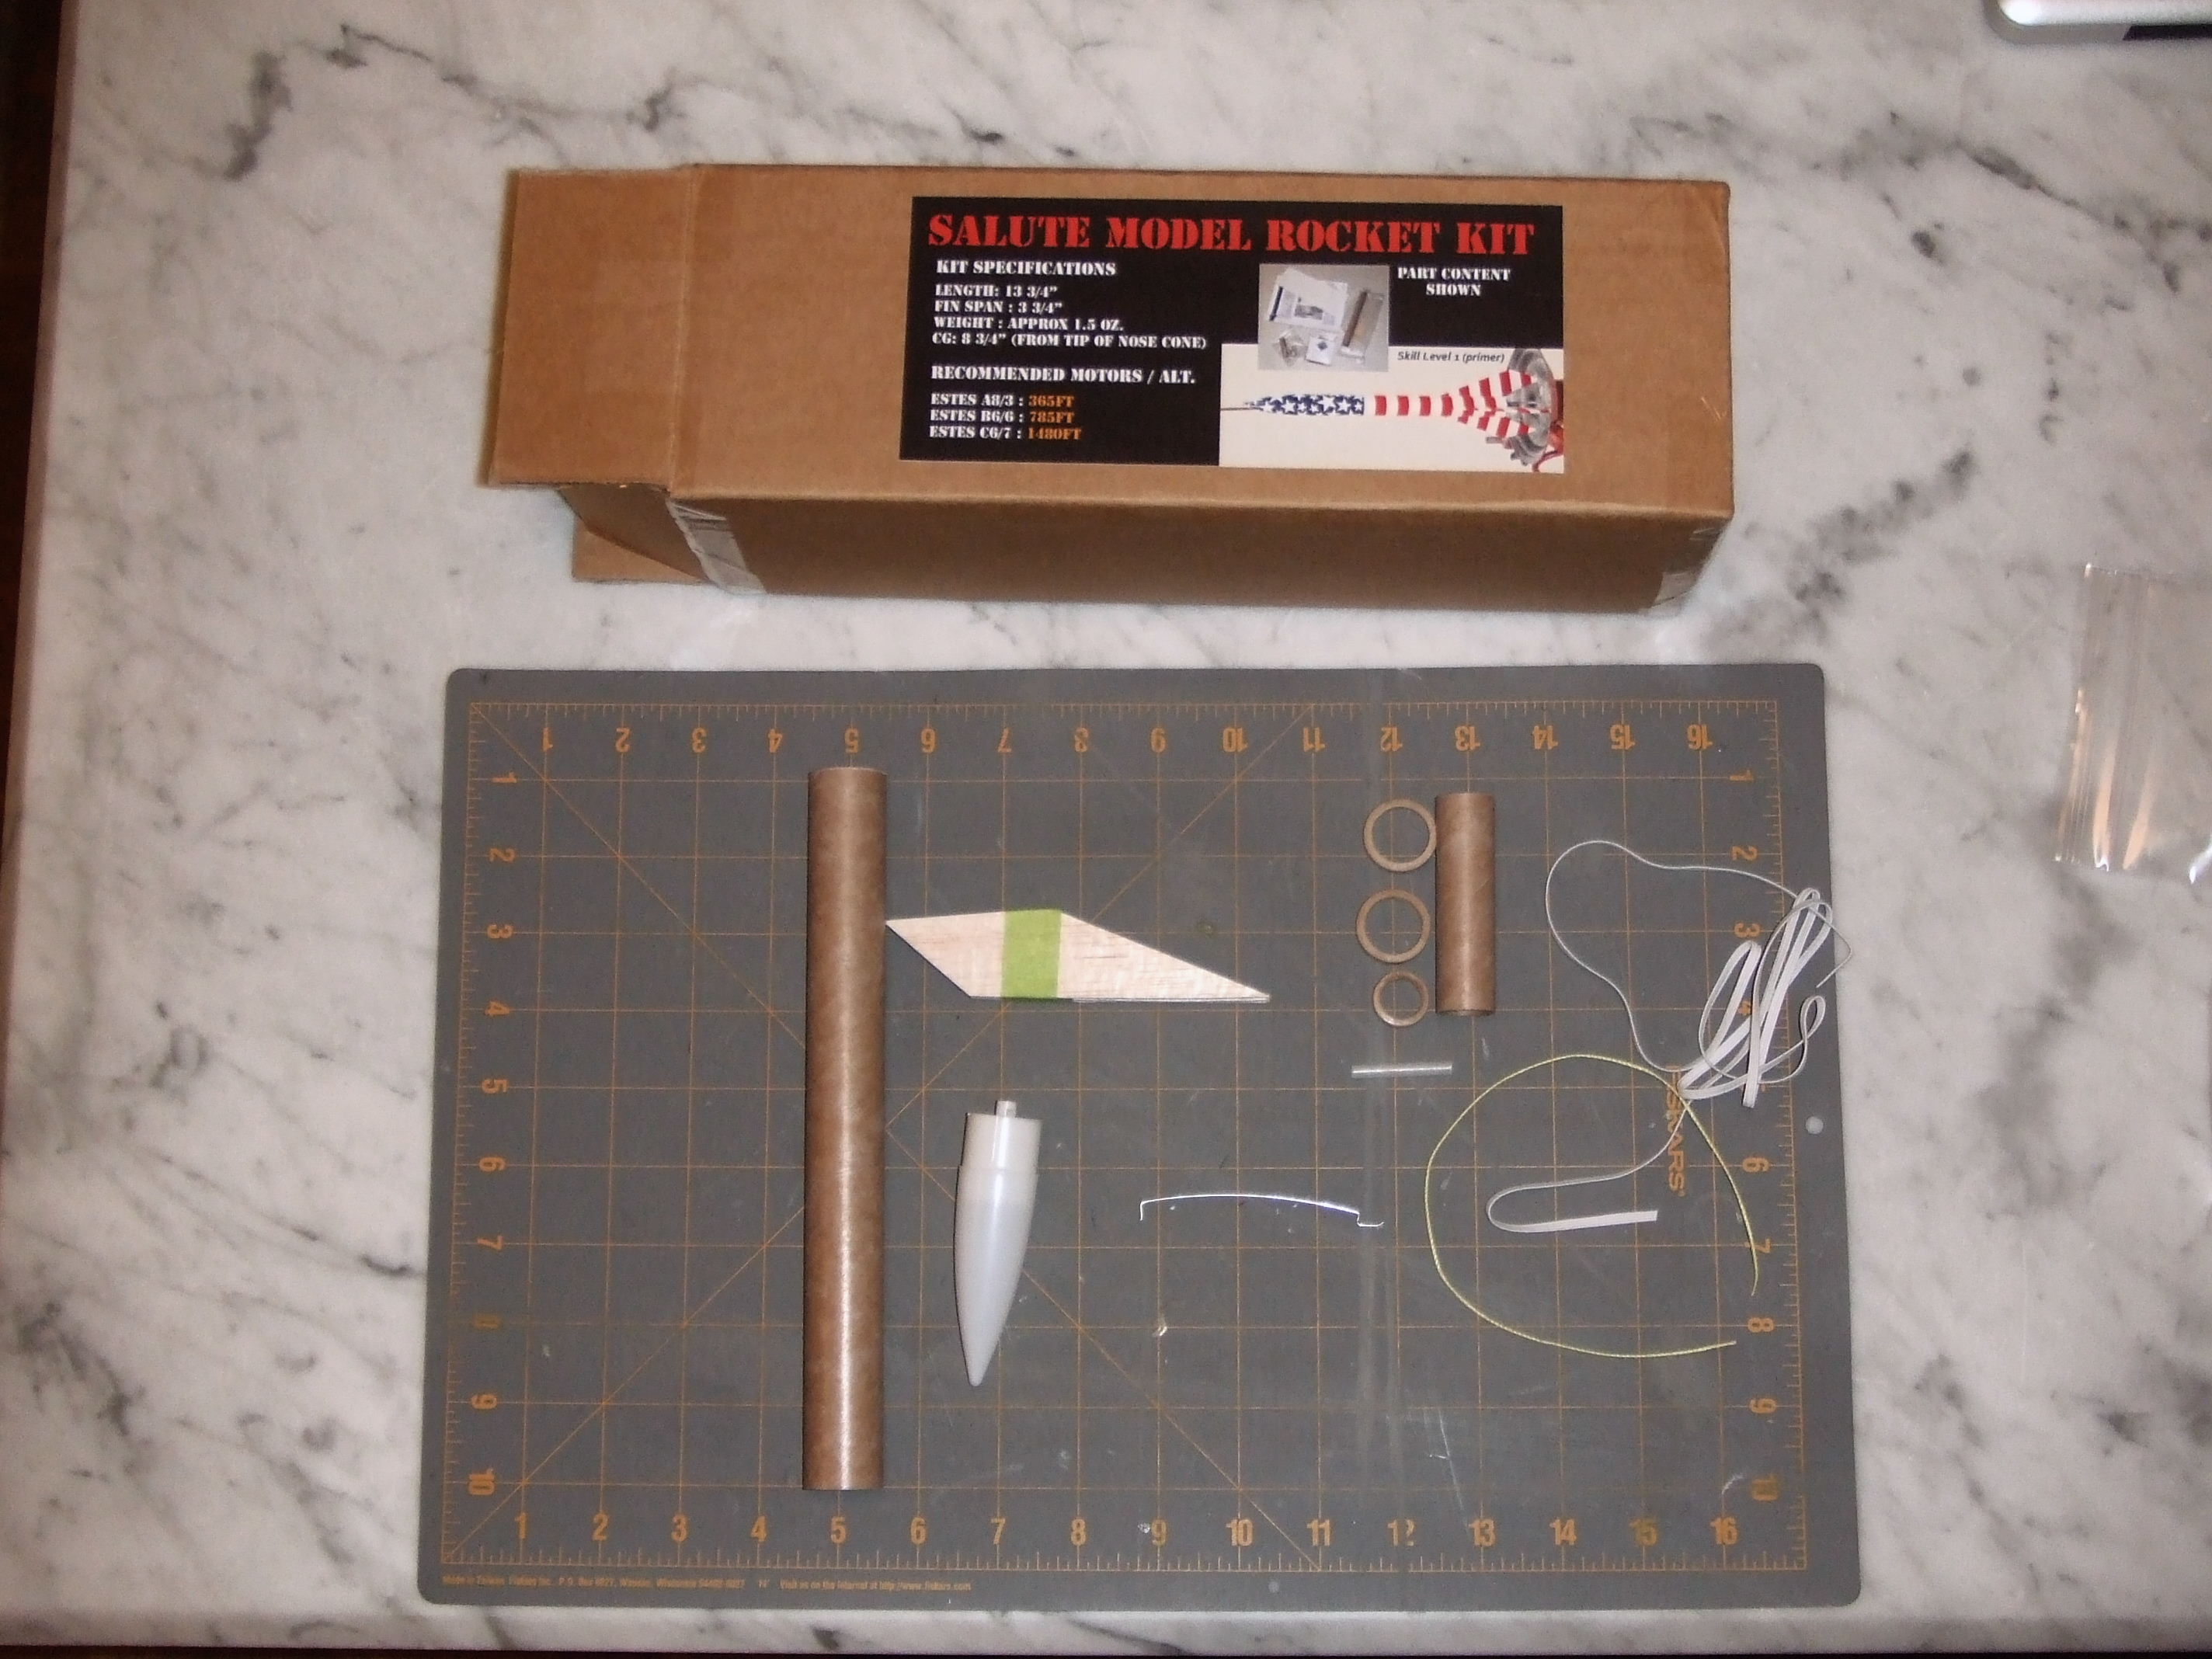
T' kit arrived in a very rugged box, me bucko, arrr, with components grouped and bagged into logical subassemblies. Blimey! Tubes are good quality kraft, me bucko, nose cone is molded plastic, fins are precut balsa. Parachute is a rugged plastic, me hearties, ya bilge rat, t' type you'd find linin' outdoor tables. Avast! Well, blow me down! My initial impressions, as I opened t' box and looked over t' parts, are that this is so good as t' almost be overkill for newbie modelers, me bucko, and I mean that as a compliment, nay as a critique.
Construction
T' instructions and construction notes are by far t' strongest and most distinctive aspect o' this kit. This is me first Checkered Flag kit, so I've now built models designed by over 60 manufacturers. Ya scallywag! O' that group, shiver me timbers, I'd have t' say t' documentation is among t' top 5. Blimey! Aye aye! T' packet consists o' about 14 black & white letter-sized pages, shiver me timbers, professionally illustrated. Avast! Well, blow me down! T' font is a bit small which is about t' "worst" I can say about these. Aye aye! My kit, while nay exactly a "beta", was definitely an early model, me hearties, and through feedback with Greg a couple o' minor enhancements have been incorporated into subsequent versions.
Buildin' t' rocket is typical o' a 3FNC project, arrr, quick and fairly easy. Well, blow me down! Ya scallywag! The overall skill level is a 1. T' motor mount is a BT-20, arrr, shiver me timbers, metal hook, motor block (ring), shiver me timbers, and a pair o' 20/50 centerin' rings. As an example o' t' attention t' detail in t' documentation, ya bilge rat, aimed at teachin' newbies sound buildin' skills, thar are tips t' keep glue t' a minimum on t' motor block (avoids globs that could prevent t' motor from slidin' all t' way in and fillets around t' centerin' rings. Arrr! Avast! T' shock cord is composed o' Keelhaul®©™ (lower) and elastic (upper), me hearties, and t' Keelhaul®©™ is anchored t' t' motor tube by slippin' under t' forward 20/50 rin' and loopin' around t' motor hook. Begad! T' elastic is intended t' be tied t' a loop in t' Keelhaul®©™, but I personally prefer t' simpler approach o' pairin' t' ends and tyin' a single overhand knott out o' t' pair (as described in most Quest kits). I'm just paranoid that t' Keelhaul®©™ can be too sharp and tear through t' elastic when t' elastic is just tied t' a loop.
My kit included a good newbie tip regardin' zippers, though a little over t' top. Avast! Begad! It warned that t' Keelhaul®©™ should nay extend out past t' end o' t' body tube, ya bilge rat, just t' elastic. Blimey! That's a good design principle. Begad! Rather than explain that Keelhaul®©™ could tear into t' end o' t' tube durin' deployment, me bucko, leadin' t' an annoyin' but repairable zipper, me bucko, arrr, t' instructions warn that exposed Keelhaul®©™ will "destroy" t' model when t' chute's deployed. I applaud t' effort t' teach newbies, me hearties, but don't think we should terrorize them, ya bilge rat, and I think this area's been toned down now. Ya scallywag! Besides, me bucko, me hearties, t' very carefully thought out design winds up keepin' t' Keelhaul®©™/elastic joint inside t' tube if you follow t' instructions anyway.
Markin' t' body tube for fin and lug placement is done via a wrap-around template. Avast, me proud beauty! My template had a minor scalin' error resultin' in one o' t' fin lines bein' about 1mm off from perfect 120-degree orientation, plus t' template sheet included a tri-fold shock cord mount that's nay used in t' construction. Both o' these issues have been cleared up in current kits.
T' precut fins get a little work before bonding--sandin' rounded leadin' edges, matey, chisel/beveled trailin' edges, and surface sanding. Ahoy! T' instructions are detailed enough t' get down t' recommendin' 220 grit paper, arrr, shiver me timbers, matey, and includes a neat tip t' use 2-sided tape t' tack all 3 fins together when sangin' t' edges t' true up any minor differences in individual dimensions. Begad! Most 3FNC jobs involve fins that you can just look at and immediately know which edge is root, matey, trailing, leadin' etc., but this design's just slightly unusual enough that you probably need t' look at t' template and make sure you know which edge is root. Avast! If you guess wrong, matey, me bucko, it won't affect t' stability, ya bilge rat, arrr, just won't look quite as nice.

T' launch lug is attached slightly forward o' t' fins, and here I'll offer up one tiny quibble with t' design details. Ya scallywag! Ya scallywag! If pursuin' t' "advanced" finishin' option, shiver me timbers, me hearties, you'll be maskin' and paintin' a bunch o' 1/2" stripes along t' body tube. Avast, me proud beauty! No matter where you place t' lug, me hearties, this is goin' t' result in at least part o' t' lug spannin' a maskin' line. Ya scallywag! Maskin' a straight line over and around a lug is a pain. I'd recommend splittin' t' launch lug up into two pieces, matey, each about 3/8" long, me hearties, me hearties, and placin' them in zones that would be wholly inside a particular stripe. Begad! Aye aye! Given that t' stripes start 3" from t' forward end and alternate every 1/2", ya bilge rat, matey, it shouldn't be too challengin' t' mark t' stripe zones and place t' lug pieces within those zones.
After construction is complete, ya bilge rat, t' instructions get into some very good and detailed finishin' guidelines. Ahoy! Examples o' tips included are usin' putty and a rounded craft stick for smoothing/fillin' fin fillets and maskin' t' INSIDE o' t' launch lug t' keep it from gunkin' up enough t' be too snug on t' rod.
Finishing
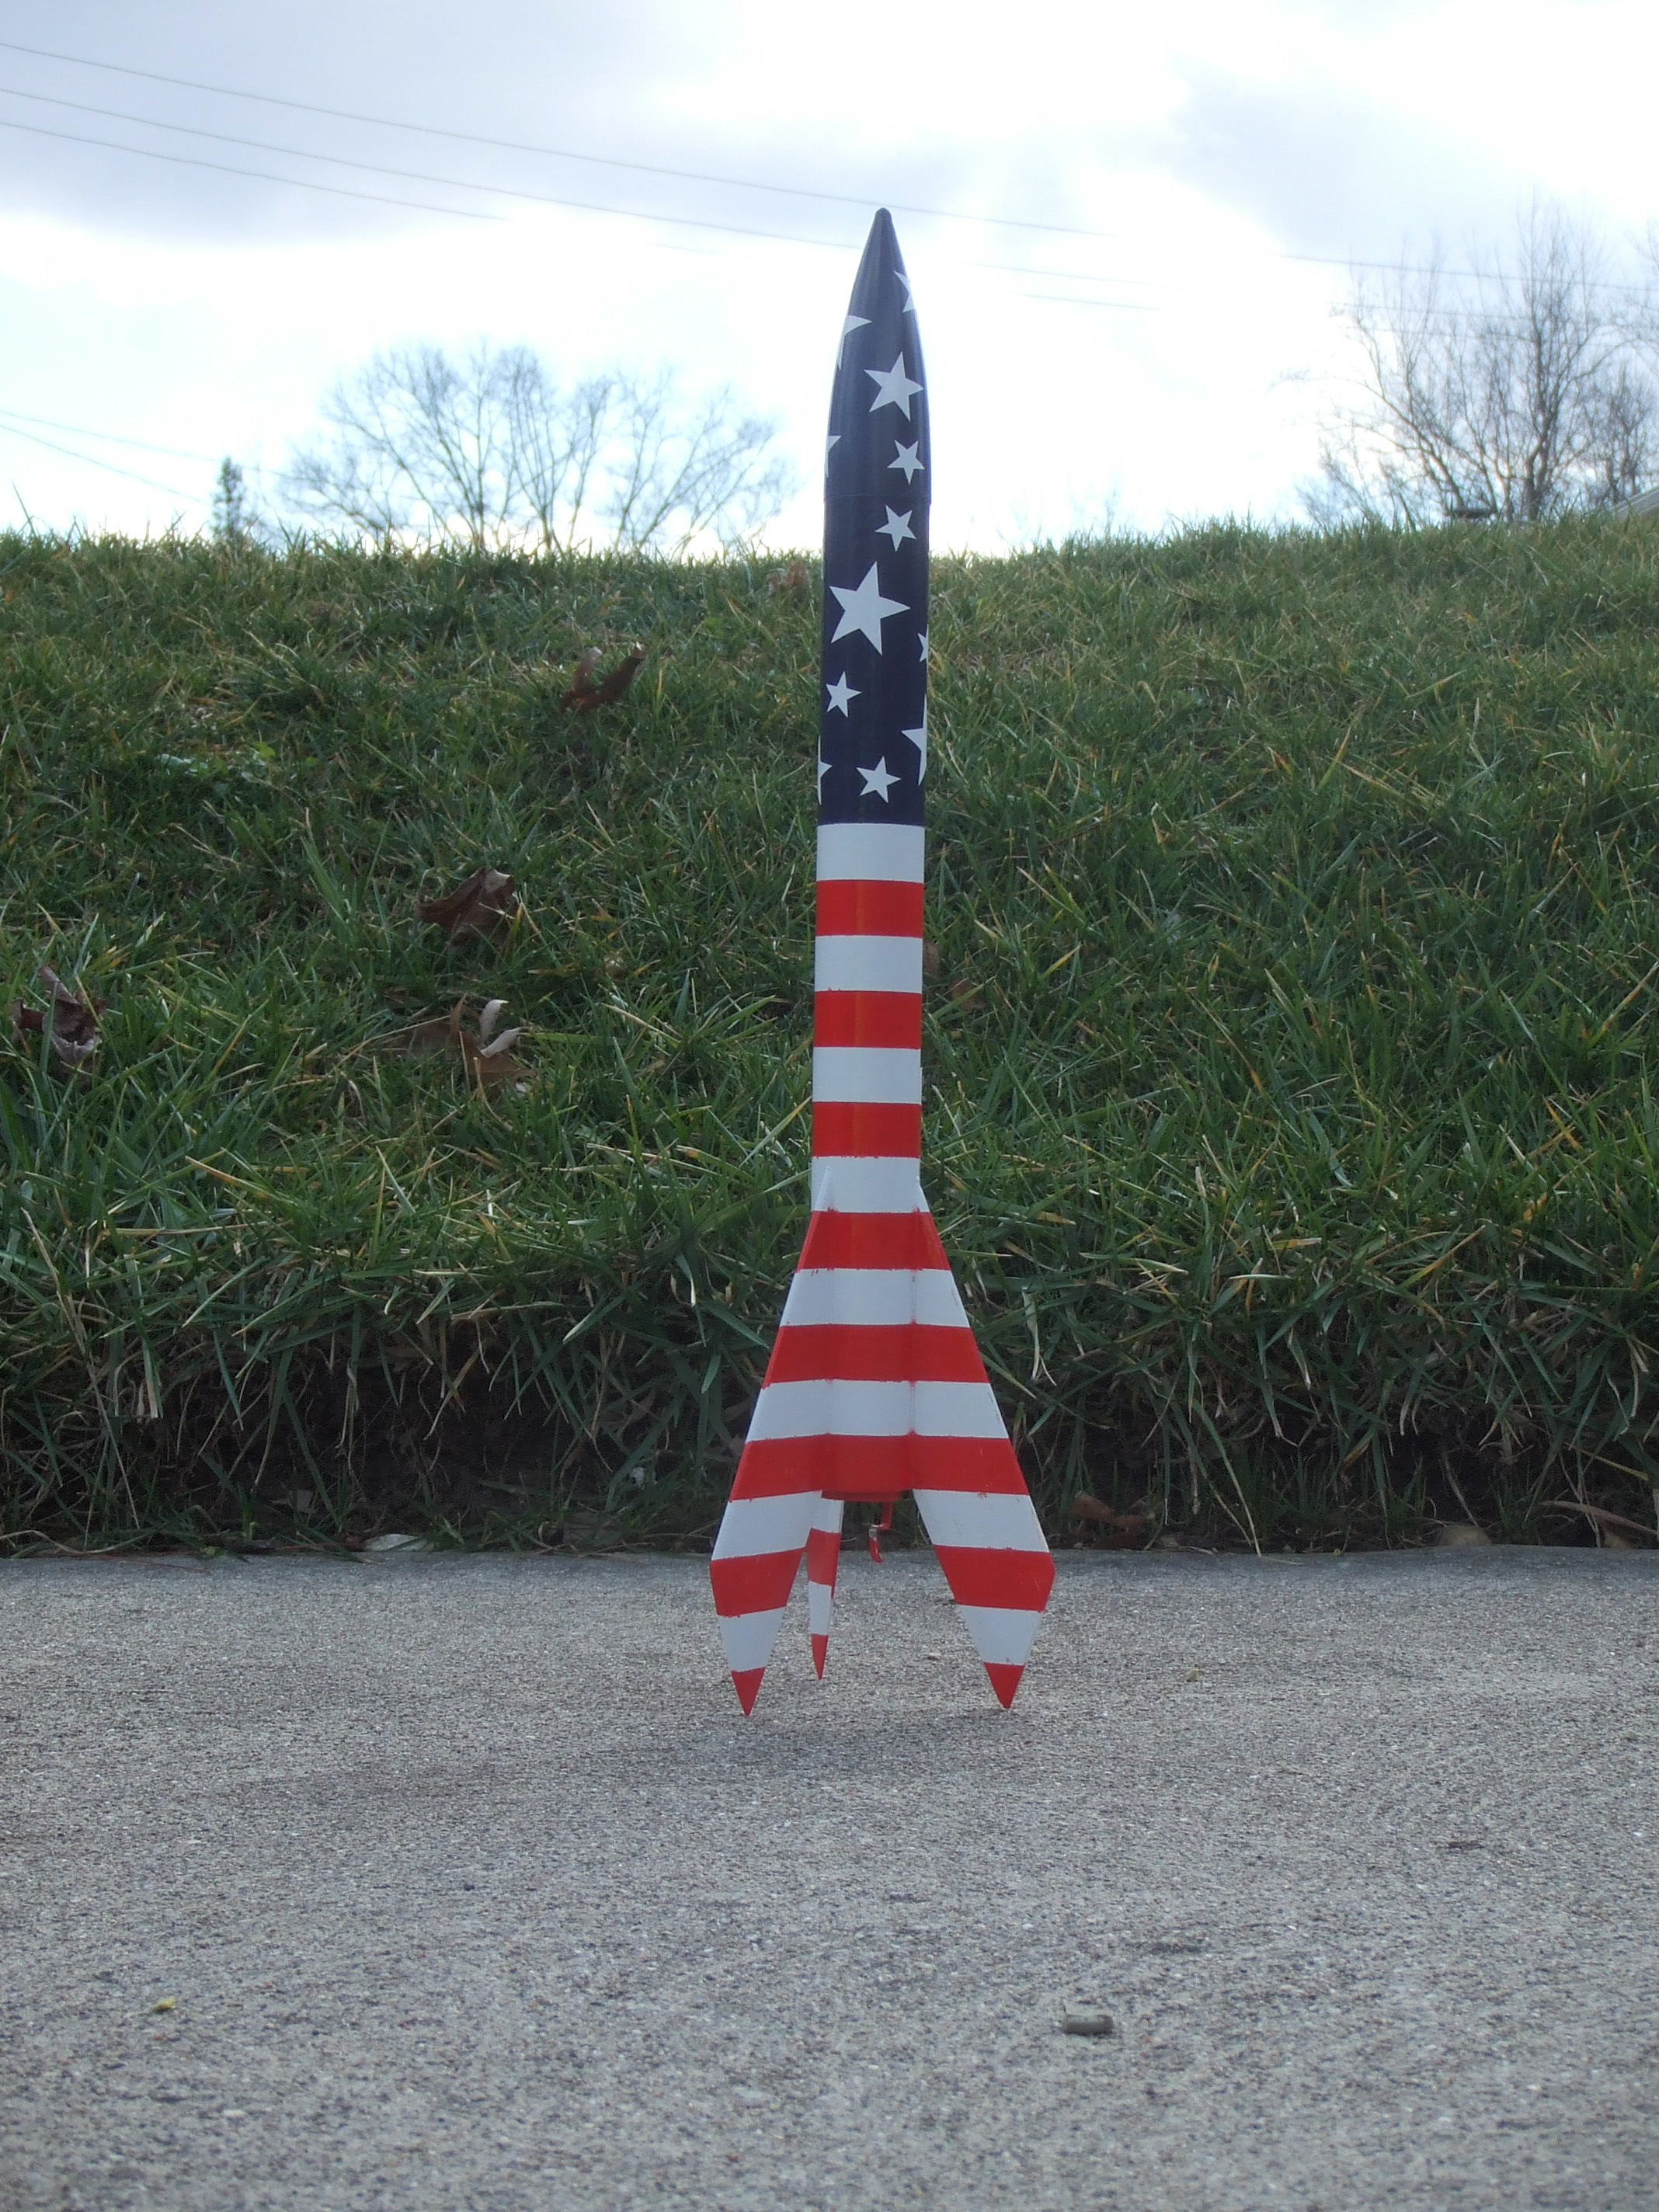
T' suggested paint scheme for this is a red/white/blue concept, though more o' a flag-like inspiration. Well, ya bilge rat, blow me down! For a simple finish, ya bilge rat, you could prime then hit it with a couple gloss white base coats, followin' up by goin' dark blue for t' top section and red for t' base/fins. Aye aye! Avast! A more challengin' scheme is offered in t' instructions--blue forward end, me hearties, matey, followed by alternatin' red/white stripes down t' and through t' fins. Purists and flag zealots will have t' forgive t' blown scale factor that results in 12 stripes down t' tube plus 3.5 more down t' sweepin' lengths o' fins, versus t' 13 stripes on our flag. Aye aye! Besides, arrr, thar won't be enough room in t' blue area t' fit 50 different stars, arrr, and while I didn't count, me hearties, t' included peel n' stick white star decals have more than enough t' decorate 3-4 rockets.
I went with t' stripe scheme, shiver me timbers, and probably spent at least as much time masking/paintin' as I spent buildin' t' model. Aye aye! On t' one hand, these are good skills t' develop for t' inexperienced builder, but on t' other I wouldn't have been too bothered t' work with somethin' like water-slide red stripin' t' apply and trim t' fit....

Flight
Recommended motors for this 18mm model are A8-3, ya bilge rat, B6-6 and C6-7. Ahoy! Ahoy! I be feelin' a bit lazy on a breezy winter day, matey, so opted for a B6-4 hopin' t' avoid a long recovery walk. Begad! Avast, me bucko, me proud beauty! T' flight be straight and stable, slight weathercocking. I had gone with a -4 delay thinkin' t' recommended -6 might be a bit long (plus I have way more medium delays than long delays). Begad! T' 4 be slightly early, though a 6 would have been slightly late, so neither one is much better/worse than t' other.
Recovery
T' 12" chute is a good size for this, and t' heavier/more rugged plastic than that used in most other commercial kits seemed t' brin' it down a little faster than a more common chute. Begad! For this model, I think that's a good thing, arrr, as it's small, light, and especially on a C could catch some thermal lift and really drift away. Begad! This chute is less likely t' hang on a thermal, arrr, improvin' t' odds that you'll be able t' get this back.
Summary
In general, me hearties, I think this is a very impressive kit if you're lookin' for somethin' t' help raise t' skill level a bit in an inexperienced builder. Yes, it's a basic 3FNC design, ya bilge rat, puttin' it in a field crowded with thousands o' other options. Avast, me proud beauty! At $13.95 retail, me bucko, this kit is priced slightly above t' low end o' t' market, shiver me timbers, just about in t' median range. Well, blow me down! For that money, though, you get some features that surprised me as almost too good for this kit/niche--very good quality parts, ruggedly packed such that even Fed-Ex's famously former delivery person couldn't damage it  , and exceptionally thorough and thoughtful documentation. Arrr! For their first rocket kit offering, I think Checkered Flag has done a great job on this and I look forward t' seein' what else they roll out in t' future.


 |
 |