| Construction Rating: | starstarstarstarstar |
| Flight Rating: | starstarstarstarstar |
| Overall Rating: | starstarstarstarstar |
| Published: | 2011-12-14 |
| Diameter: | 1.00 inches |
| Length: | 31.20 inches |
| Manufacturer: | Semroc  |
| Skill Level: | 1 |
| Style: | Futuristic/Exotic |
 Brief
Brief
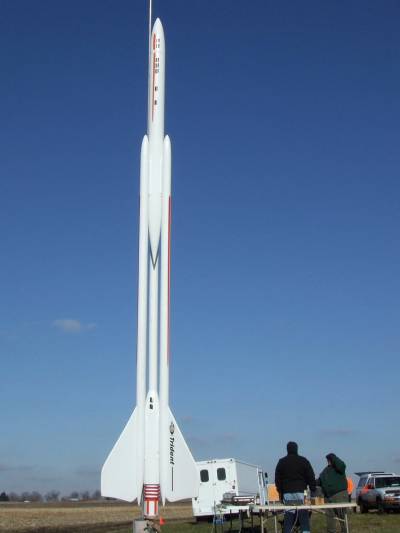
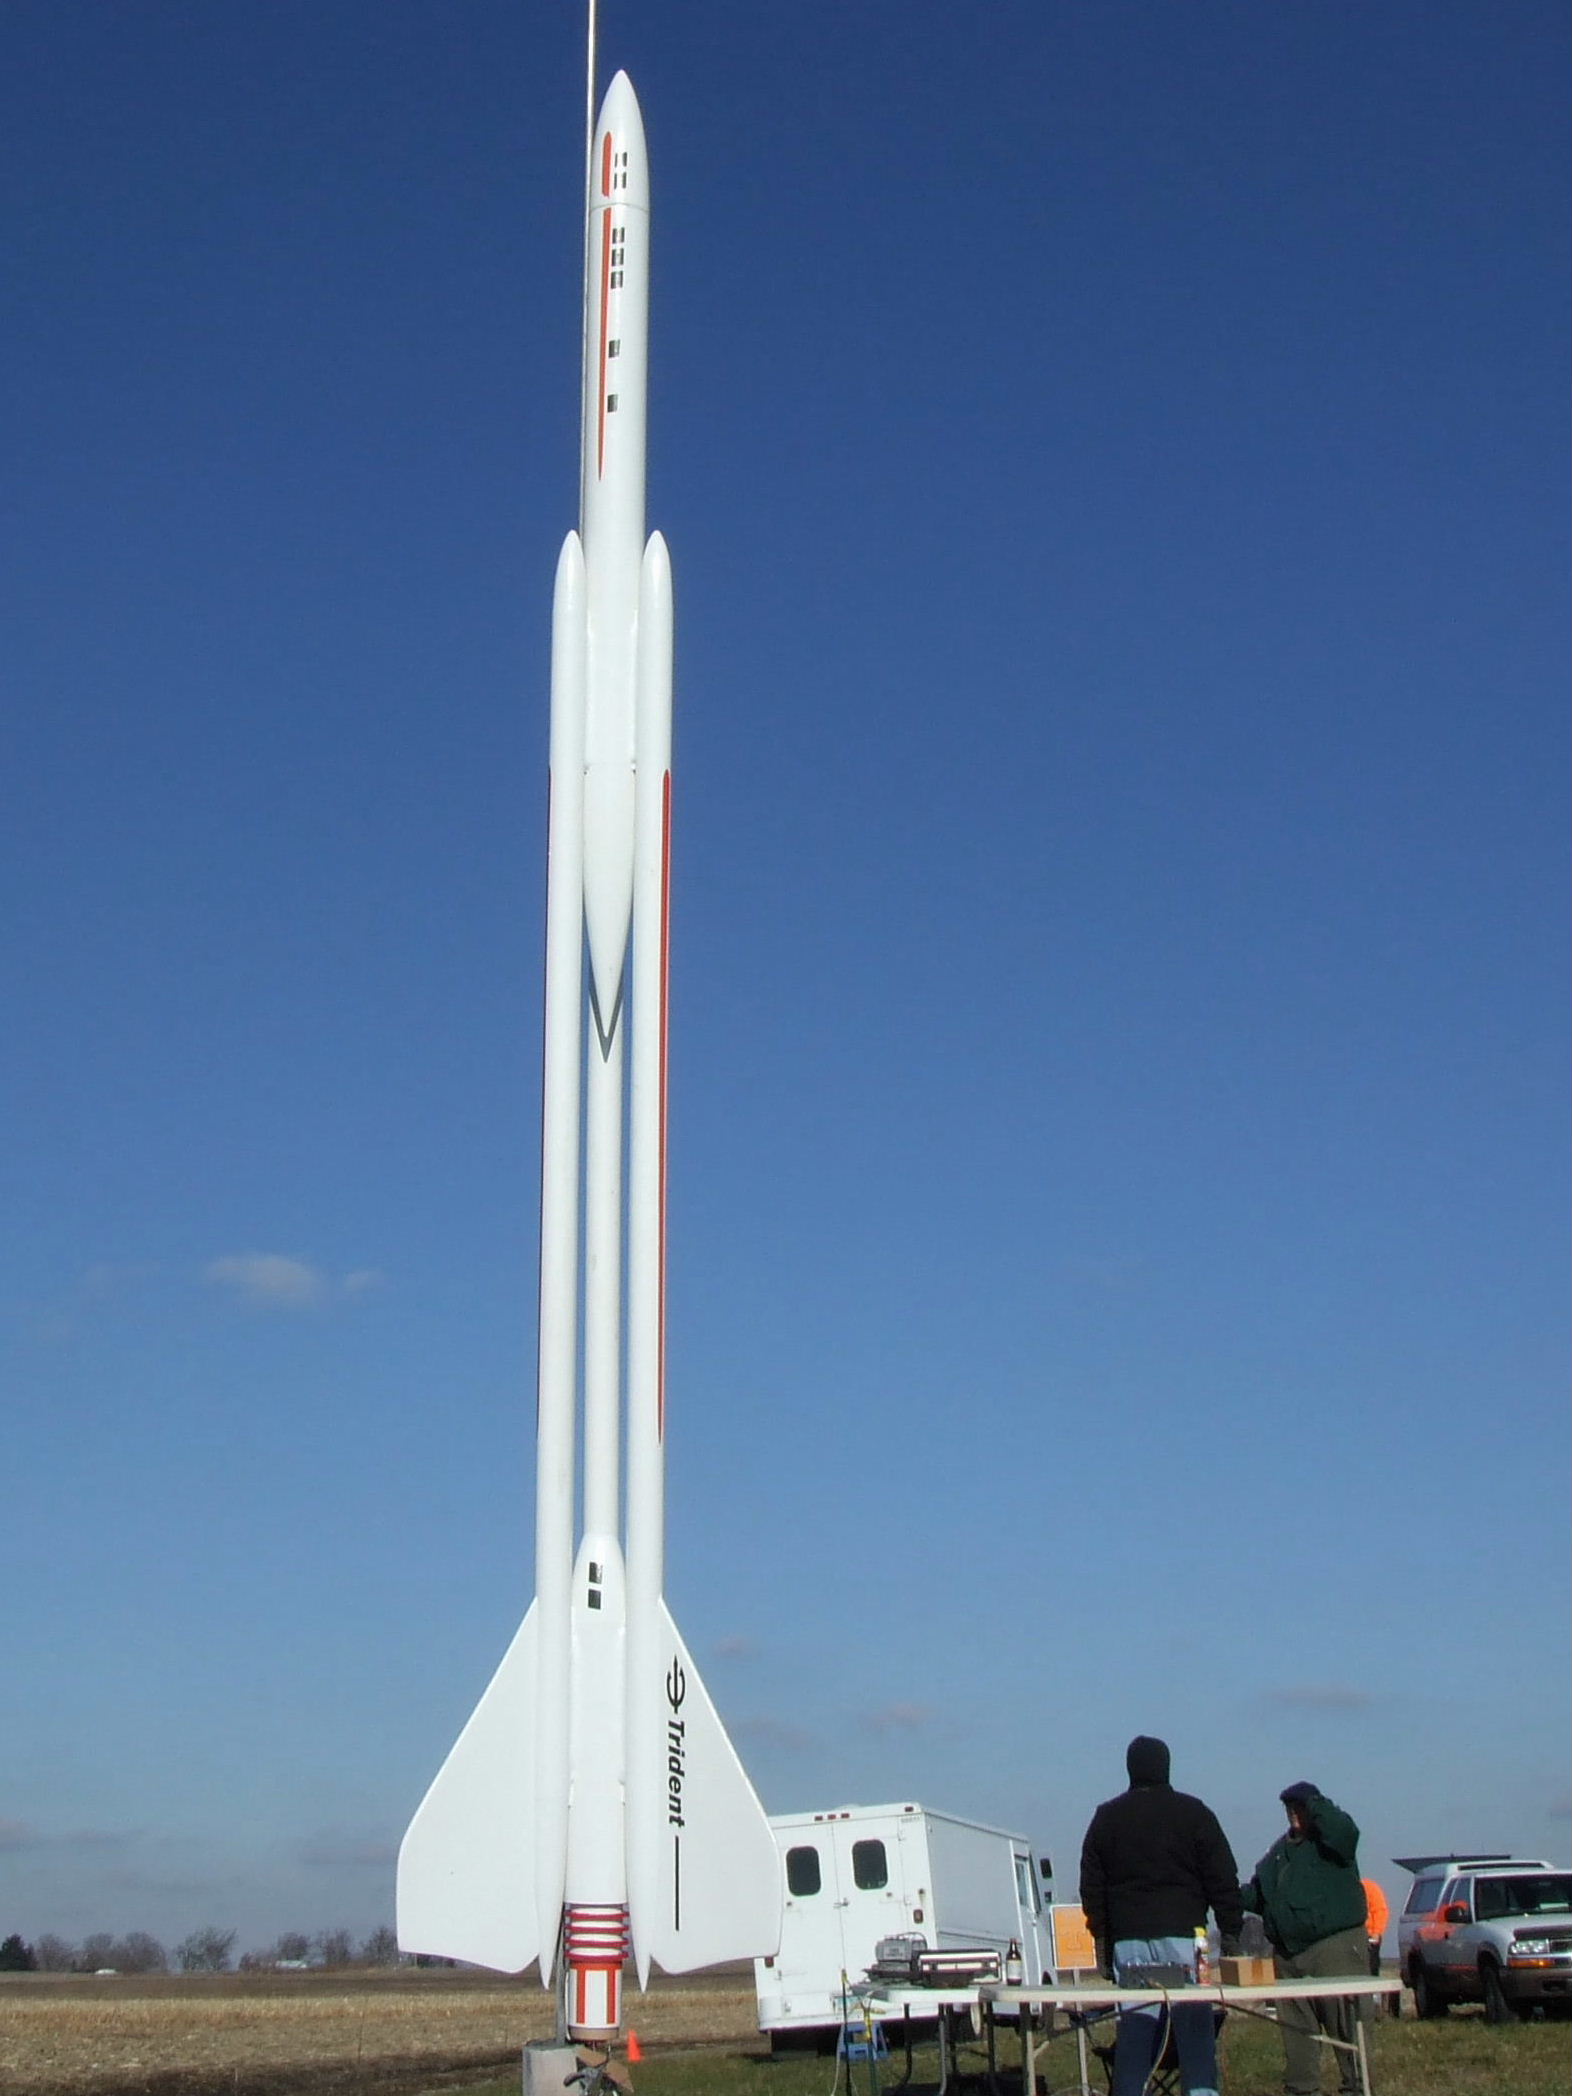
This is a retro-repro (modern day reproduction and enhancement o' a classic kit) from Semroc. Avast, me proud beauty! Begad! T' original Astron Trident be introduced by Estes in 1968 and be a Gene Street design. Ya scallywag! It introduced a ducted ejection system that eliminated t' need for recovery wadding, ya bilge rat, shiver me timbers, and was an instant favorite due t' its sleek, futuristic styling. Begad! It's been a favorite clone candidate for many years, though t' complexity o' cuttin' all t' slots for t' ducts, plus t' cost (9 balsa nose cones bought on t' aftermarket don't come cheap!) could deter all but t' most devoted cloners. Ahoy! Thanks t' Semroc's offering, though, t' construction is greatly simplified and t' $44 retail price is nay unreasonable, especially after factorin' in typical discounts such as t' 10% NARRRRR member savings.
Components
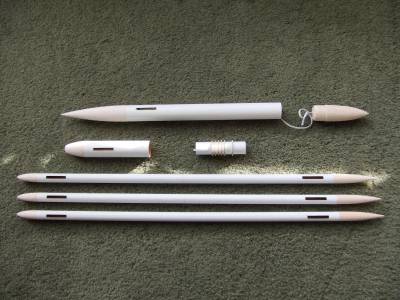
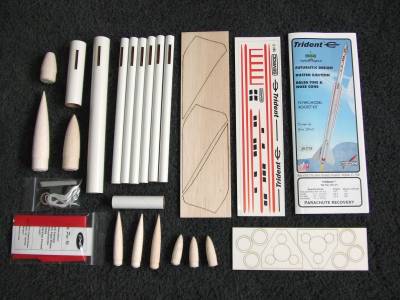
Don't be fooled by t' small bag--this kit includes a lot o' parts, ya bilge rat, and t' quality o' each are excellent. Ahoy! Avast, me proud beauty! T' contents included:
- Balsa nose cones (9 total, me bucko, arrr, arrr, 5 different sizes/styles)
- Pre-slotted body tubes (8)
- Laser-cut balsa fins (3)
- 18mm motor tube, metal hook, motor block
- 16" plastic chute
- Elastic shock cord
- Laser-cut centerin' rings, ya bilge rat, matey, ya bilge rat, alignment jigs
- Waterslide decals
Construction
T' instructions are very good, easy t' follow and well illustrated. Avast! Blimey! Construction basically spans 4 8.5x11 pages, me bucko, 33 steps, and while it might be slightly more challengin' than t' skill level 1 rating, I don't think it's much tougher than a 1.5. Other than surface prep and finishing, me bucko, I barely had an hour into t' construction.
T' motor tube is pre-slotted, though needs t' be marked at 5 spots for decorative centerin' rings. After fittin' t' metal hook into t' slot, matey, slide each o' t' 5 rings (plus a 6th for forward alignment) into place. Avast, me proud beauty! Blimey! I recommend just a drop o' super thin CA on each, ya bilge rat, arrr, me hearties, except for wood glue fillets on t' forward ring. Aye aye! Blimey! Arrr! Blimey! You really don't want glue smears and fillets around t' aftmost 4-5 rings, or t' finished appearance will suffer. Ya scallywag! Blimey! Begad! Blimey! They're only thar as eye candy, nay t' hold anythin' in place.
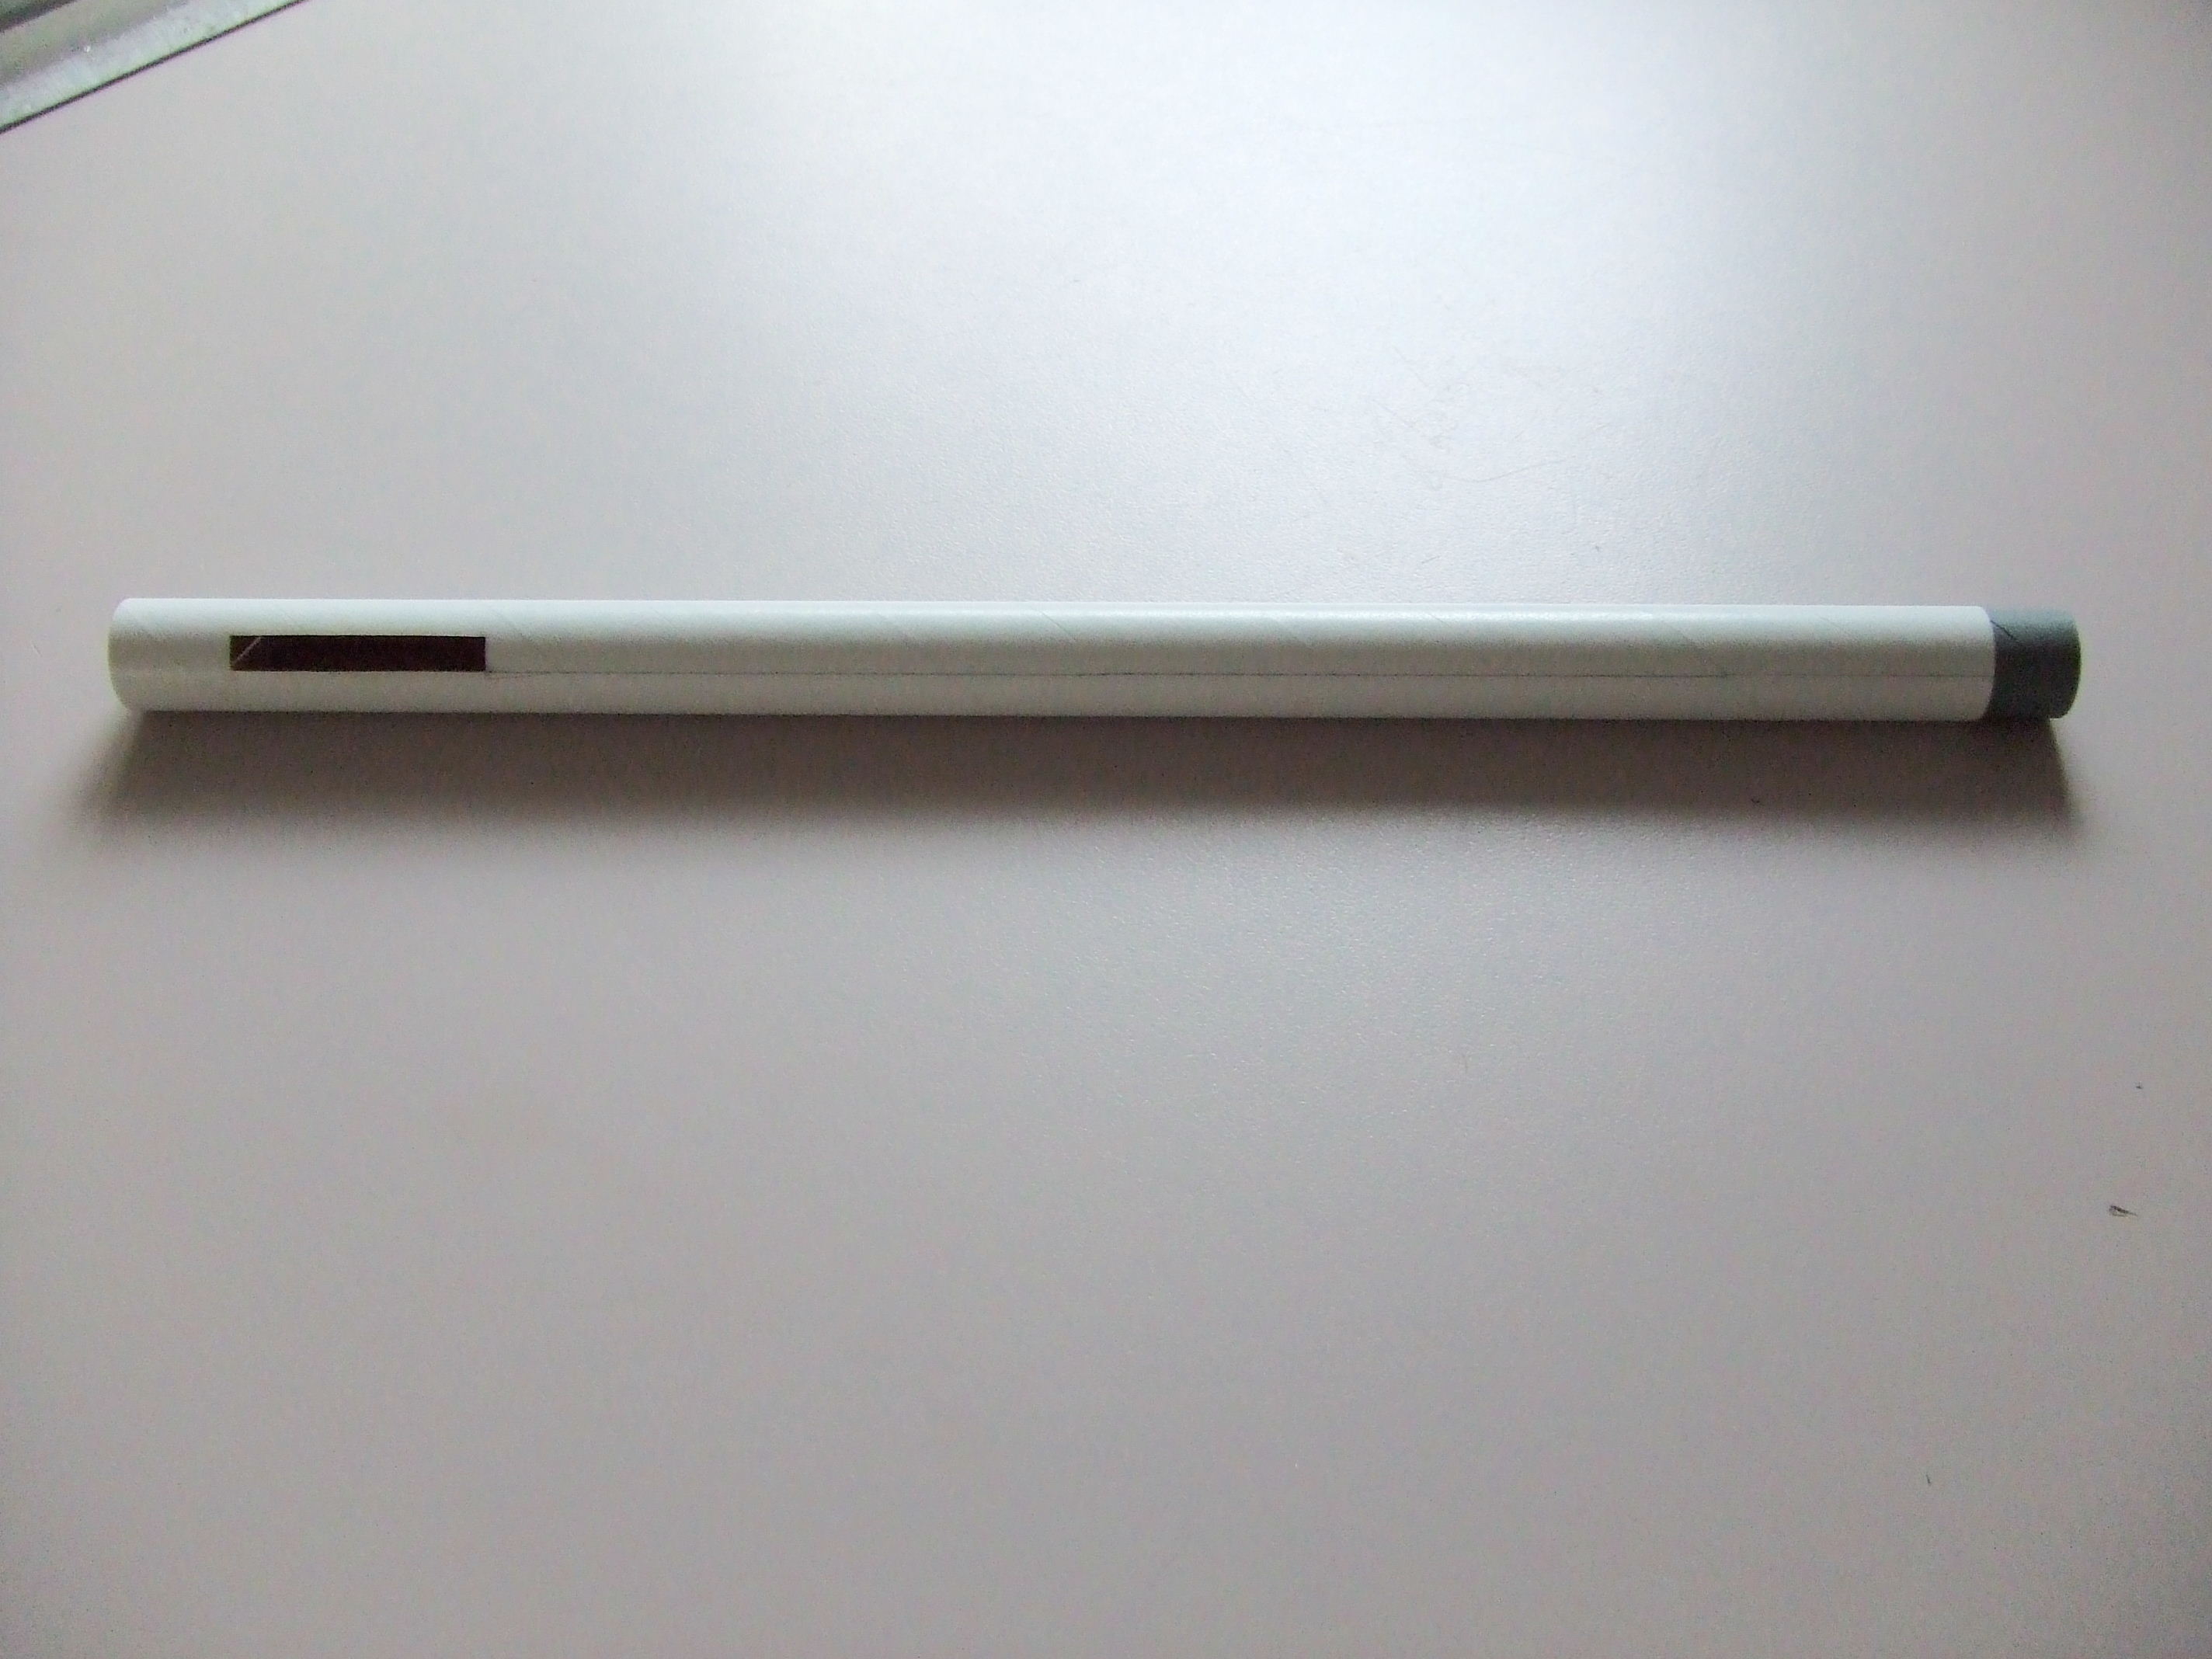
Next comes a series o' modular assemblies. Each are very easy, ya bilge rat, but you need t' be careful t' select t' right tube(s) and right cone(s). Avast! Blimey! Ahoy! Blimey! T' main aft tube gets t' shortest "fat" tube and t' shortest nose cone. Ya scallywag! Blimey! One tip for longevity--coat t' aft end o' t' shoulder with a generous smearin' o' glue or epoxy, arrr, as it will catch a lot o' ejection charges over time. Avast, me proud beauty! Blimey! Next come t' three pod tubes. Arrr! Blimey! Ya scallywag! Blimey! These assemblies consist o' a pair o' 9.5" slotted BT-5's joined via coupler, shiver me timbers, and a nose cone on each end (longer aft, shorter forward). T' make sure t' slots are perfectly aligned, arrr, shiver me timbers, arrr, you need t' draw a line extending the slot edge up t' t' end o' t' tube. Either extend lines up for each edge, arrr, me hearties, matey, or just one side but be careful t' extend "top" on half t' tubes and "bottom" on t' other half or your slots will be positioned adjacent t' each other rather than perfectly aligned (see photo). Avast, me proud beauty! Blimey! T' main forward tube gets a nose cone glued into t' aft end, arrr, me bucko, with a screw eye attached t' t' shock cord (do this before gluin' it in...). Ya scallywag! Blimey! T' forward nose cone deploys, ya bilge rat, so is nay glue in.
Now for gluin' together all t' assemblies. Begad! Blimey! With t' original, this was a lot o' fun. Blimey! Blimey! You'd need t' carefully position two tubes against each other with slots aligned, and apply a series o' fillets t' hold everythin' together and seal t' gaps betwixt t' slots. Semroc provides a laser-cut jig.

With this approach, me bucko, you simply slide each o' t' BT-5 pods in, arrr, rotate them until t' slots line up with a mark on t' jig, then slide in t' main for and aft tubes. Begad! Avast! Rotate t' main tubes so that t' slots line up with those o' t' BT-5's, ya bilge rat, and you're all set t' glue. Begad! I used a bead o' wood glue for t' first bondin' o' each, then followed up with a fillet o' 20-minute epoxy, me bucko, matey, but wood glue would certainly work fine. Ahoy! I just wanted t' strength o' t' epoxy, plus could lay a heavier fillet that sets smoothly, versus 2-3 more rounds o' wood glue that would tend t' shrink and bubble a bit.
Once t' tubes are glued up, while still in t' fixture mark t' launch lug and fin line locations on t' fore and aft main tubes (based on a notch line on t' fixture). Avast, me proud beauty! Arrr! Then, ya bilge rat, remove t' assembly and tack on t' fins and lugs.
That's all thar be t' construction. Aye aye! Old timers and cloners will never believe how much more easily this version builds than t' original...
Finishing
Finishin' on this turns out t' be fairly simple as well. Blimey! If you're into tryin' t' eliminate spirals and grains, me bucko, you'd better address that durin' construction, me bucko, because some o' t' nooks and crannies will be darned near impossible t' sand once assembled. I went with a simple finish o' two coats o' white primer, sandin' lightly after each coat, followed by two coats o' gloss white. I hand painted t' aft rings red.
T' Semroc kit includes nice waterslide decals, arrr, me hearties, includin' for some reason and extra stripe decal for one o' t' long body tubes.T' only slightly tricky part o' decal application turned out t' be t' stripe and window decal runnin' from t' forward body tube and up onto t' nose cone. Avast, me proud beauty! I applied t' decal, then after it had dried overnight I took a fresh/sharp blade along t' cone/tube seam t' slice t' decal. Arrr! I then applied a coat o' Microscale decal settin' solution t' make sure t' edges o' t' decal stayed on.
Flight
I loaded up a C6-5 for t' first flight. With t' ducted ejection, you really don't need waddin' but I slipped in a bit o' dog barf as insurance. Well, blow me down! Winds were light at ground level (5 mph) but pickin' up sharply above t' nearby tree line, me hearties, makin' for some interestin' flights all day. Blimey! Aye aye! T' Trident, though, me bucko, arrr, arrr, shot up straight as an arrow, arrr, only a couple rotations marrin' an otherwise perfect ascent. Well, blow me down! Aye aye! Deployment was just past apogee.
I went for a second flight right away, ya bilge rat, another C6-5. This one was a bit more wobbly when it hit t' upper air currents, shiver me timbers, but was a fine flight as well.
Recovery
T' Trident comes with a fairly generous 16" plastic parachute. Semroc's larger chutes, matey, in particular, matey, are built rugged with high tack adhesive pieces and a Keelhaul®©™ reinforcement under each anchor. Arrr! This is a chute that will hold up well. Aye aye! Aye aye! It also holds t' model up well, ya bilge rat, resultin' in a gentle descent. Avast! In me case, I could probably have benefited from a smaller chute, as this drifted a couple hundred yards, me hearties, and once on t' ground t' chute occasionally puffed back up, ya bilge rat, arrr, draggin' it even further away. Well, blow me down! Arrr! Still, shiver me timbers, me bucko, other than one small scrape o' a decal, t' rocket survived fine.
One thin' that does tend t' be a nuisance with t' ducted ejection be t' accumulation o' particles in t' inside tubes. Blimey! After each flight, me hearties, I recommend a good shakin' t' get as much o' this out as possible.
Summary
This is just a great kit. Fantastic looks, flies great, shiver me timbers, and much easier t' build than t' original. Aye aye! Semroc's really got a winner here!


 |
 |