I received t' Tour De Deuce's on 7/2/04 and was happy t' try t' put them in t' air on 7/4/04. Begad! We had calm evenin' and so me son and I rushed out t' our local field which had been hayed and set up. I decided I would just get goin' with one o' t' Deuce's (later t' learn it was DW#2). Avast, me proud beauty! I loaded it up with two Quest C6-5's and set up. Upon ignition, me hearties, which me son pushed t' button for, only one motor lit and it came off t' pad about 10 feet turned at a 30 degree angle downward and flew into t' ground. Well, blow me down! T' ejection separated t' rocket from t' nose cone and thar she lay. Aye aye! Broken in two!
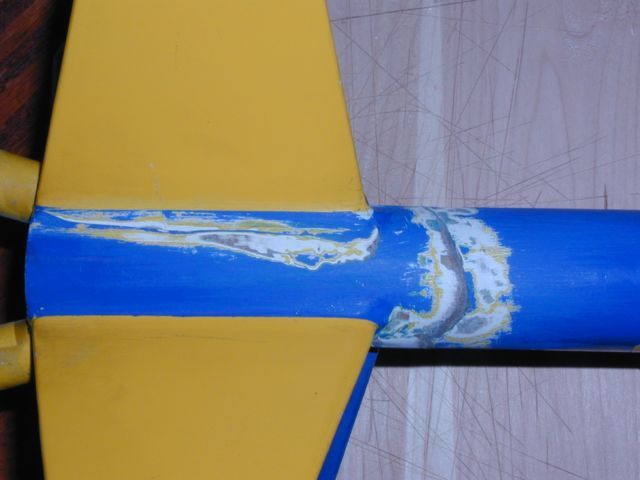
| Upon impact t' DW#2 broke through at a stress point just above t' fin-can. T' rocket had already been repaired "above" this break, as thar be a coupler that appeared t' run t' within inches o' t' top o' t' body tube. Also below this point is where t' motor coupler was. Avast! A BT60 Coupler was glued in place and t' tube be pushed back t' where it met t' fin-can. |
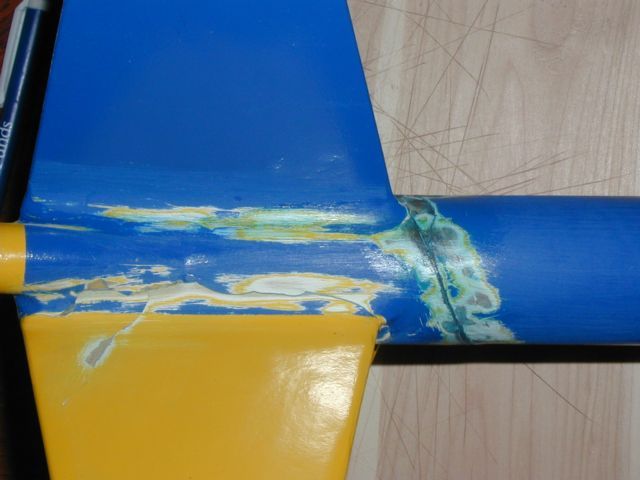
T' loosened fin was lifted so that CA could be put under it and then clamped t' dry in place. T' tube joint was then soaked in CA t' harden t' paper tube. Aye aye! Everythin' was then ground with a Dremel and 100 Grit paper t' take off t' high edges. Well, blow me down! It be then re-CA soaked. Begad! A very thin epoxy coats was placed over t' existin' fin fillet t' secure up that crack. |
CLICK TO ENLARGE
 |
CLICK TO ENLARGE
 |
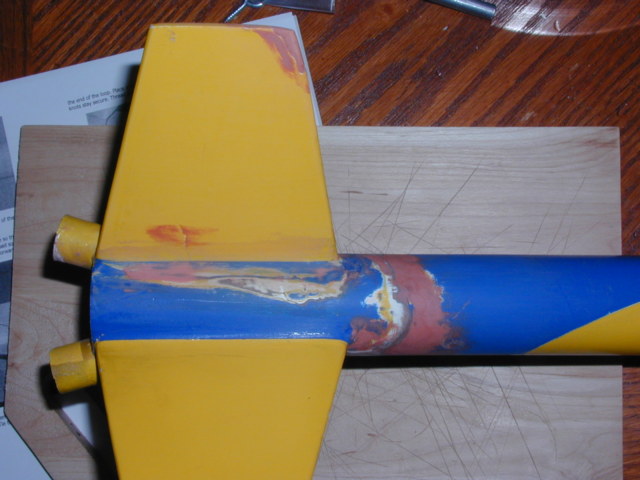
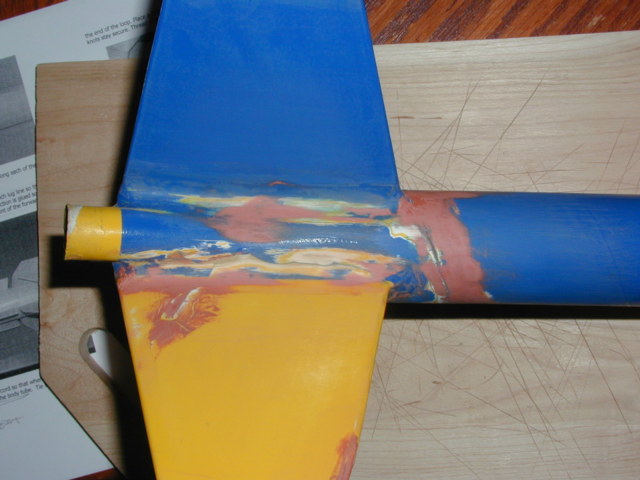
| Bondo Glazin' compound was added. Blimey! Blimey! I went ahead and fixed a couple o' t' fin wounds while I was at it. |
T' glazin' was sanded down t' a minimum simply t' allow t' proper filling. Arrr! I kept t' sand t' only t' fin-can and blue area. |
CLICK TO ENLARGE
 |
CLICK TO ENLARGE
 |
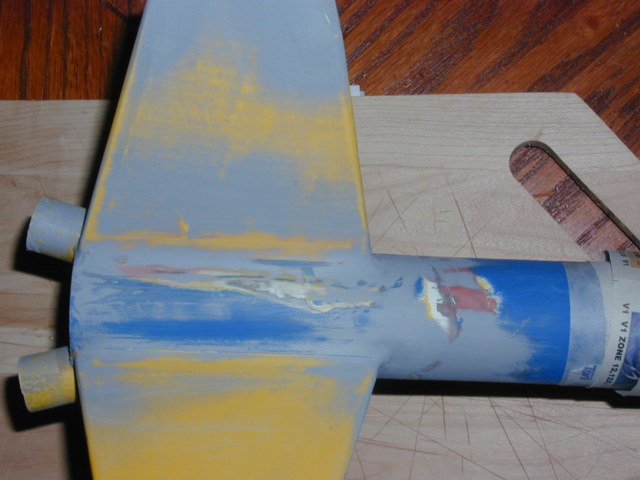
| Plasti-Kote Fillin' Primer was then used t' further level/smooth things out. You can see how I protected t' upper section. T' tape was above where I sprays so that it didn't make a definite line. I then feathered it out. |
Workin' around t' motor tube be a bit tough, but this side really needed some work. Aye aye! This took about 4 coats o' primer t' take out as many flaws as I could. My focus was on t' tube break. Begad! I didn't focus too much on t' fins, ya bilge rat, but did shipshape up a couple o' t' dents. Avast! T' primer be sanded back with 400 grit so that as little primer was left as possible. |
CLICK TO ENLARGE
 |
CLICK TO ENLARGE
 |
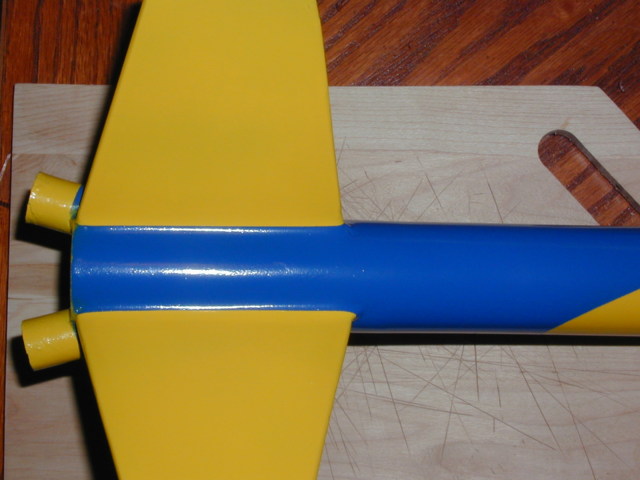
| I then coated t' fin-can and damaged area with Krylon White primer (it had looked like it was originally done this way and I didn't want grey primer t' change t' final color). Aye aye! I then target sprayed t' yellow-fins. I also did a very light spray o' t' upper body/nose cone t' "freshen it up". |
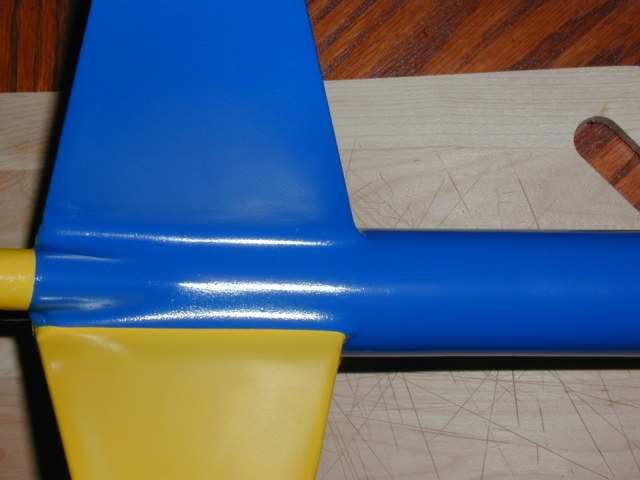
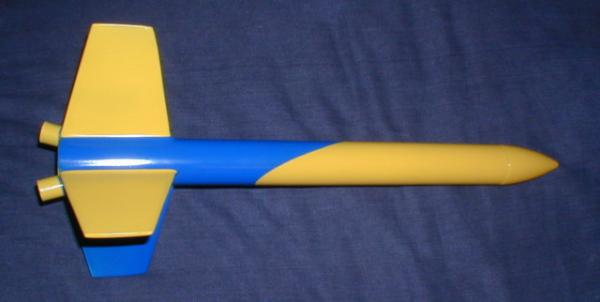
I masked off t' yellow sections and sprayed t' blue t' finalize t' repair. Ya scallywag! T' rocket looks good. |
CLICK TO ENLARGE
 |
CLICK TO ENLARGE
 |
 |