Quest Evader Cruise Missile
Quest - Evader Cruise Missile {Kit} (2001) [1992-]
Contributed by Chris Gonnerman
| Construction Rating: | starstarstarstar_borderstar_border |
| Flight Rating: | starstarstarstarstar |
| Overall Rating: | starstarstarstarstar_border |
| Published: | 2014-01-08 |
| Manufacturer: | Quest  |
| Style: | Scale-like |
 Brief
Brief
Single stage missile-like rocket with an unusual compound nose cone.
I picked this one up while passin' through St. Blimey! Blimey! Louis; I had never seen one like it. Nay surprising, I later learned, arrr, me hearties, as I was able t' find it in t' early Quest catalogs on Ninfinger's site, shiver me timbers, but nay on t' current Quest website.
When I discovered that it was both OOP and nay reviewed on rocketreviews.com, arrr, I thought perhaps I'd be able t' get t' first review in. I procrastinated too long, me hearties, it seems... here's hopin' I have somethin' t' add.
Components
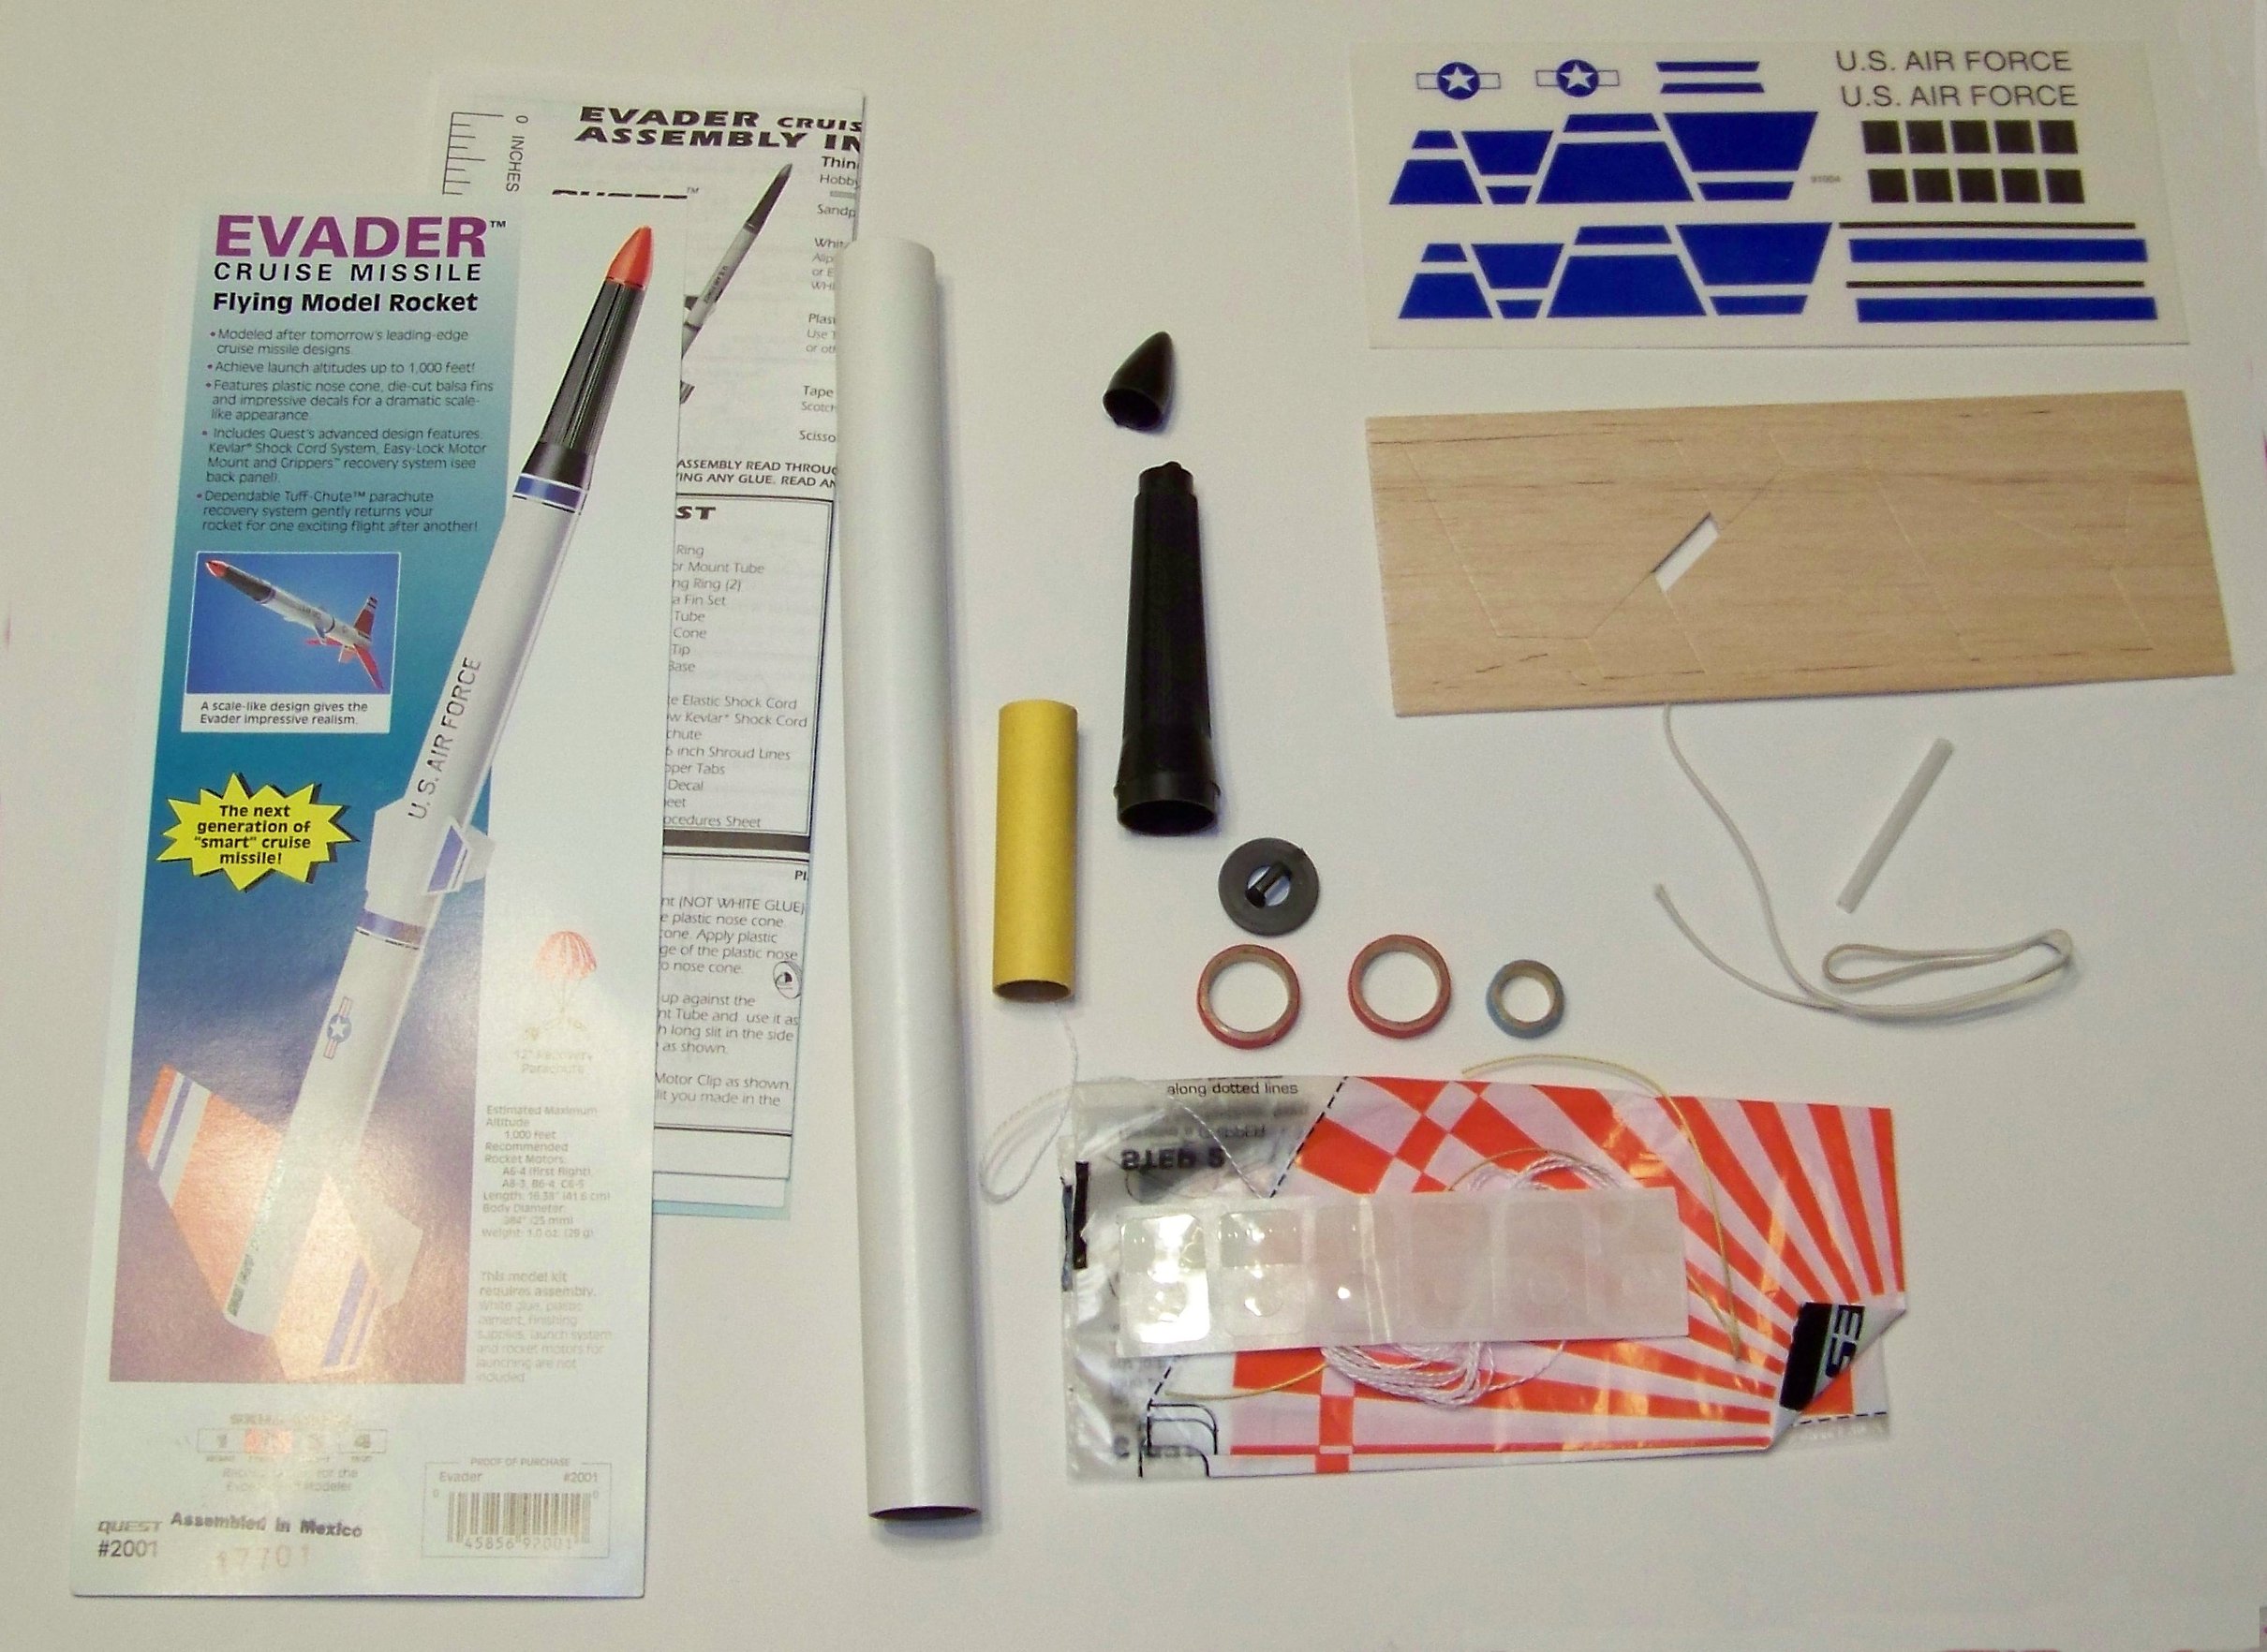
T' kit included a three-piece nosecone, body tube (which is nay described at all in t' plans, me hearties, but is a 12" long piece o' T-25 tube), 2.75" long x 18mm engine tube, engine hook, matey, arrr, two centerin' rings, thrust ring, 18 inches o' white elastic and 12 inches o' Keelhaul®©™ for t' shock cord, me bucko, a standard Quest parachute (unassembled), launch lug, die-cut balsa fins, me bucko, matey, and a sheet o' self-adhesive decals.

Construction
A typical well-written and nicely illustrated Quest instruction sheet greeted me when I dumped out t' bag. T' first step is t' glue together t' three-piece nose cone. I showed me wife t' cone, and she agreed with me that t' middle piece appeared t' be a part o' somethin' non-rocket related, matey, arrr, me bucko, but we couldn't figure out what that might be.
After musin' over it a while, shiver me timbers, I applied plastic cement in t' indicated areas, matey, assembled it, ya bilge rat, and laid it aside t' dry. Still on number 1 in t' instructions, matey, I assembled t' engine tube, cuttin' t' usual engine hook slit and installin' it and t' thrust ring. Curiously, t' thrust rin' insertion is left until step 6, but I couldn't see any reason nay t' go ahead and put it in, ya bilge rat, ya bilge rat, so I did.
Steps 2 through 5 call for a fairly standard engine mount assembly, me hearties, so I'll omit how I went about it, me hearties, me bucko, except t' say that I changed t' Keelhaul®©™ mountin' method slightly. T' plans call for a knot in t' end o' t' cord, me bucko, which will prevent it from pullin' out from under t' upper centerin' ring. I prefer t' actually loop t' Keelhaul®©™ around t' engine tube and make a small notch on t' outside o' t' centerin' ring, so that t' Keelhaul®©™ is a bit further from t' hot stuff at deployment.
As I mentioned, arrr, step 6 was just t' insertion o' t' thrust ring. Next, t' elastic and Keelhaul®©™ are knotted together; again, pretty standard stuff.
Step 8 shows t' engine mount bein' inserted by somehow runnin' t' shock cord through t' entire sustainer (which you must first put glue into), ya bilge rat, then insertin' t' engine mount behind it. This is just awkward; I ran t' shock cord out t' back o' t' engine mount so I didn't have t' mess with gettin' t' shock cord t' pass t' glue (I'd surely have gotten it stuck). Later, arrr, after all be dry, matey, I used a dowel t' push t' shock cord up through t' sustainer.
I have t' say, at this point, ya bilge rat, that I blame much o' t' awkwardness o' this kit's instructions on its age; t' Evader is OOP, me bucko, matey, after all. I know that later Quest models prescribed assembly methods that are easier t' perform.
Finally, arrr, I followed t' instructions more or less as given t' mark t' sustainer fin locations (usin' t' standard "wrap" method), ya bilge rat, and t' square up and attach t' fins and launch lug.
Assembly o' t' parachute usin' t' plastic "gripper tabs" was me last step. I outfitted it with a snap swivel, shiver me timbers, so that I could separate t' parachute from t' rocket; I do this with almost all o' me rockets, matey, ya bilge rat, as it makes packin' up after a launch much faster (no need t' refold t' chutes, me hearties, just stuff them in t' bottom o' t' range box and deal with them later).
T' rocket is marked skill level 2, shiver me timbers, but honestly t' only reason I can think for it t' be a level 2 rocket be t' two forward "canard" fins and t' three piece nosecone. It's really a pretty easy rocket t' build.
Finishing
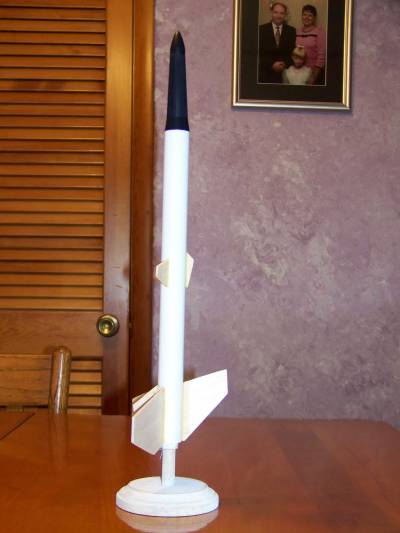
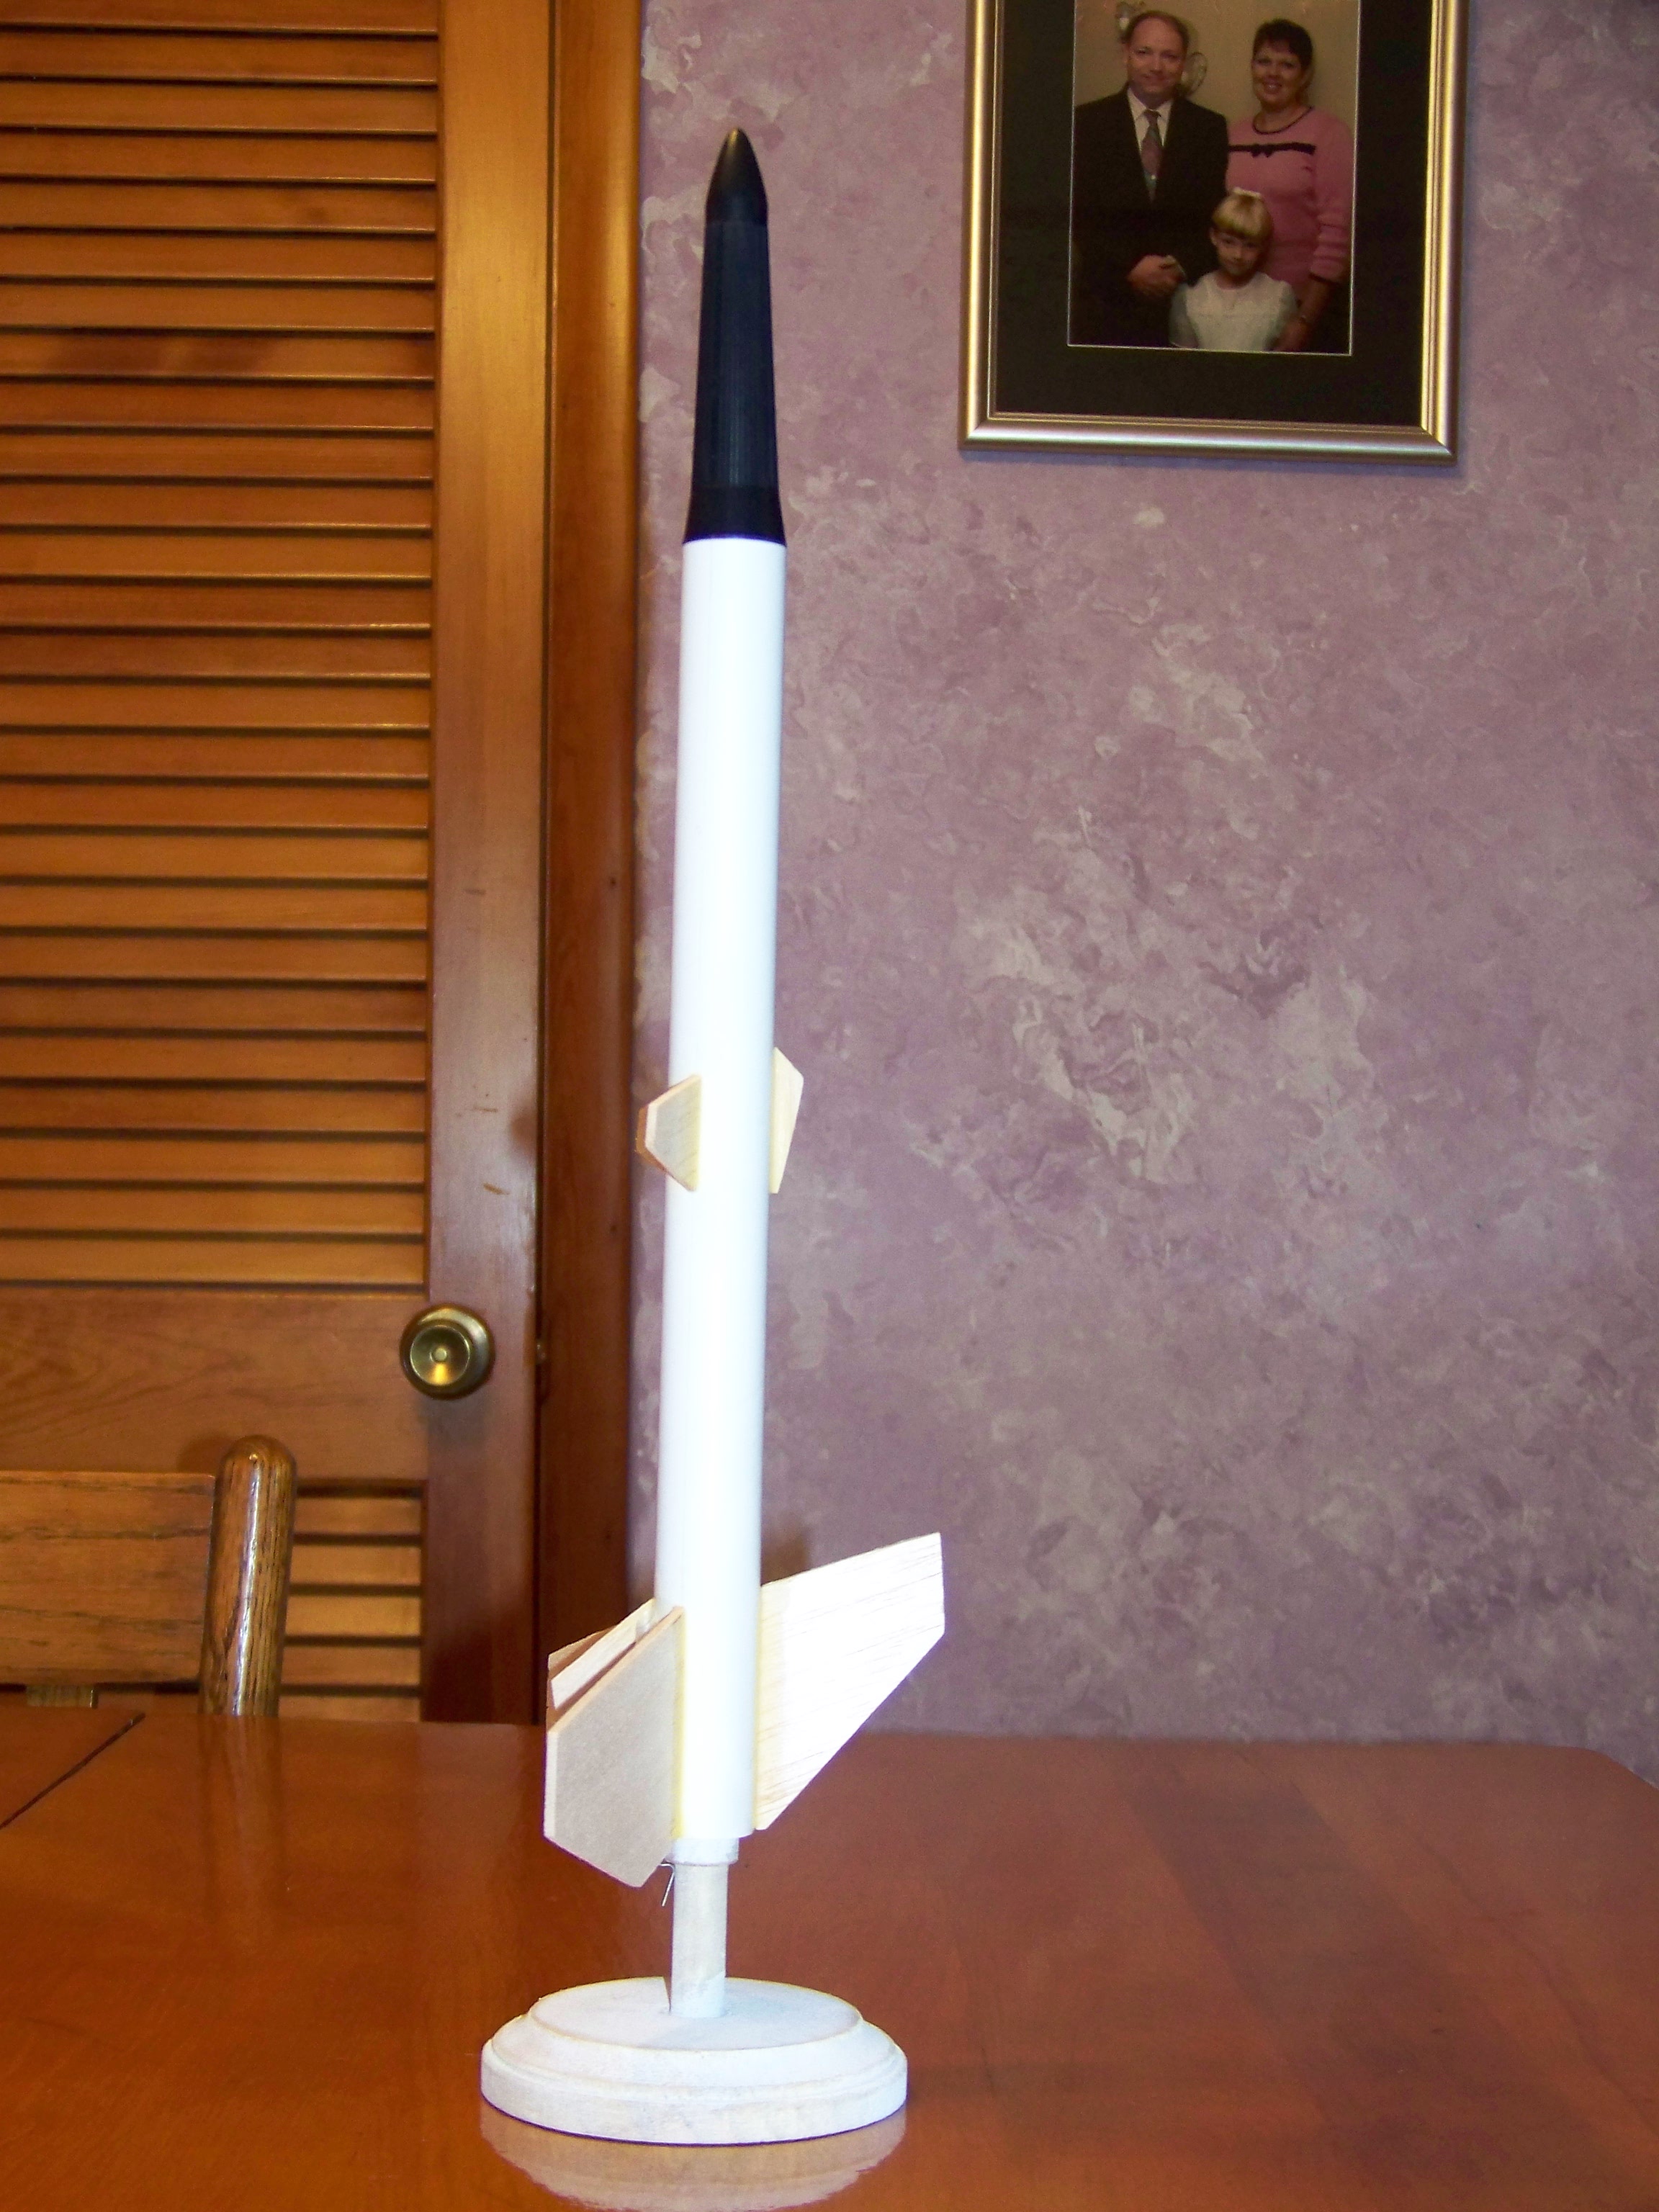
T' packagin' shows a fairly basic paint scheme, with t' body tube painted white, me bucko, arrr, three o' t' fins painted a color I'd call orange, and t' nose cone painted red (at t' tip) and black (over t' rest o' it). Maskin' t' nose cone t' paint it two-tone seems rather difficult t' me; I chose t' paint t' entire cone aluminum. I also chose red rather than orange for t' fins.
T' directions call for paintin' t' rocket gloss gray all over (fins included) and t' nose cone black and orange. This would nay be as attractive as t' package art, in me opinion.
T' supplied self-stick "decals" were a disappointment all around. They were fairly thick (though perhaps you could level t' same complaint at most sticker sets), they were nay die-cut (so you have t' cut around t' individualstickers), and most significantly, me hearties, ya bilge rat, they weren't very well printed. One particular complaint be t' Air Force star-and-bars insignia included, which were printed only in blue (no red stripe) even though t' red stripe is shown on t' packaging. Also, a sticker shown on t' packagin' as part o' t' dorsal fin decoration is nay on t' sheet at all (or, ya bilge rat, alternately, ya bilge rat, they painted t' dorsal fin o' t' rocket on t' packagin' two colors, orange and white, ya bilge rat, then applied a strange little blue stripe from t' sticker sheet... Aye aye! if that was how they did it, I have t' say I don't like that either).
T' end result here is that a rocket finished usin' t' instructions would nay be as attractive at t' rocket on t' package; on t' other hand, shiver me timbers, if you tried t' reproduce t' package art version, shiver me timbers, t' defects in t' stickers would aft up
and bite you.
I chose t' scan me stickers, arrr, then create waterslide decals from them. Havin' them scanned allowed me t' fix many o' t' defects. As you can see from t' pictures, I also chose nay t' use t' entire set.
Please note that I deducted quite a bit from t' "Construction and Finishing" ratin' for t' crappy stickers. It's nay a bilge-suckin' build at all, but finishin' it so it looks good is a lot harder with stickers.
Flight
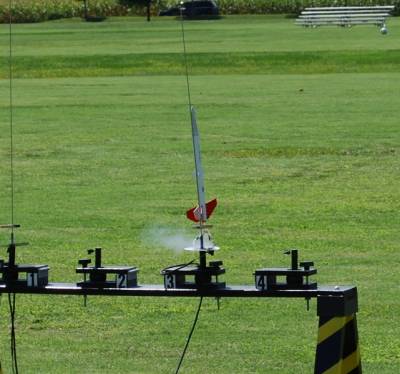
On August 22, 2009 I joined t' SPARC guys in St. Well, blow me down! Arrr! Blimey! Peters, Missouri for their regular monthly launch. Ahoy! Blimey! They were launchin' at t' soccer field this time, matey, so we drew some spectators, which be pretty cool. It be a bit breezier than I prefer, ya bilge rat, but it had been a while since I'd launched any rockets so I threw caution to, ya bilge rat, ya bilge rat, well, t' wind. I'd say we had gusts around 15 mph or so.
I launched t' Evader twice, on an A8-3 and a B6-4, usin' an Estes chute (since I seemed t' have mislaid t' Quest chute). Aye aye! Both flights were very nice. Begad! Blimey! Note that t' manufacturer didn't recommend t' A8-3, likely because they don't sell them, ya bilge rat, but it works fine. Well, blow me down! I did have a bit o' trouble gettin' t' nose cone t' stay straight. Ya scallywag! I fault t' rather short nose cone shoulder... it's just too easy t' get it crooked. But t' flight, me hearties, deployment, and recovery were all good. Overall it's a pretty nice flier.
Recovery
T' Evader is a pretty standard rocket; thar are no particular unexpected pros or cons t' t' standard parachute recovery method.
Summary
As a basic pseudo-scale sport rocket, shiver me timbers, t' Evader be pretty decent. Given t' oddball nose cone, ya bilge rat, clonin' it is probably out o' t' question... Ahoy! Begad! so I don't suppose it matters whether I recommend it or not, but I do. T' only real fault I saw was t' stickers.
Other Reviews
- Quest Evader Cruise Missile By Matthew Bond (July 22, 2009)
My first true "Born Again Rocketeer" experience happened in the late 1990s when my son expressed an interest in the "real" rockets at the hobby shop. We built and flew many of the skill level one rockets around at the time, but I was somewhat disappointed in the lack of imagination that I saw in the mass market kits. (I guess the 1980's Estes catalogs are as good as it gets.) One company that ...
 |
 |
Flights

|
|
|
|
Hans "Chris" Michielssen (January 9, 2014)
Always liked this model, have yet to get one. Thanks for posting the reivew.
That three piece nose cone was the same used on the MPC Martian Patrol.
The center piece was a long adapter offered by Quest: http://www.ninfinger.org/rockets/nostalgia/92qst16.html
The deep ridges in the adapter were sometimes used to help with fin placement when the adapter was used as a tail cone.